Materials
| Name | Picture |
|---|---|
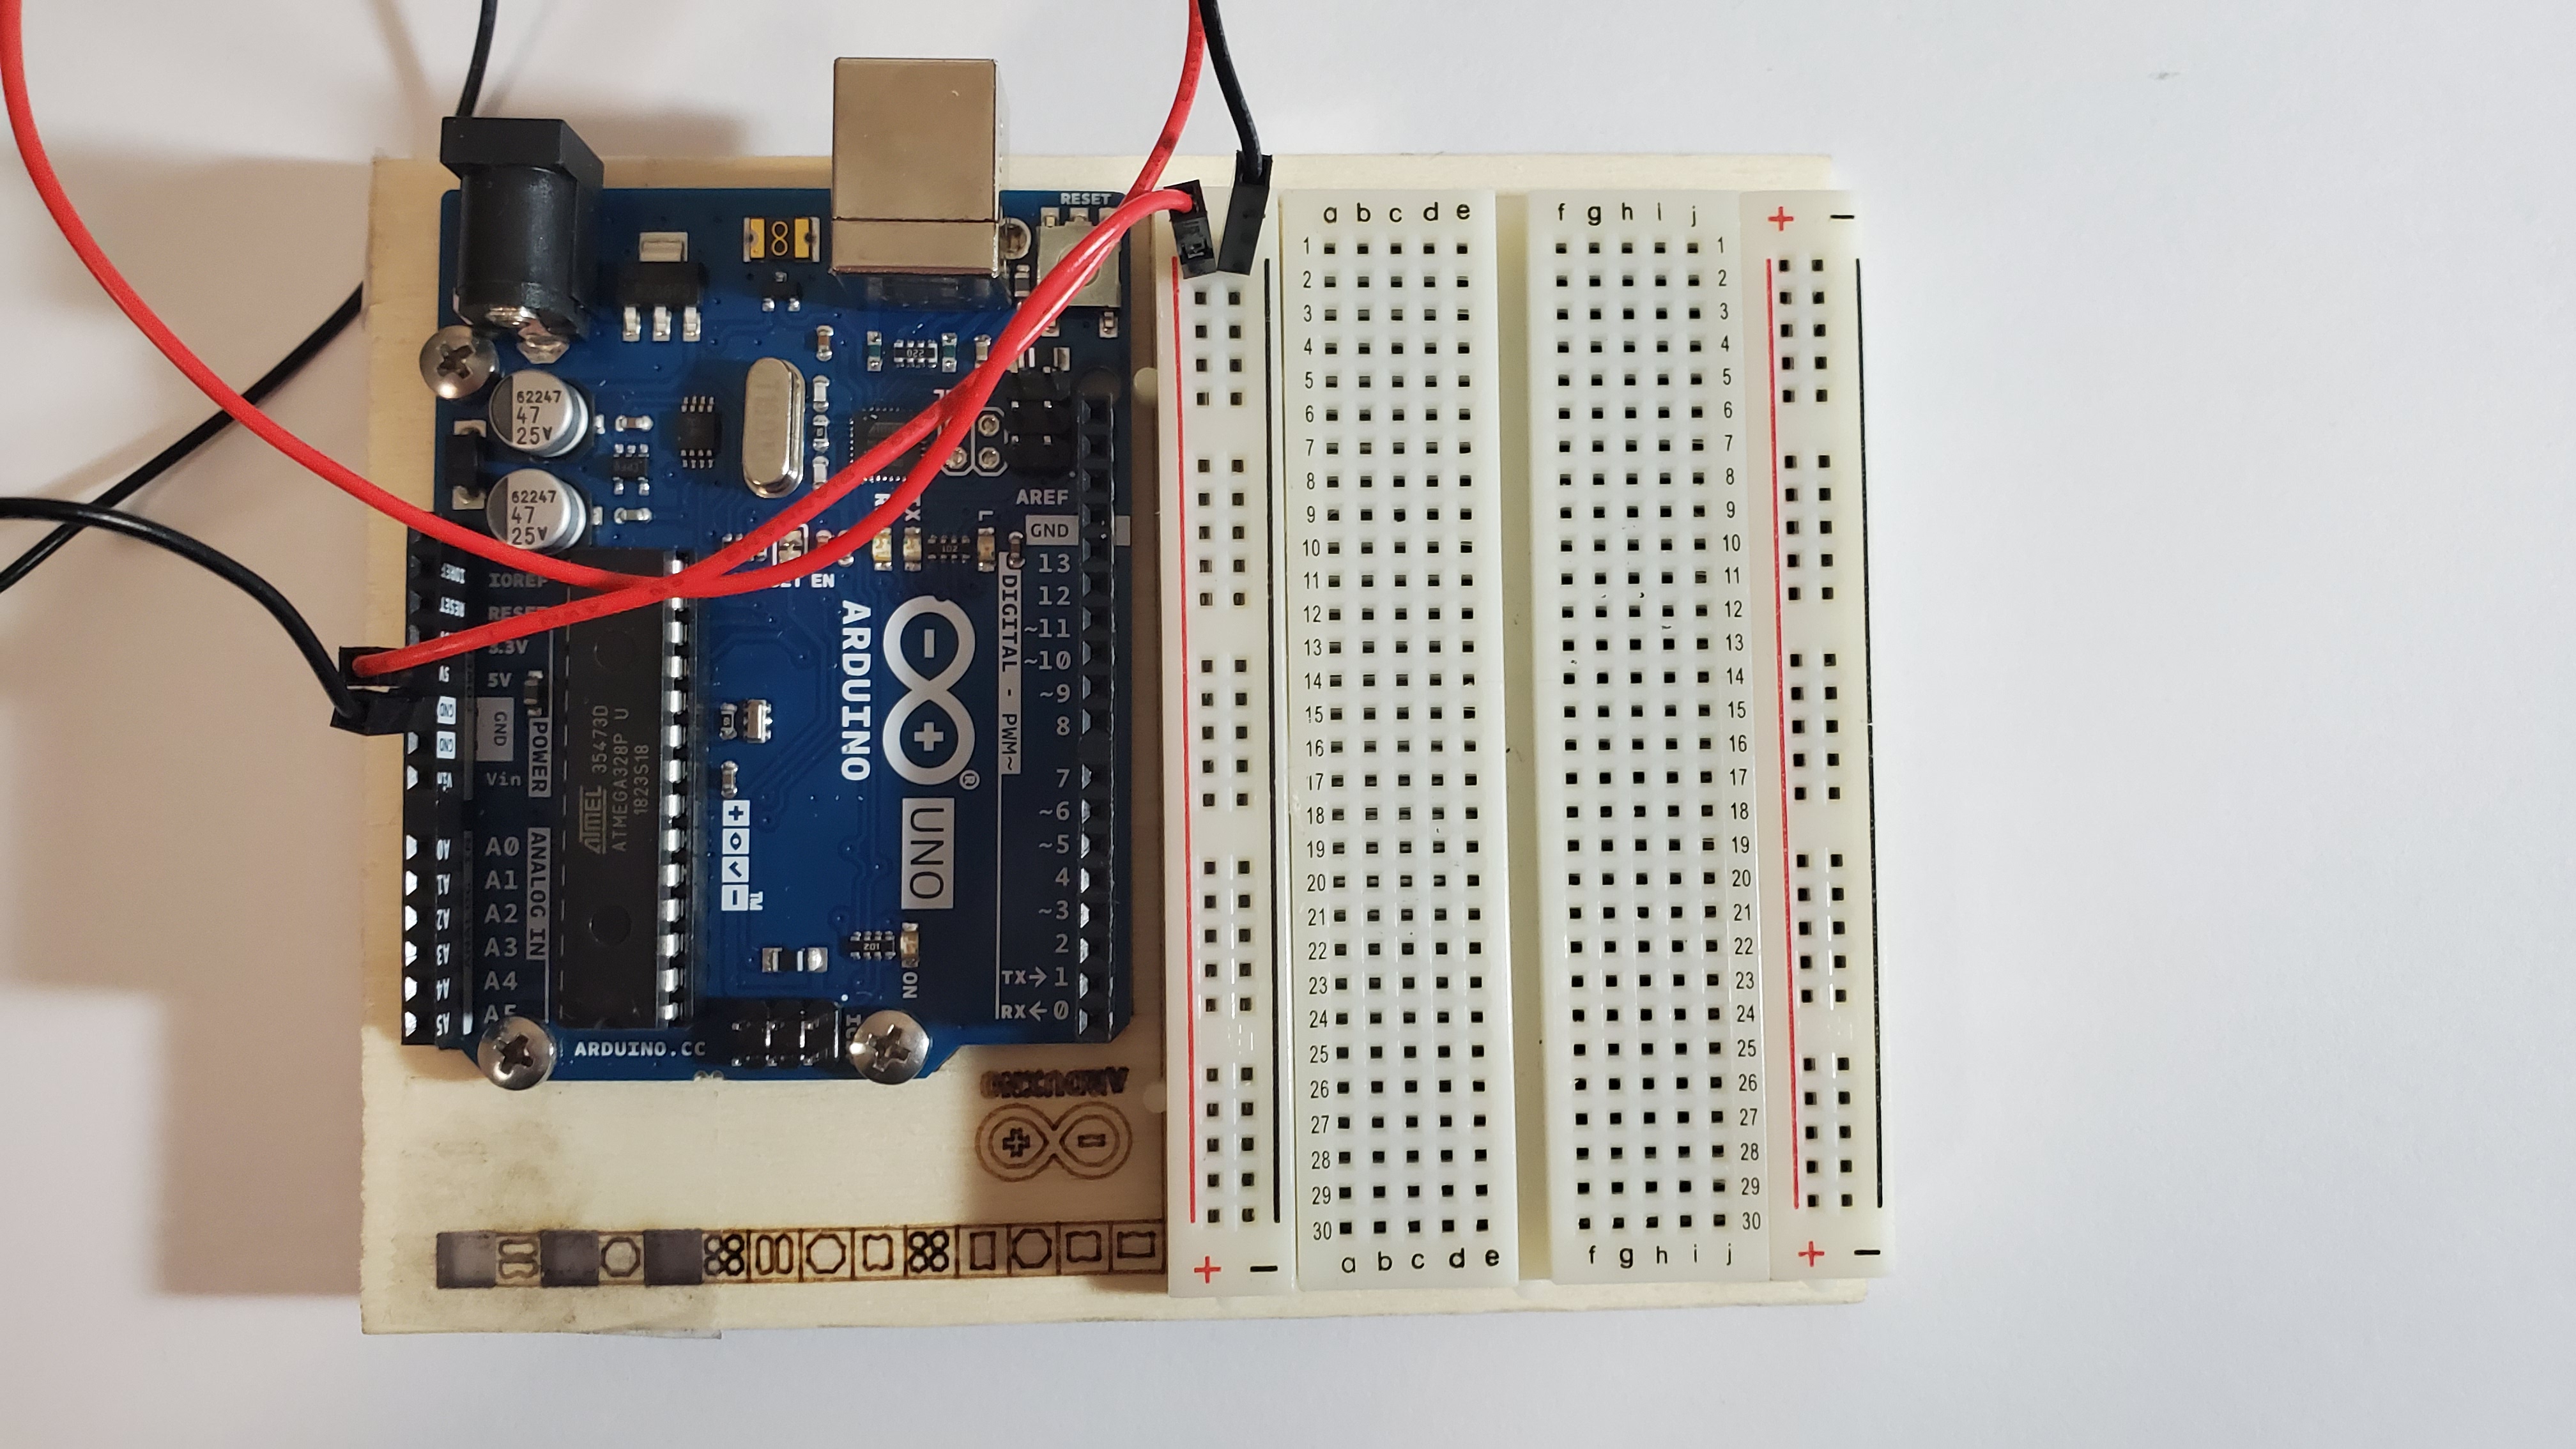
| One Arduino board with breadboard | 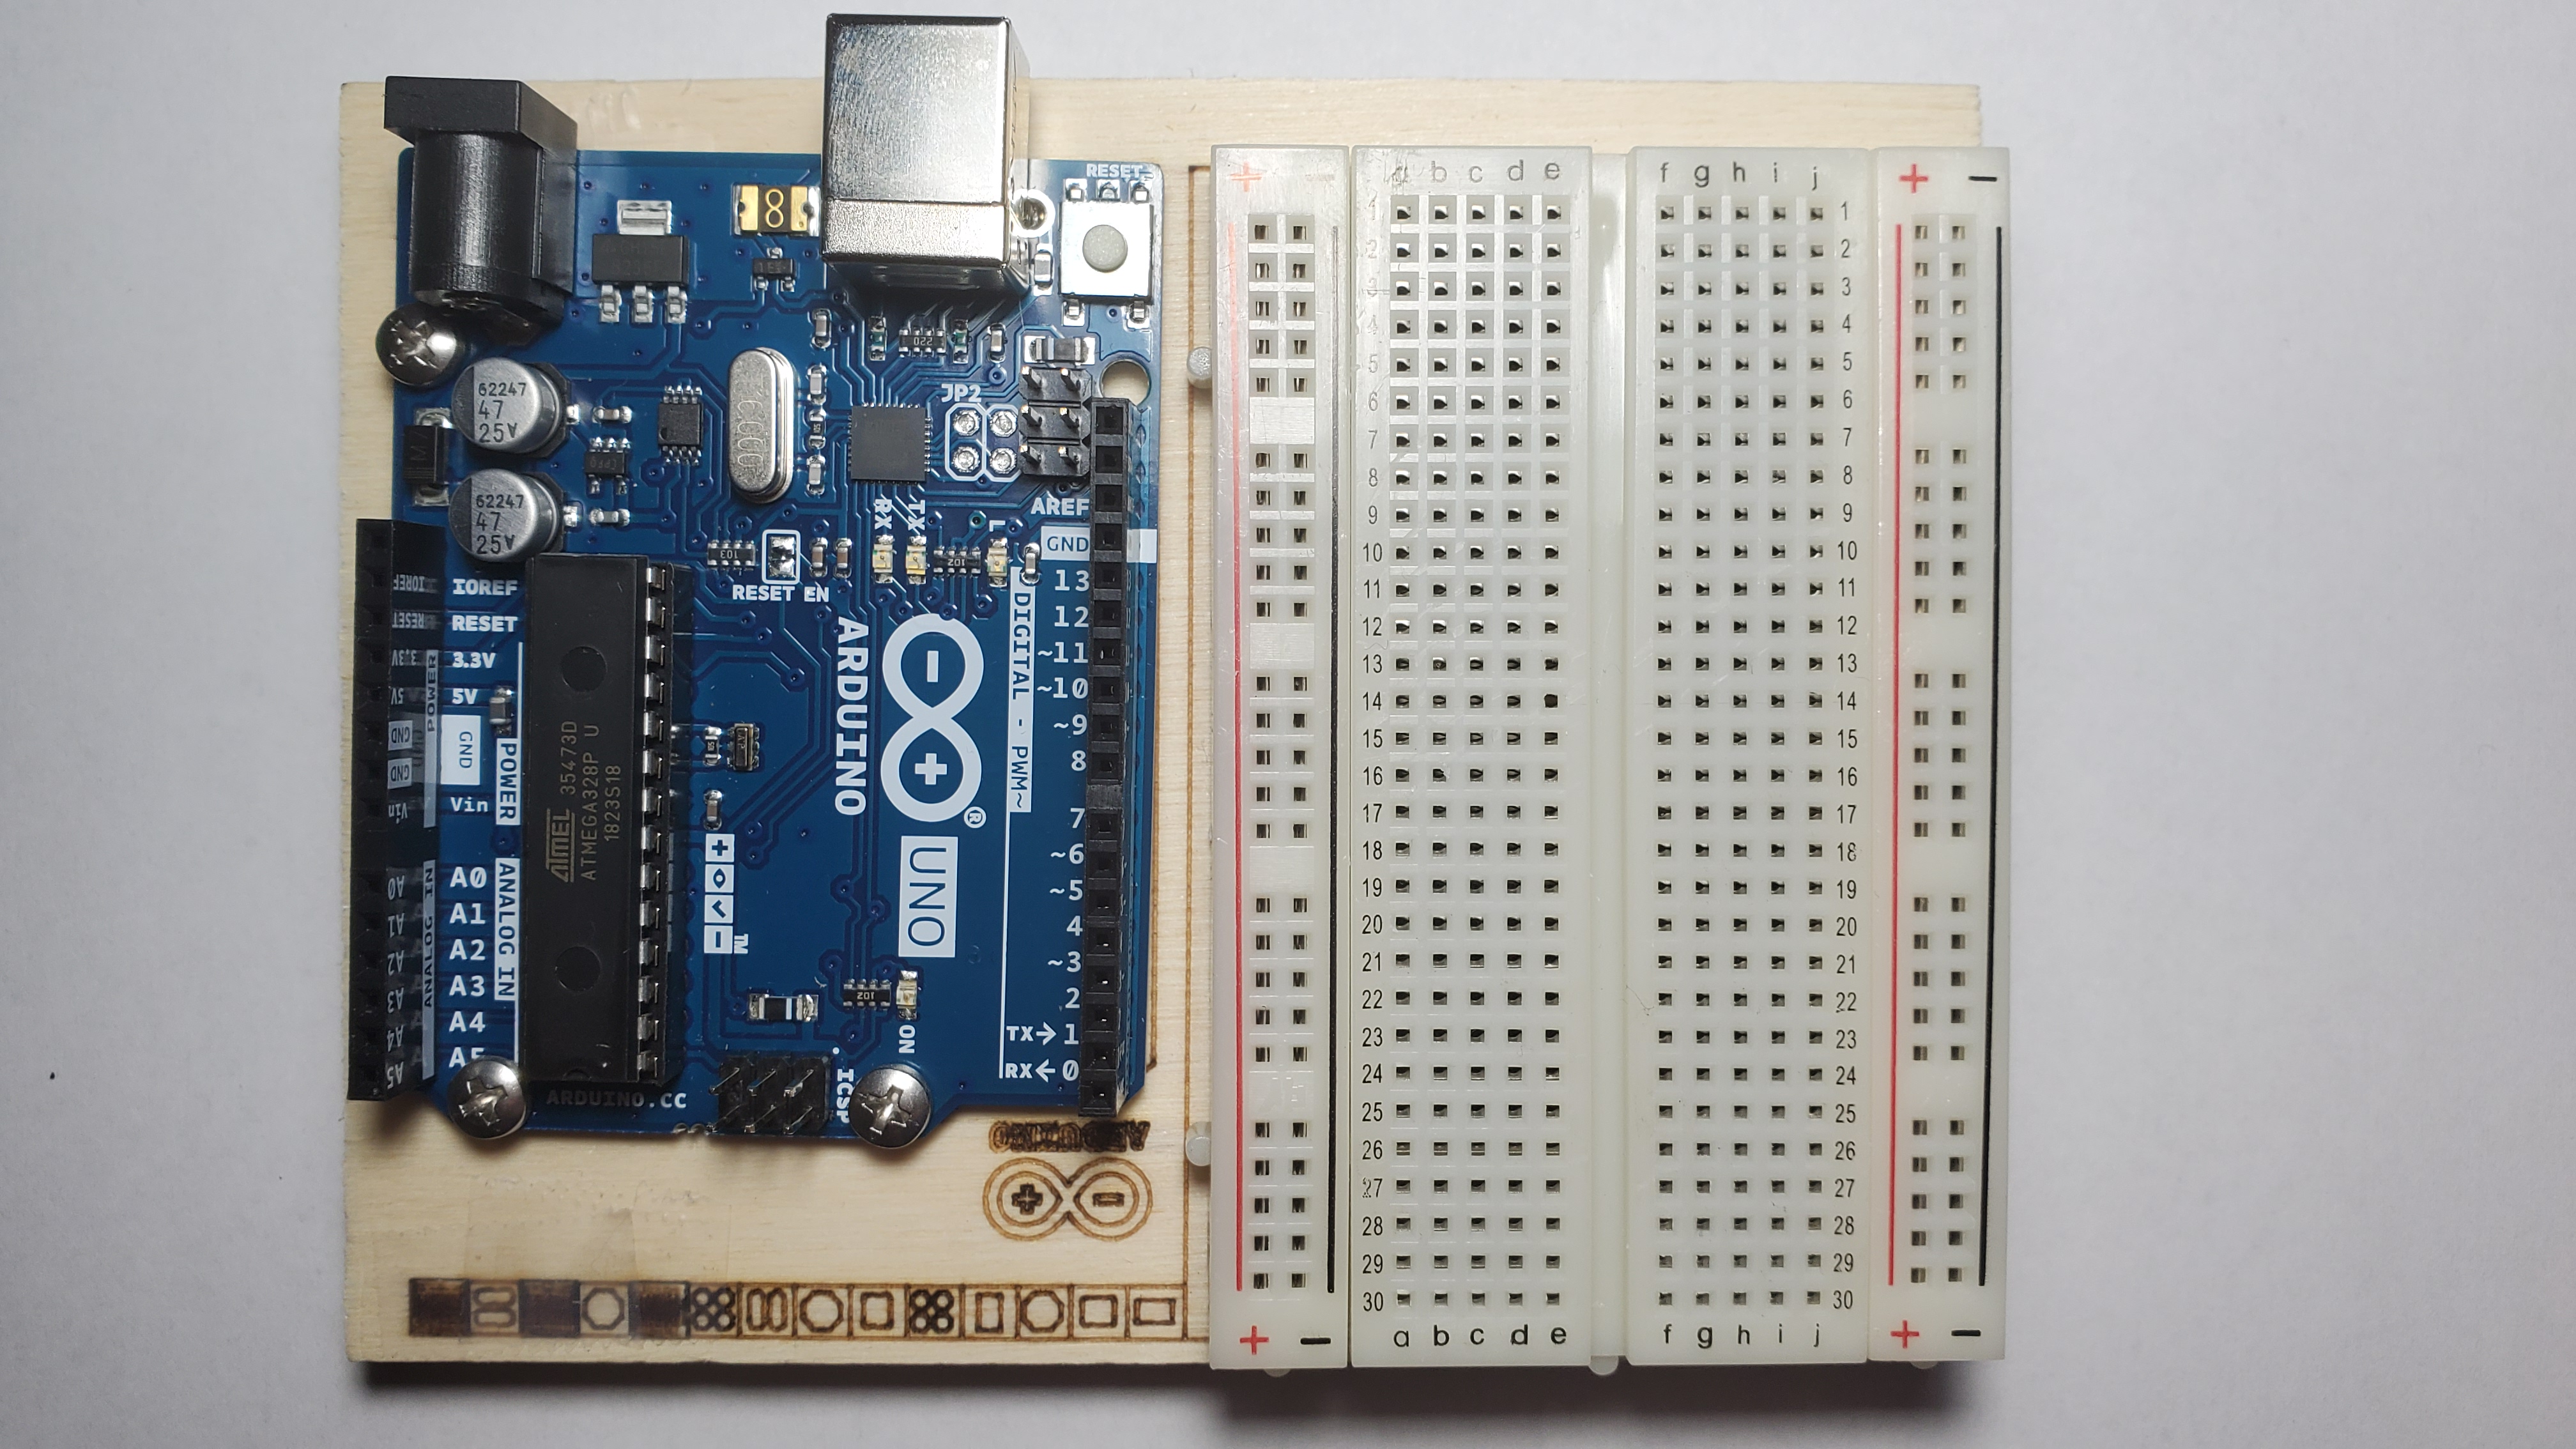 |
| One Black and Red Wire | 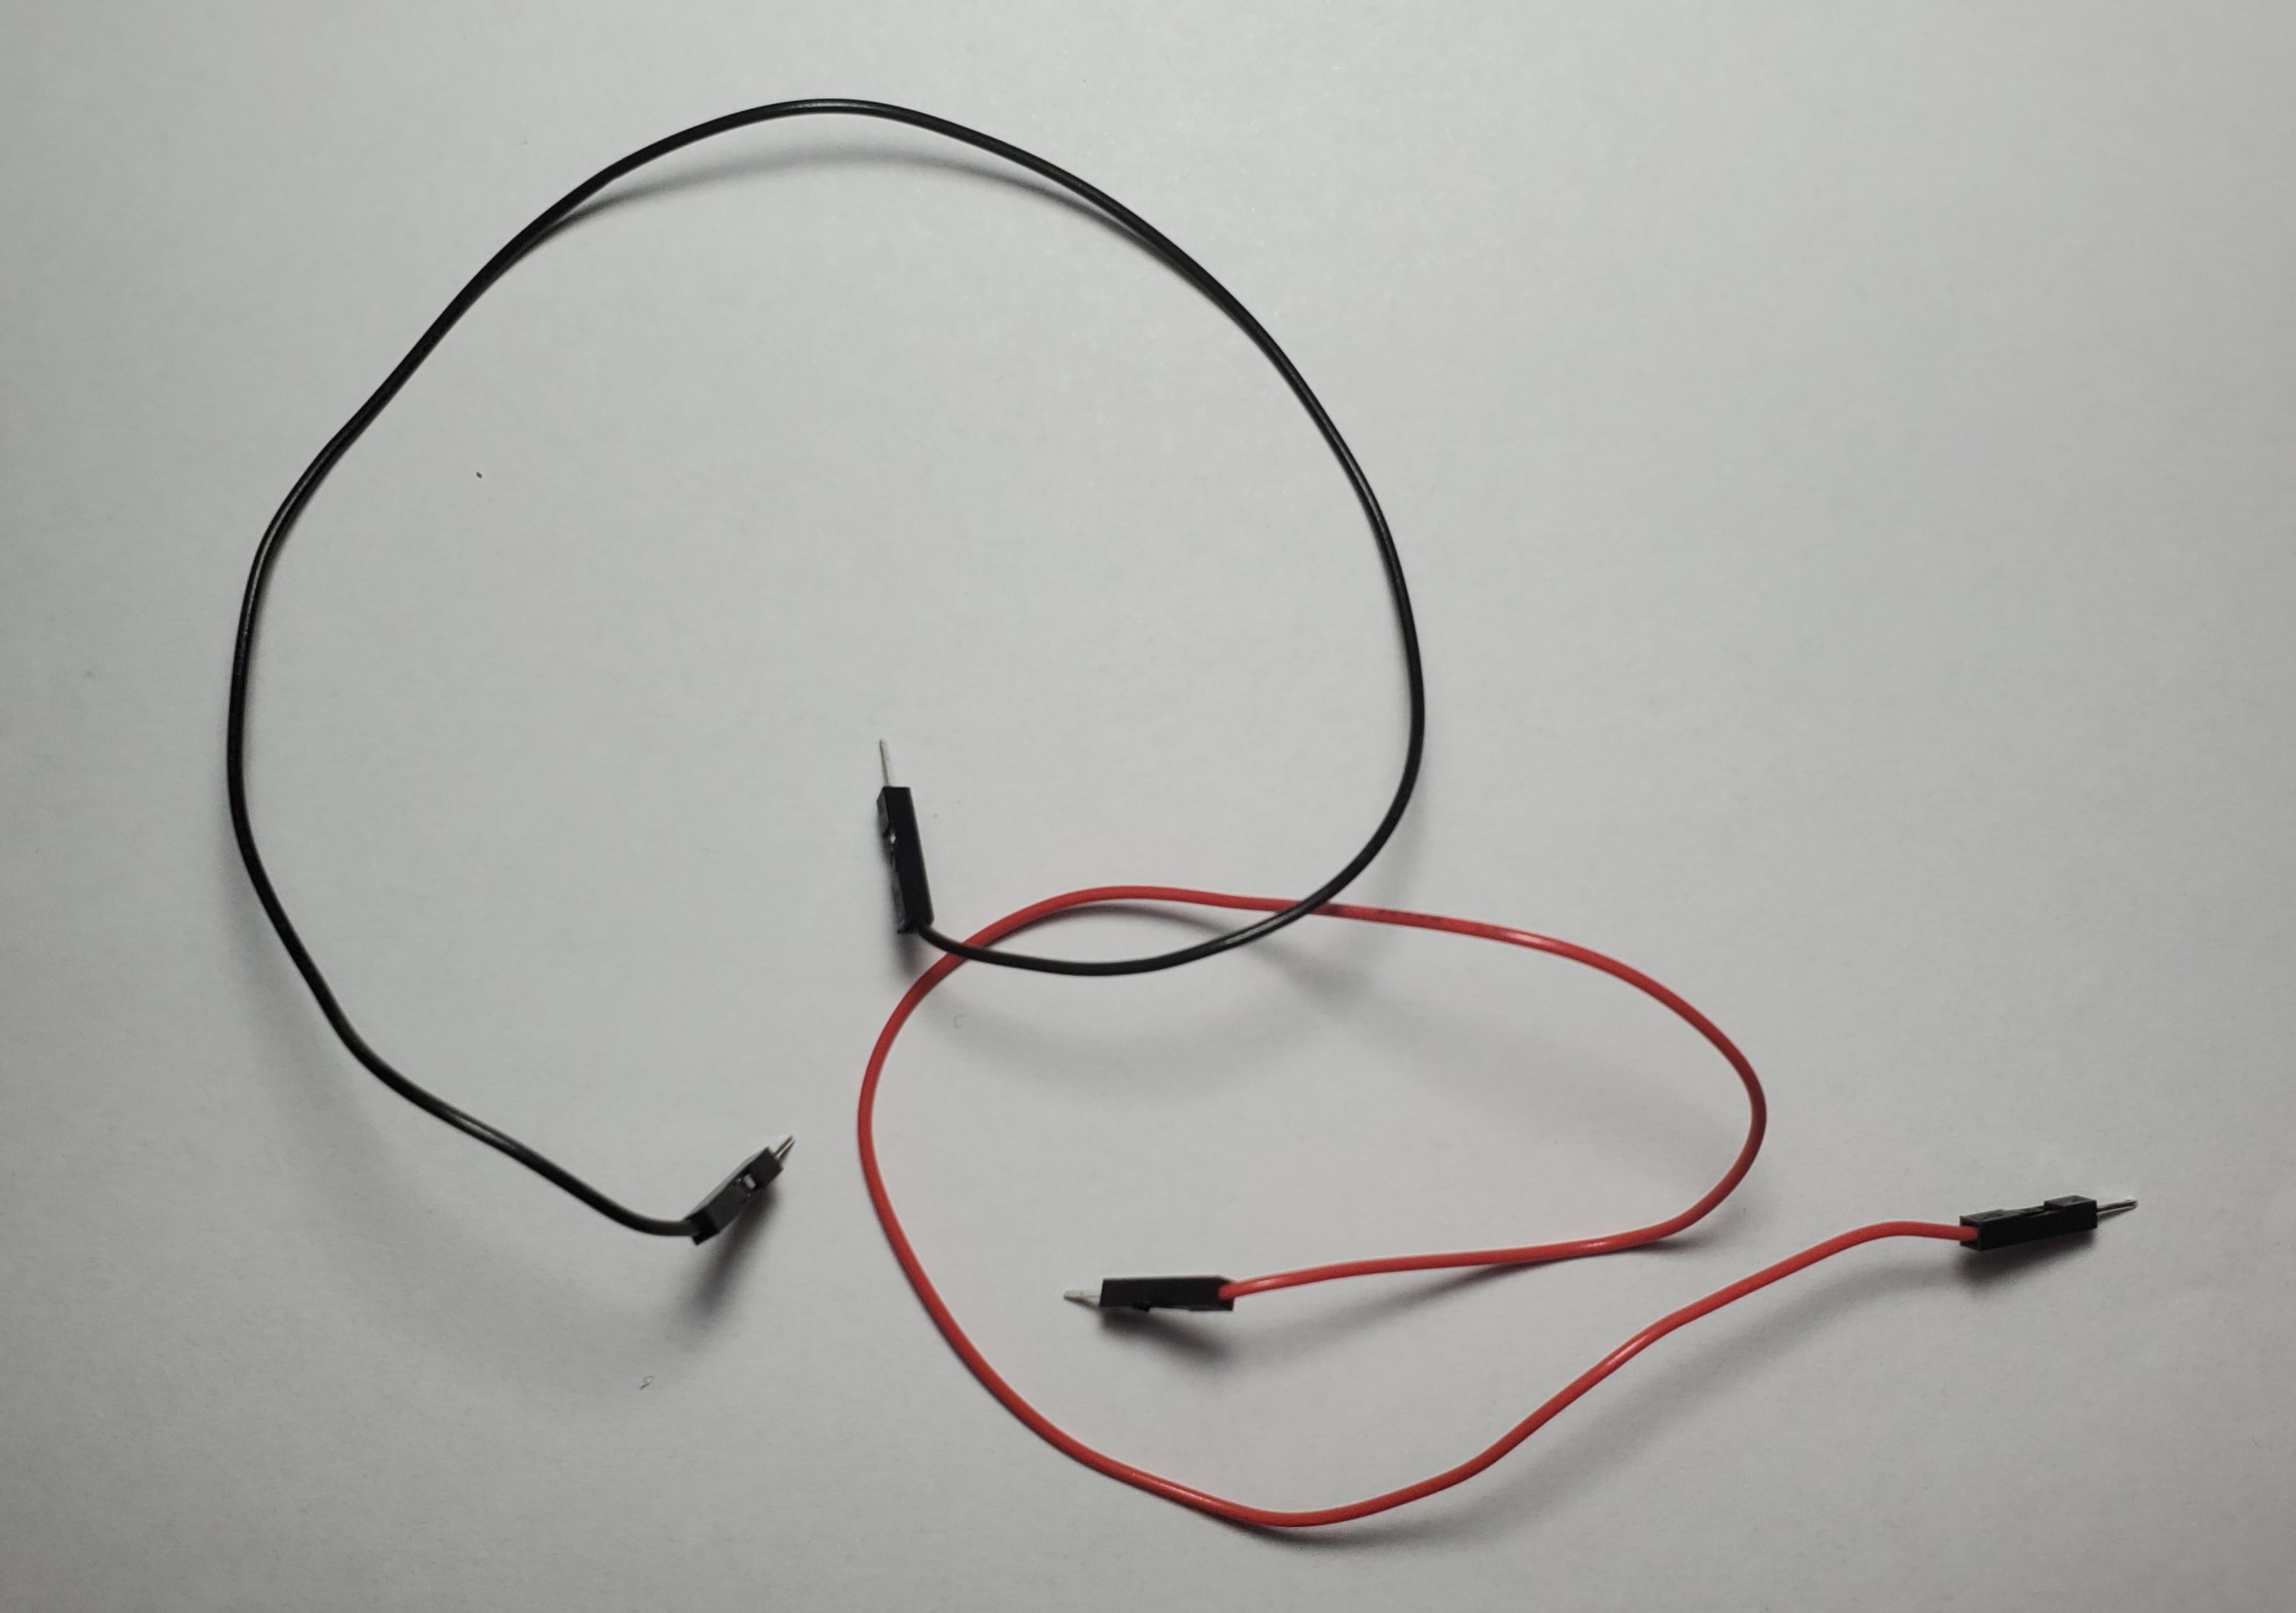 |
| Two orange, one green, and three yellow wires | 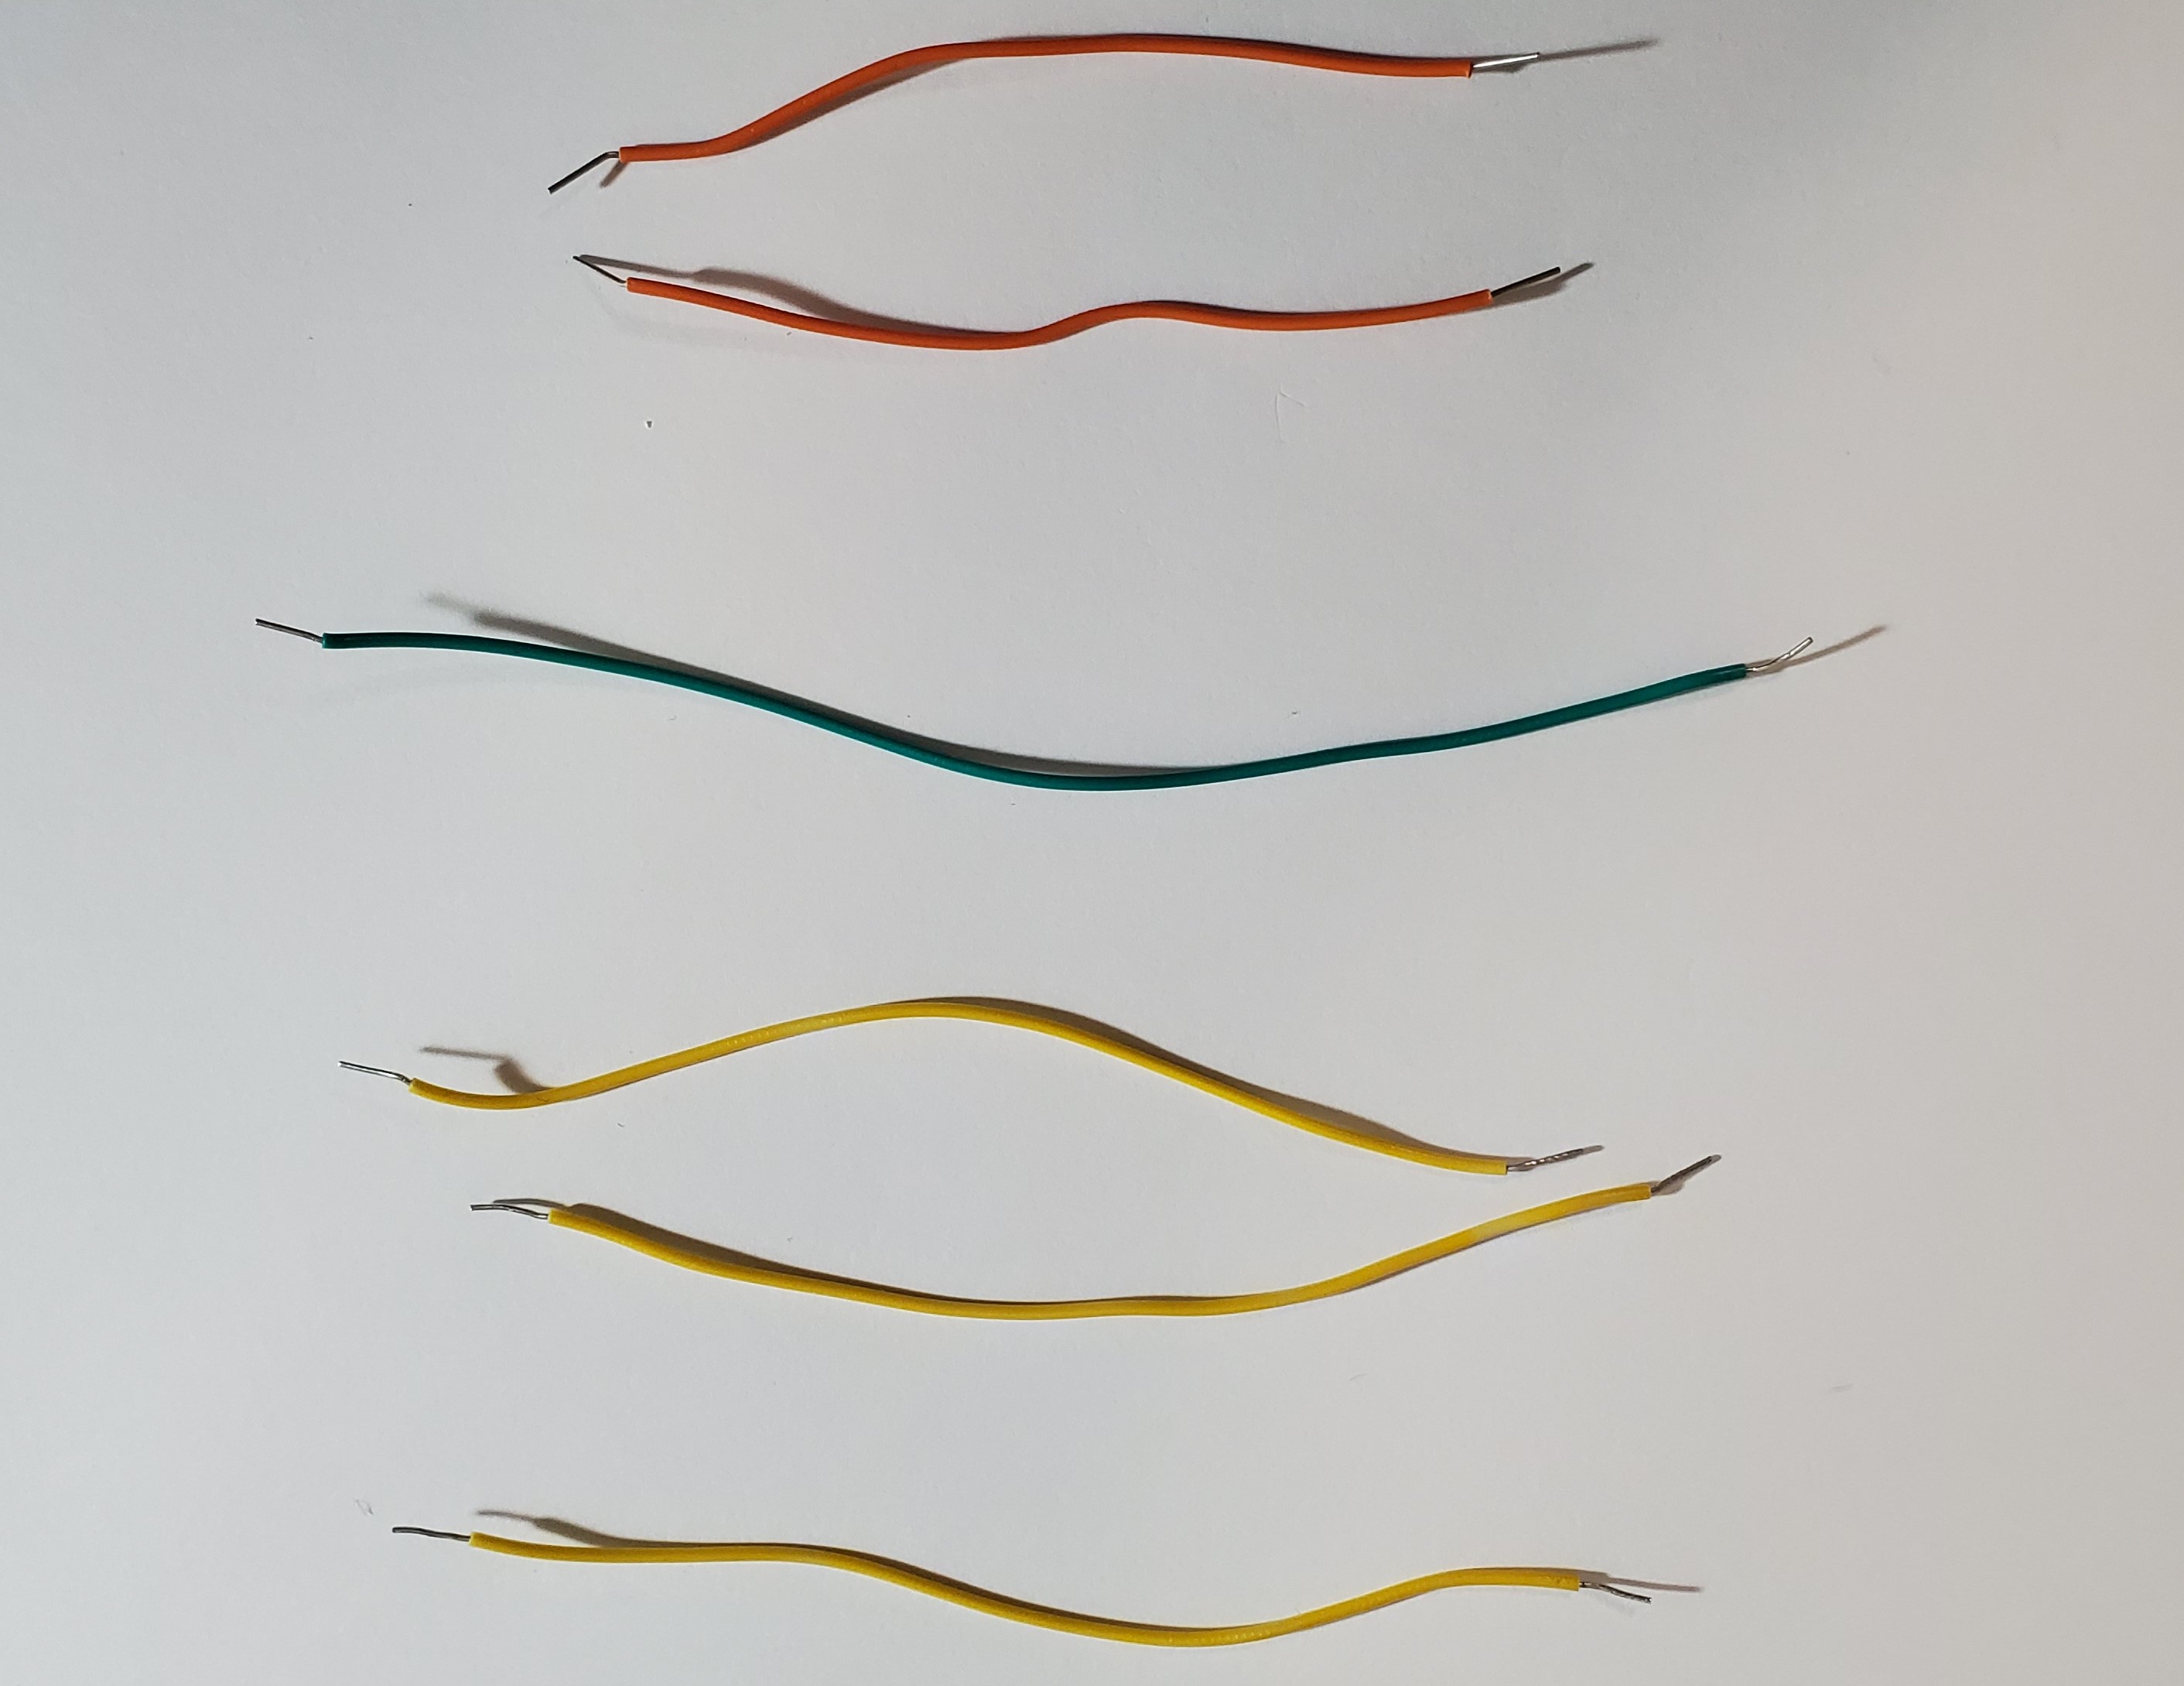 |
| Three 200 ohms Resistor | 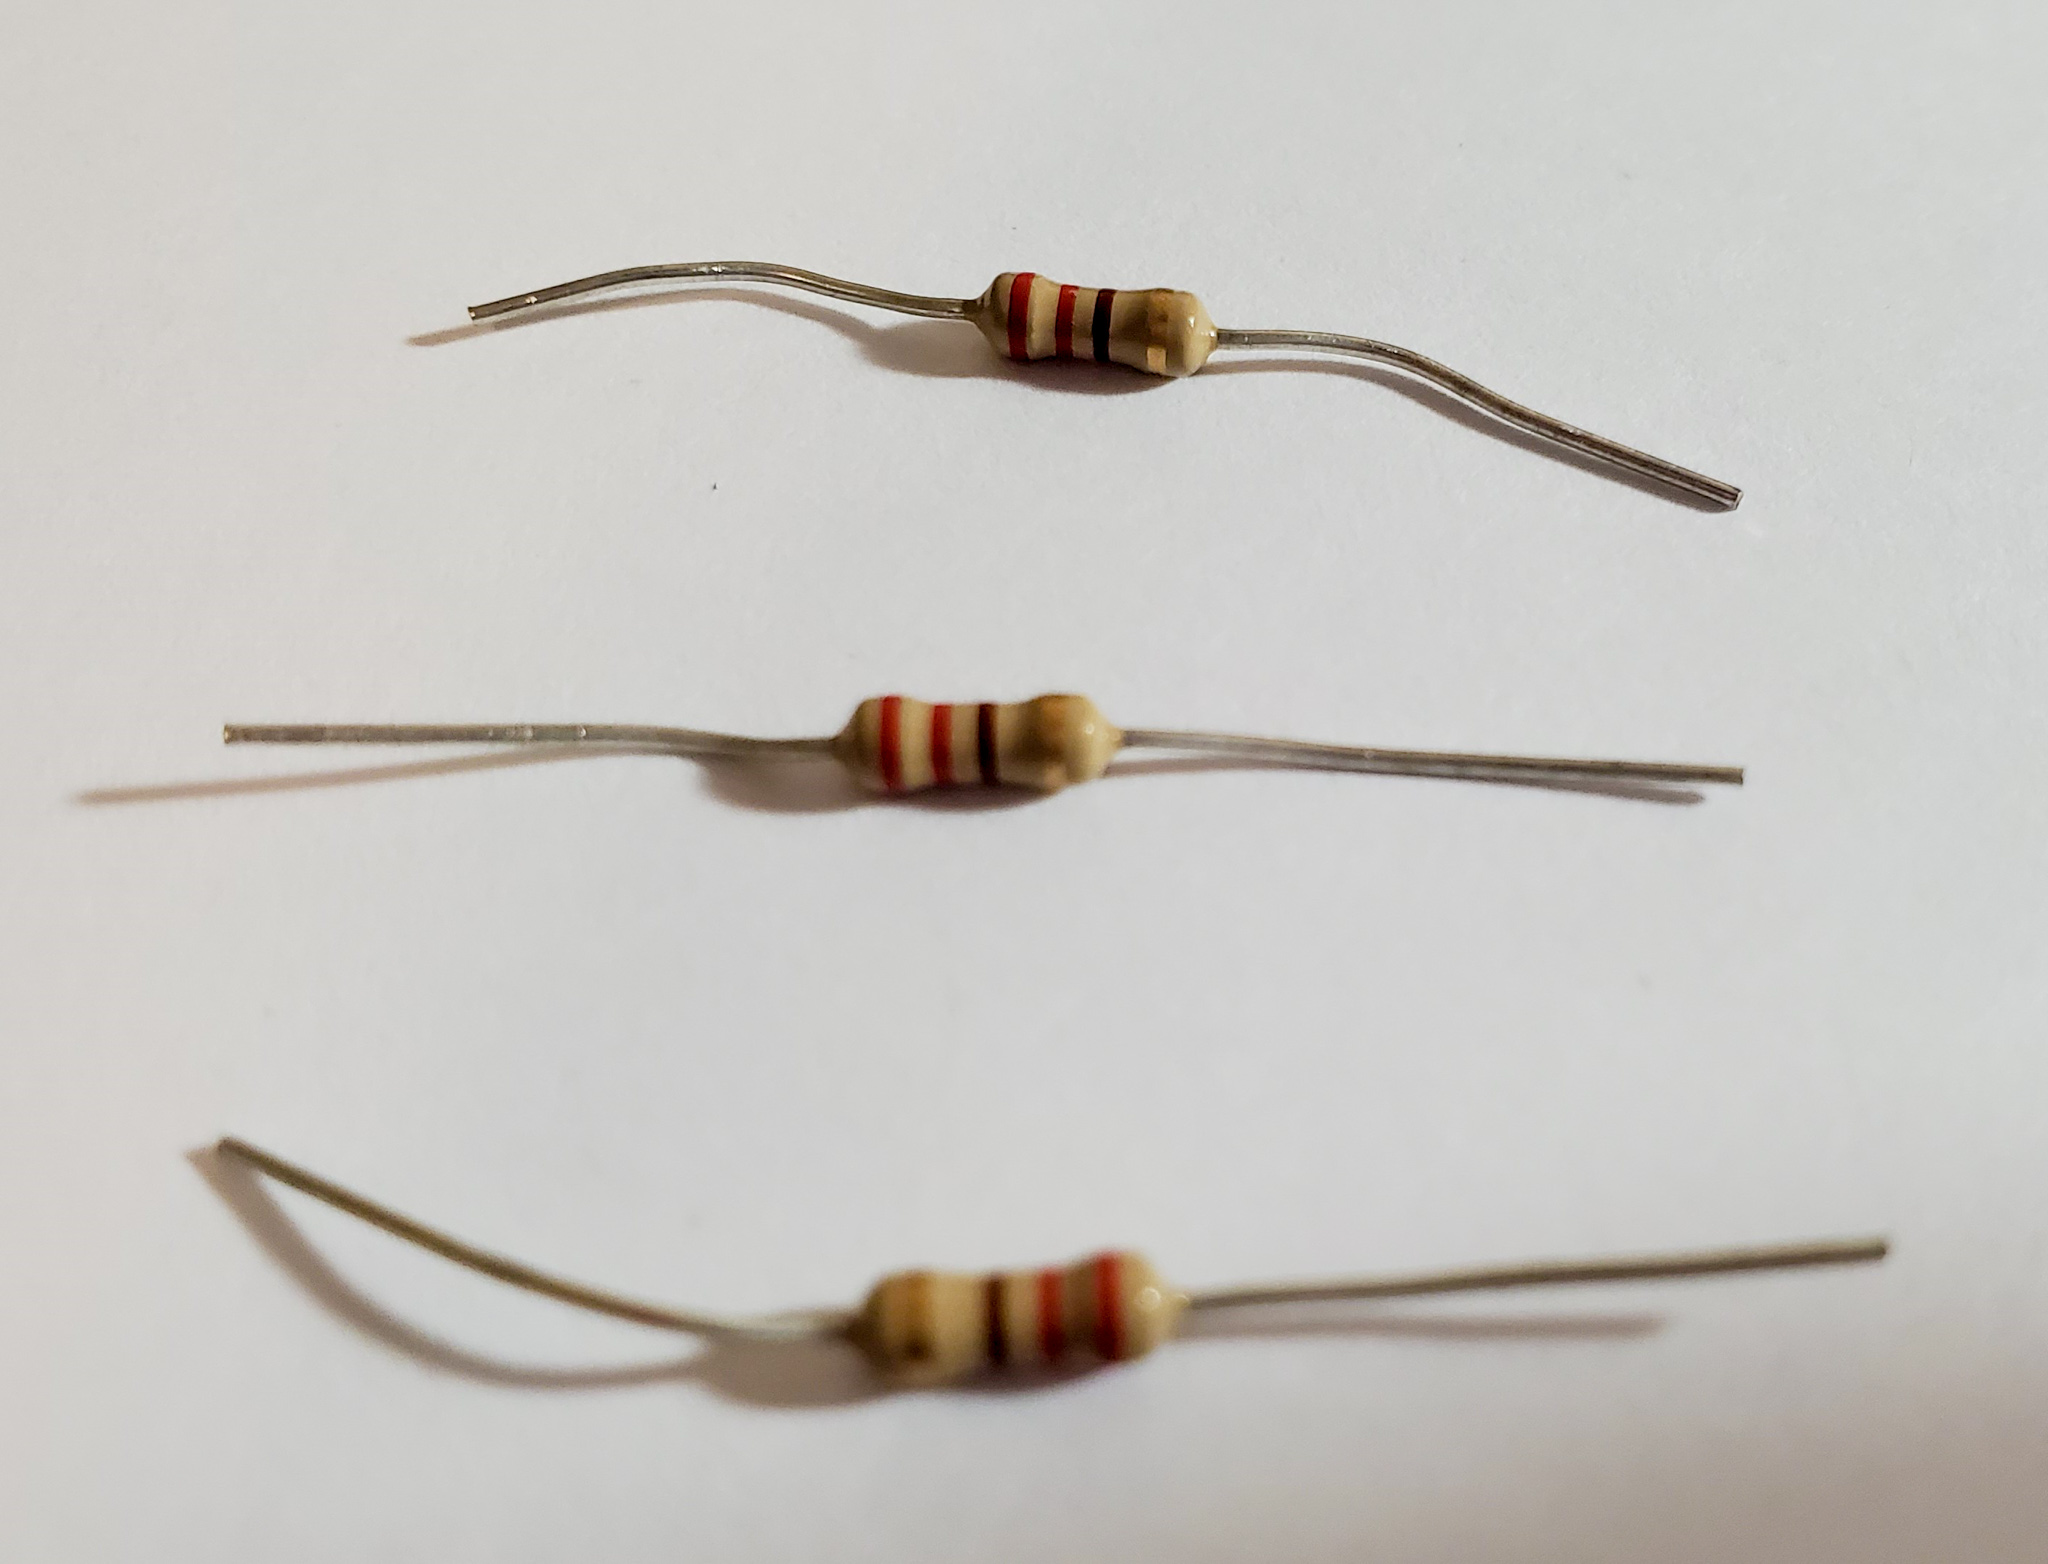
RED - ORANGE - BROWN - GOLD |
| Three red LED | 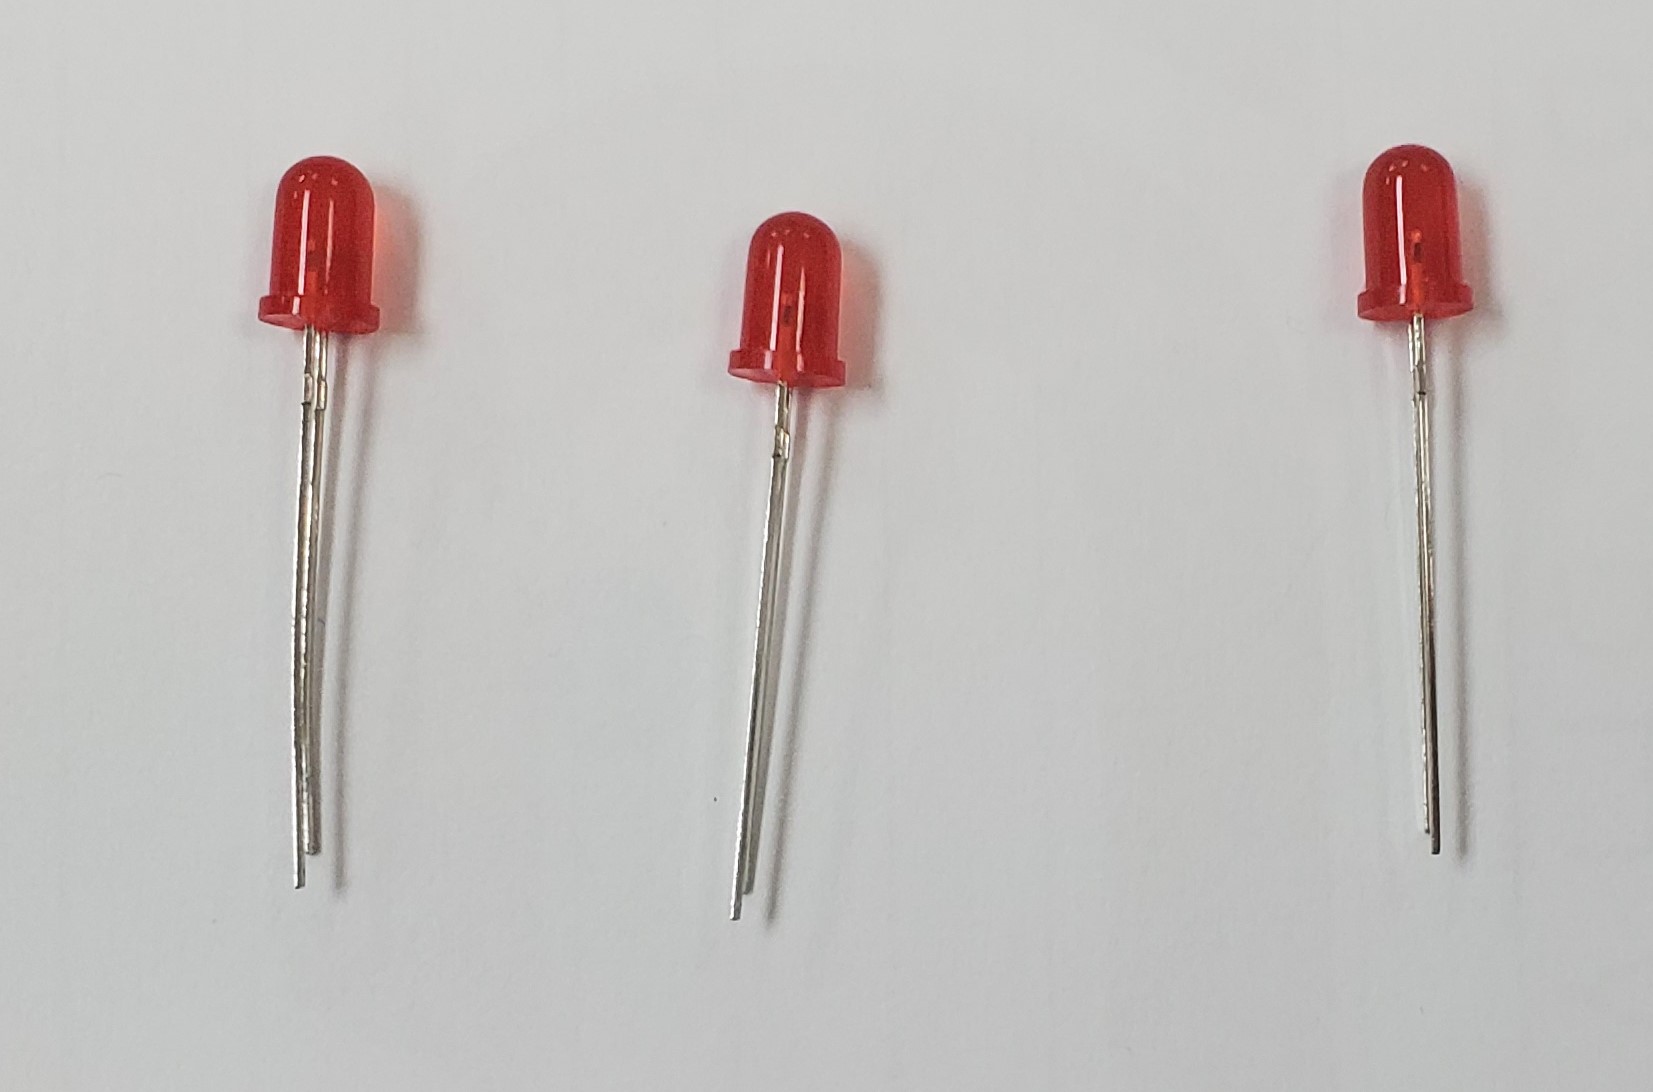 |
| 1 temperature sensor | 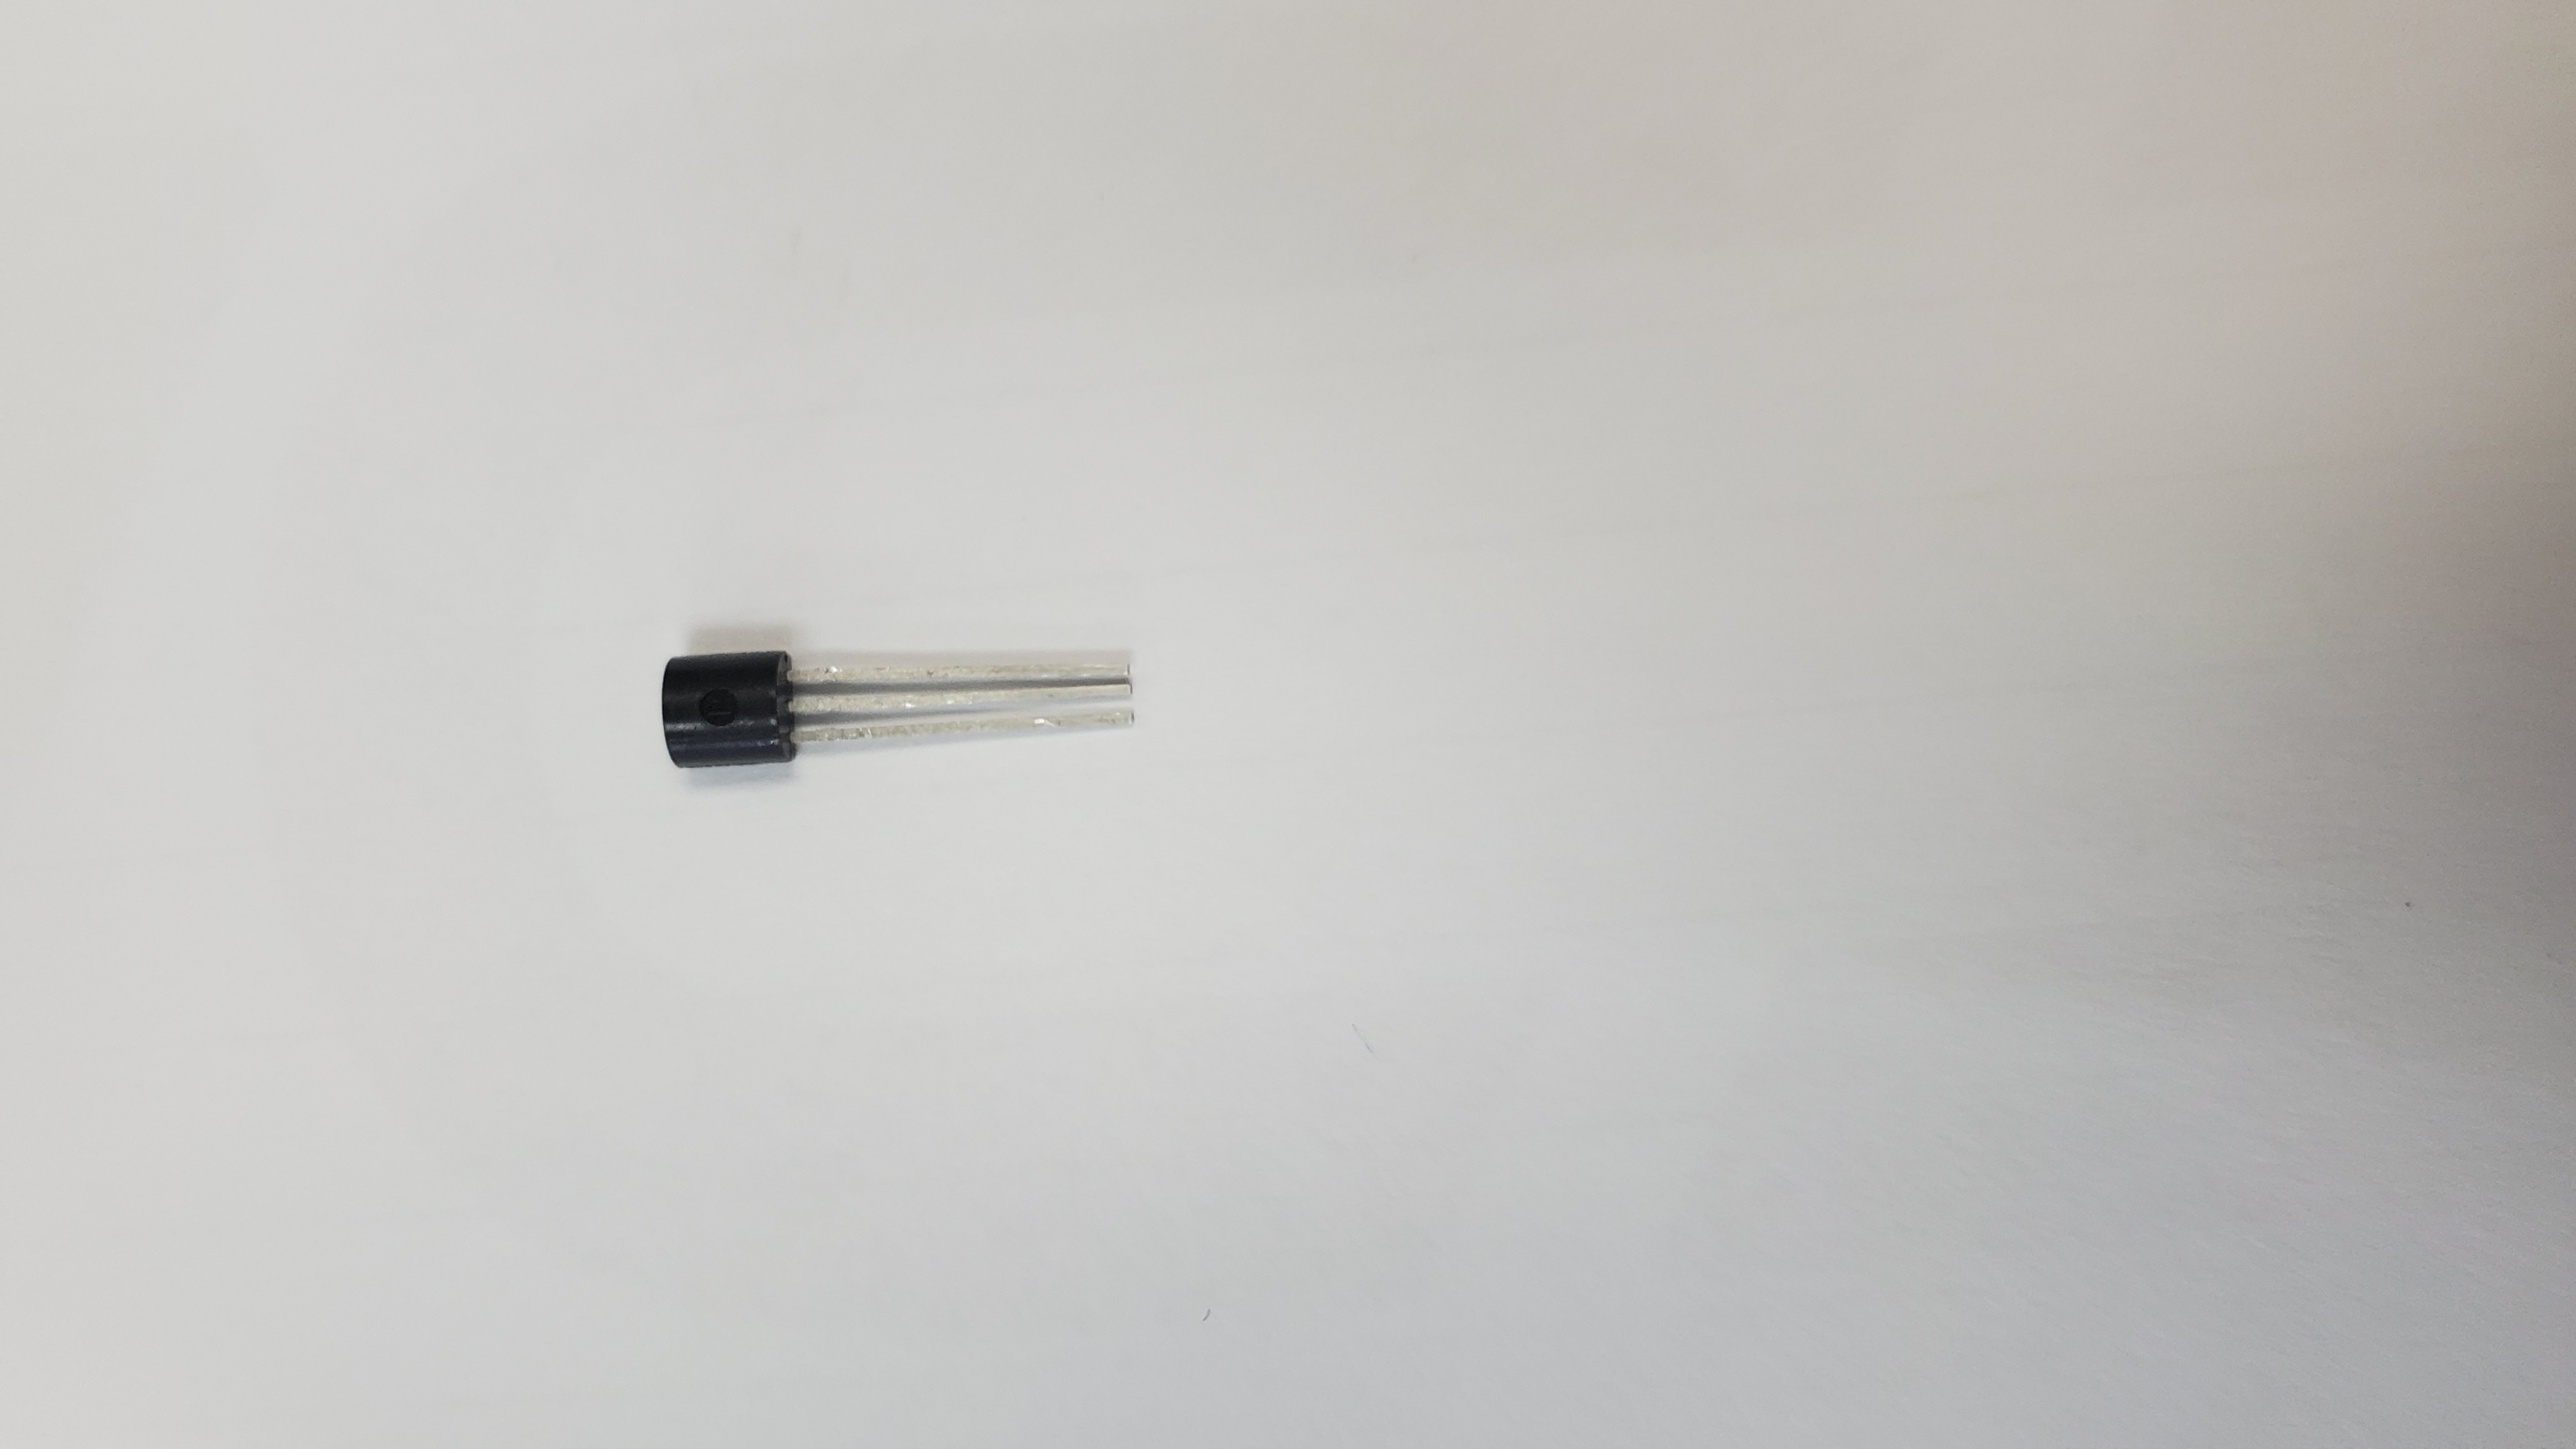 |
Building Instructions
1) Pin the red and black wire
Pin the red wire from the 5V hole to the red line on the breadboard and Pin the black wire from GND to the black line on the breadboard
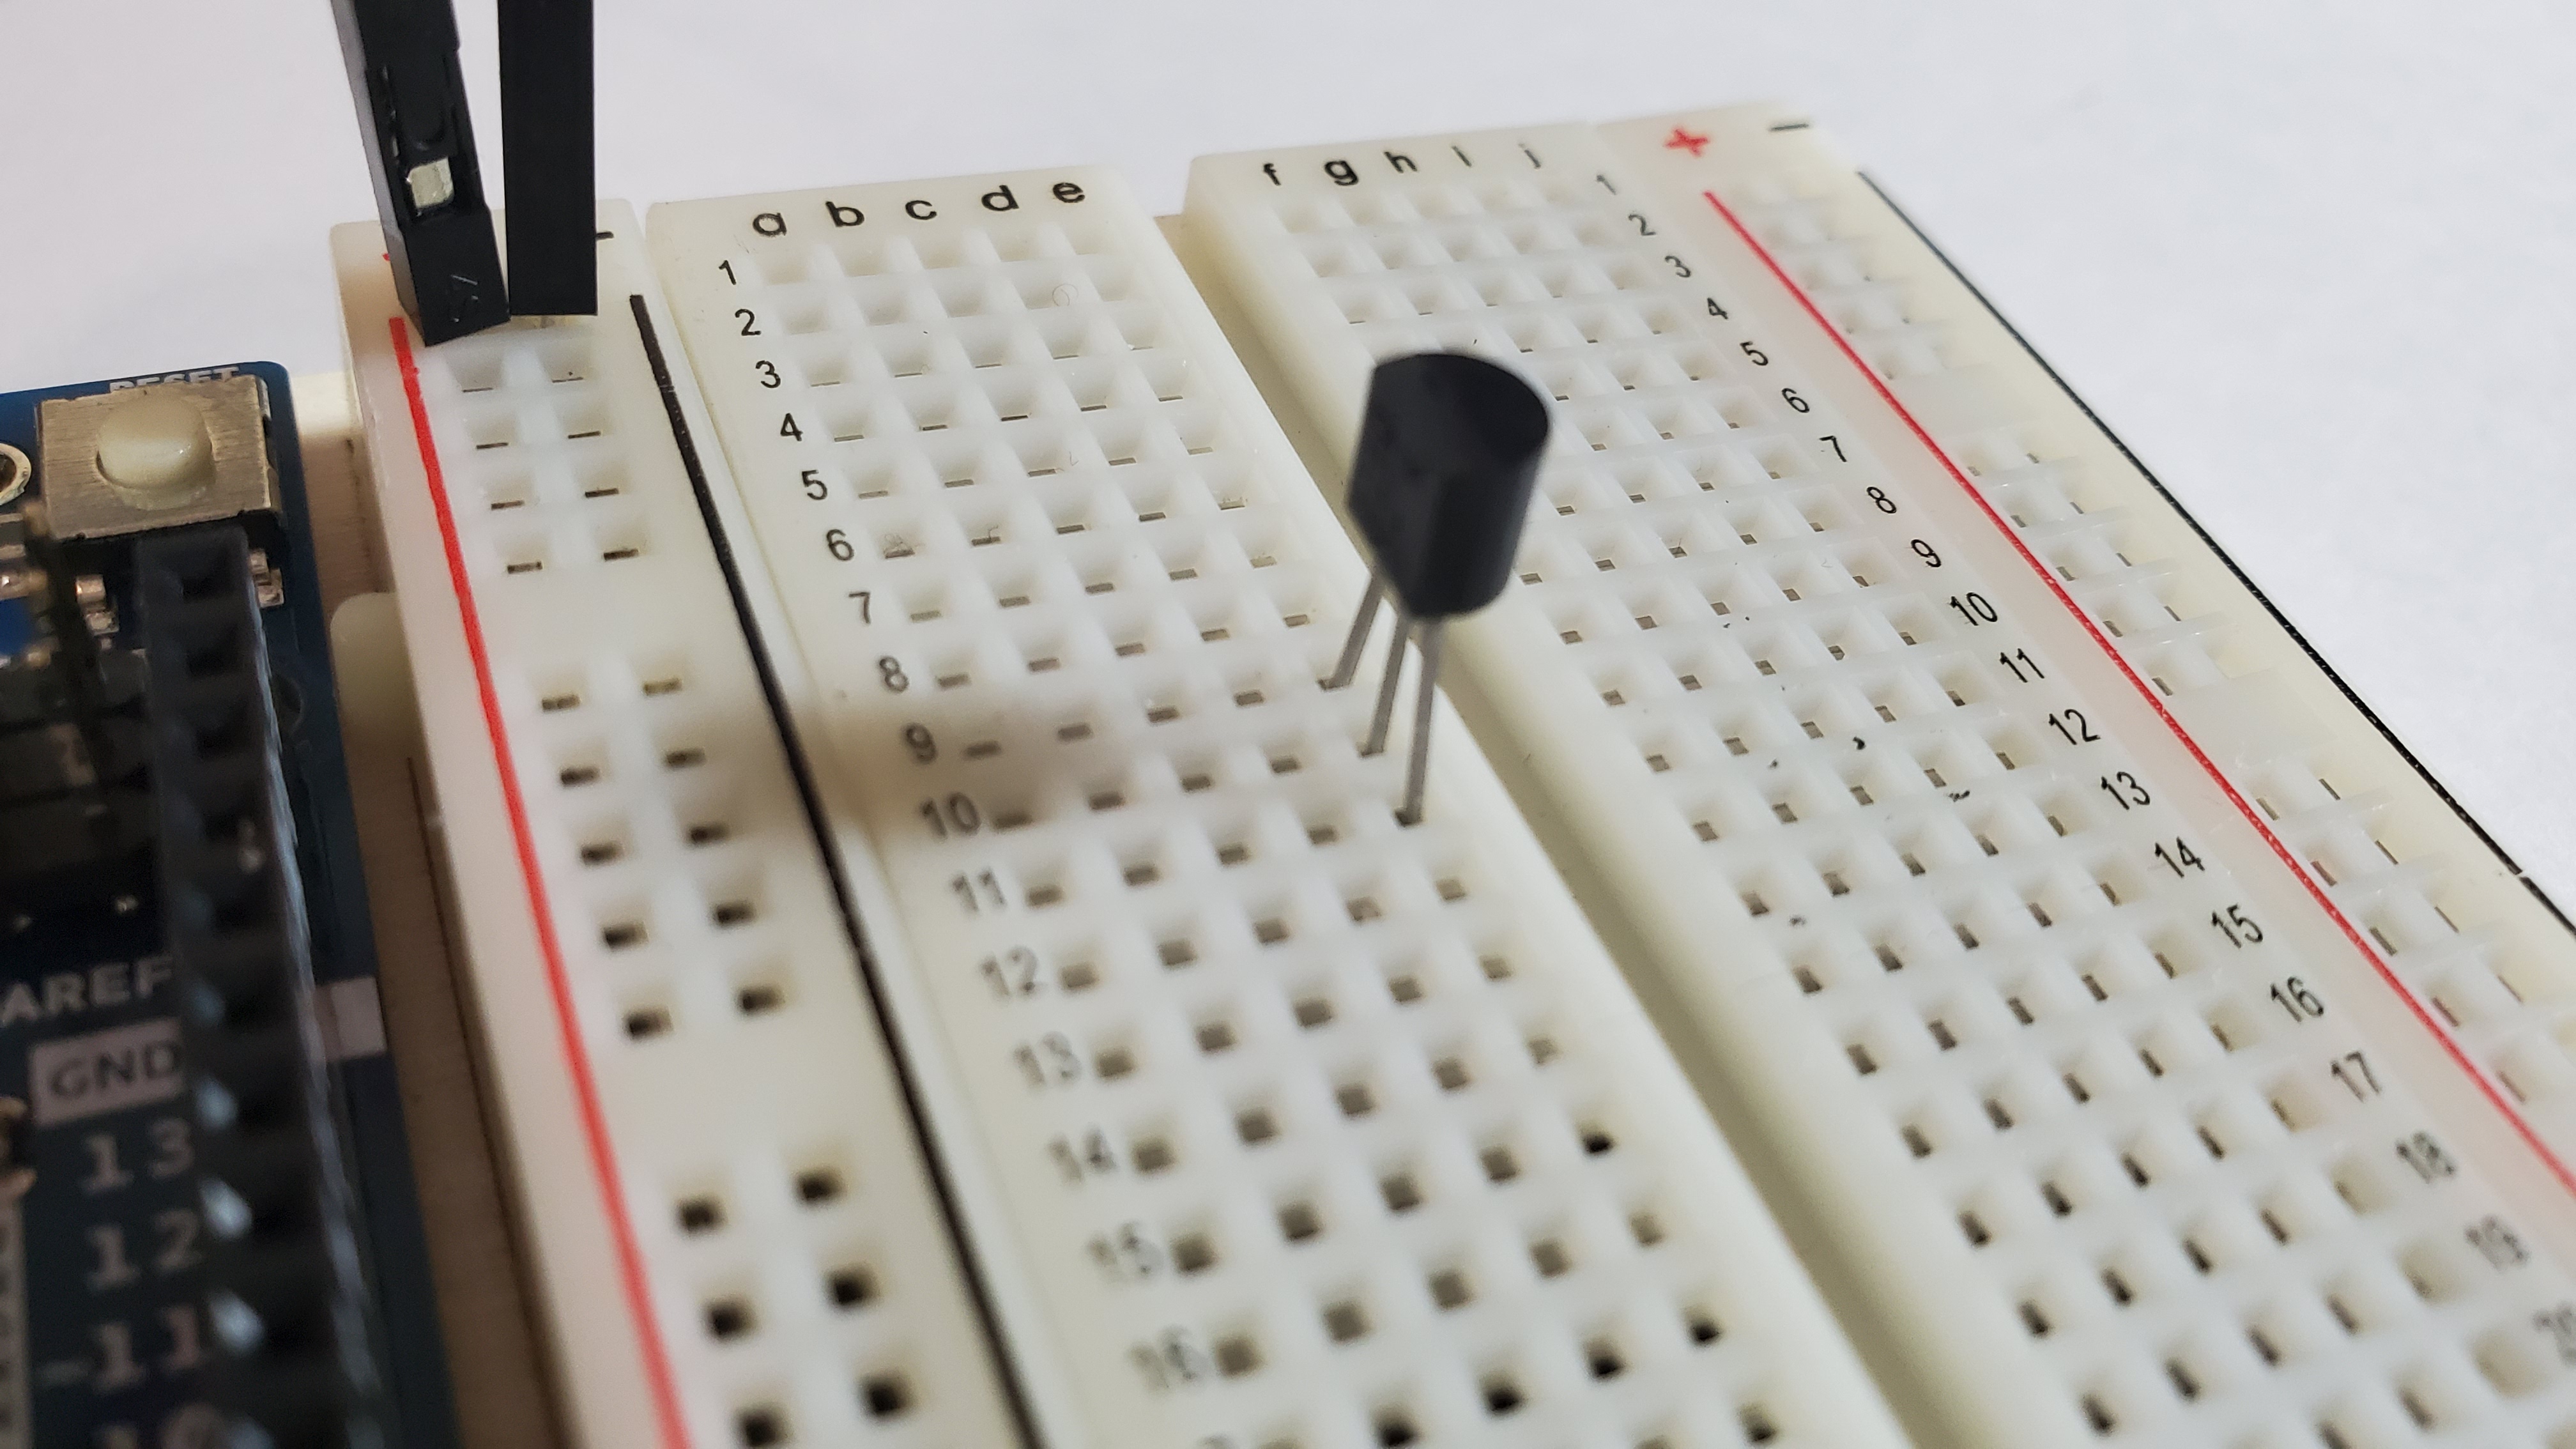
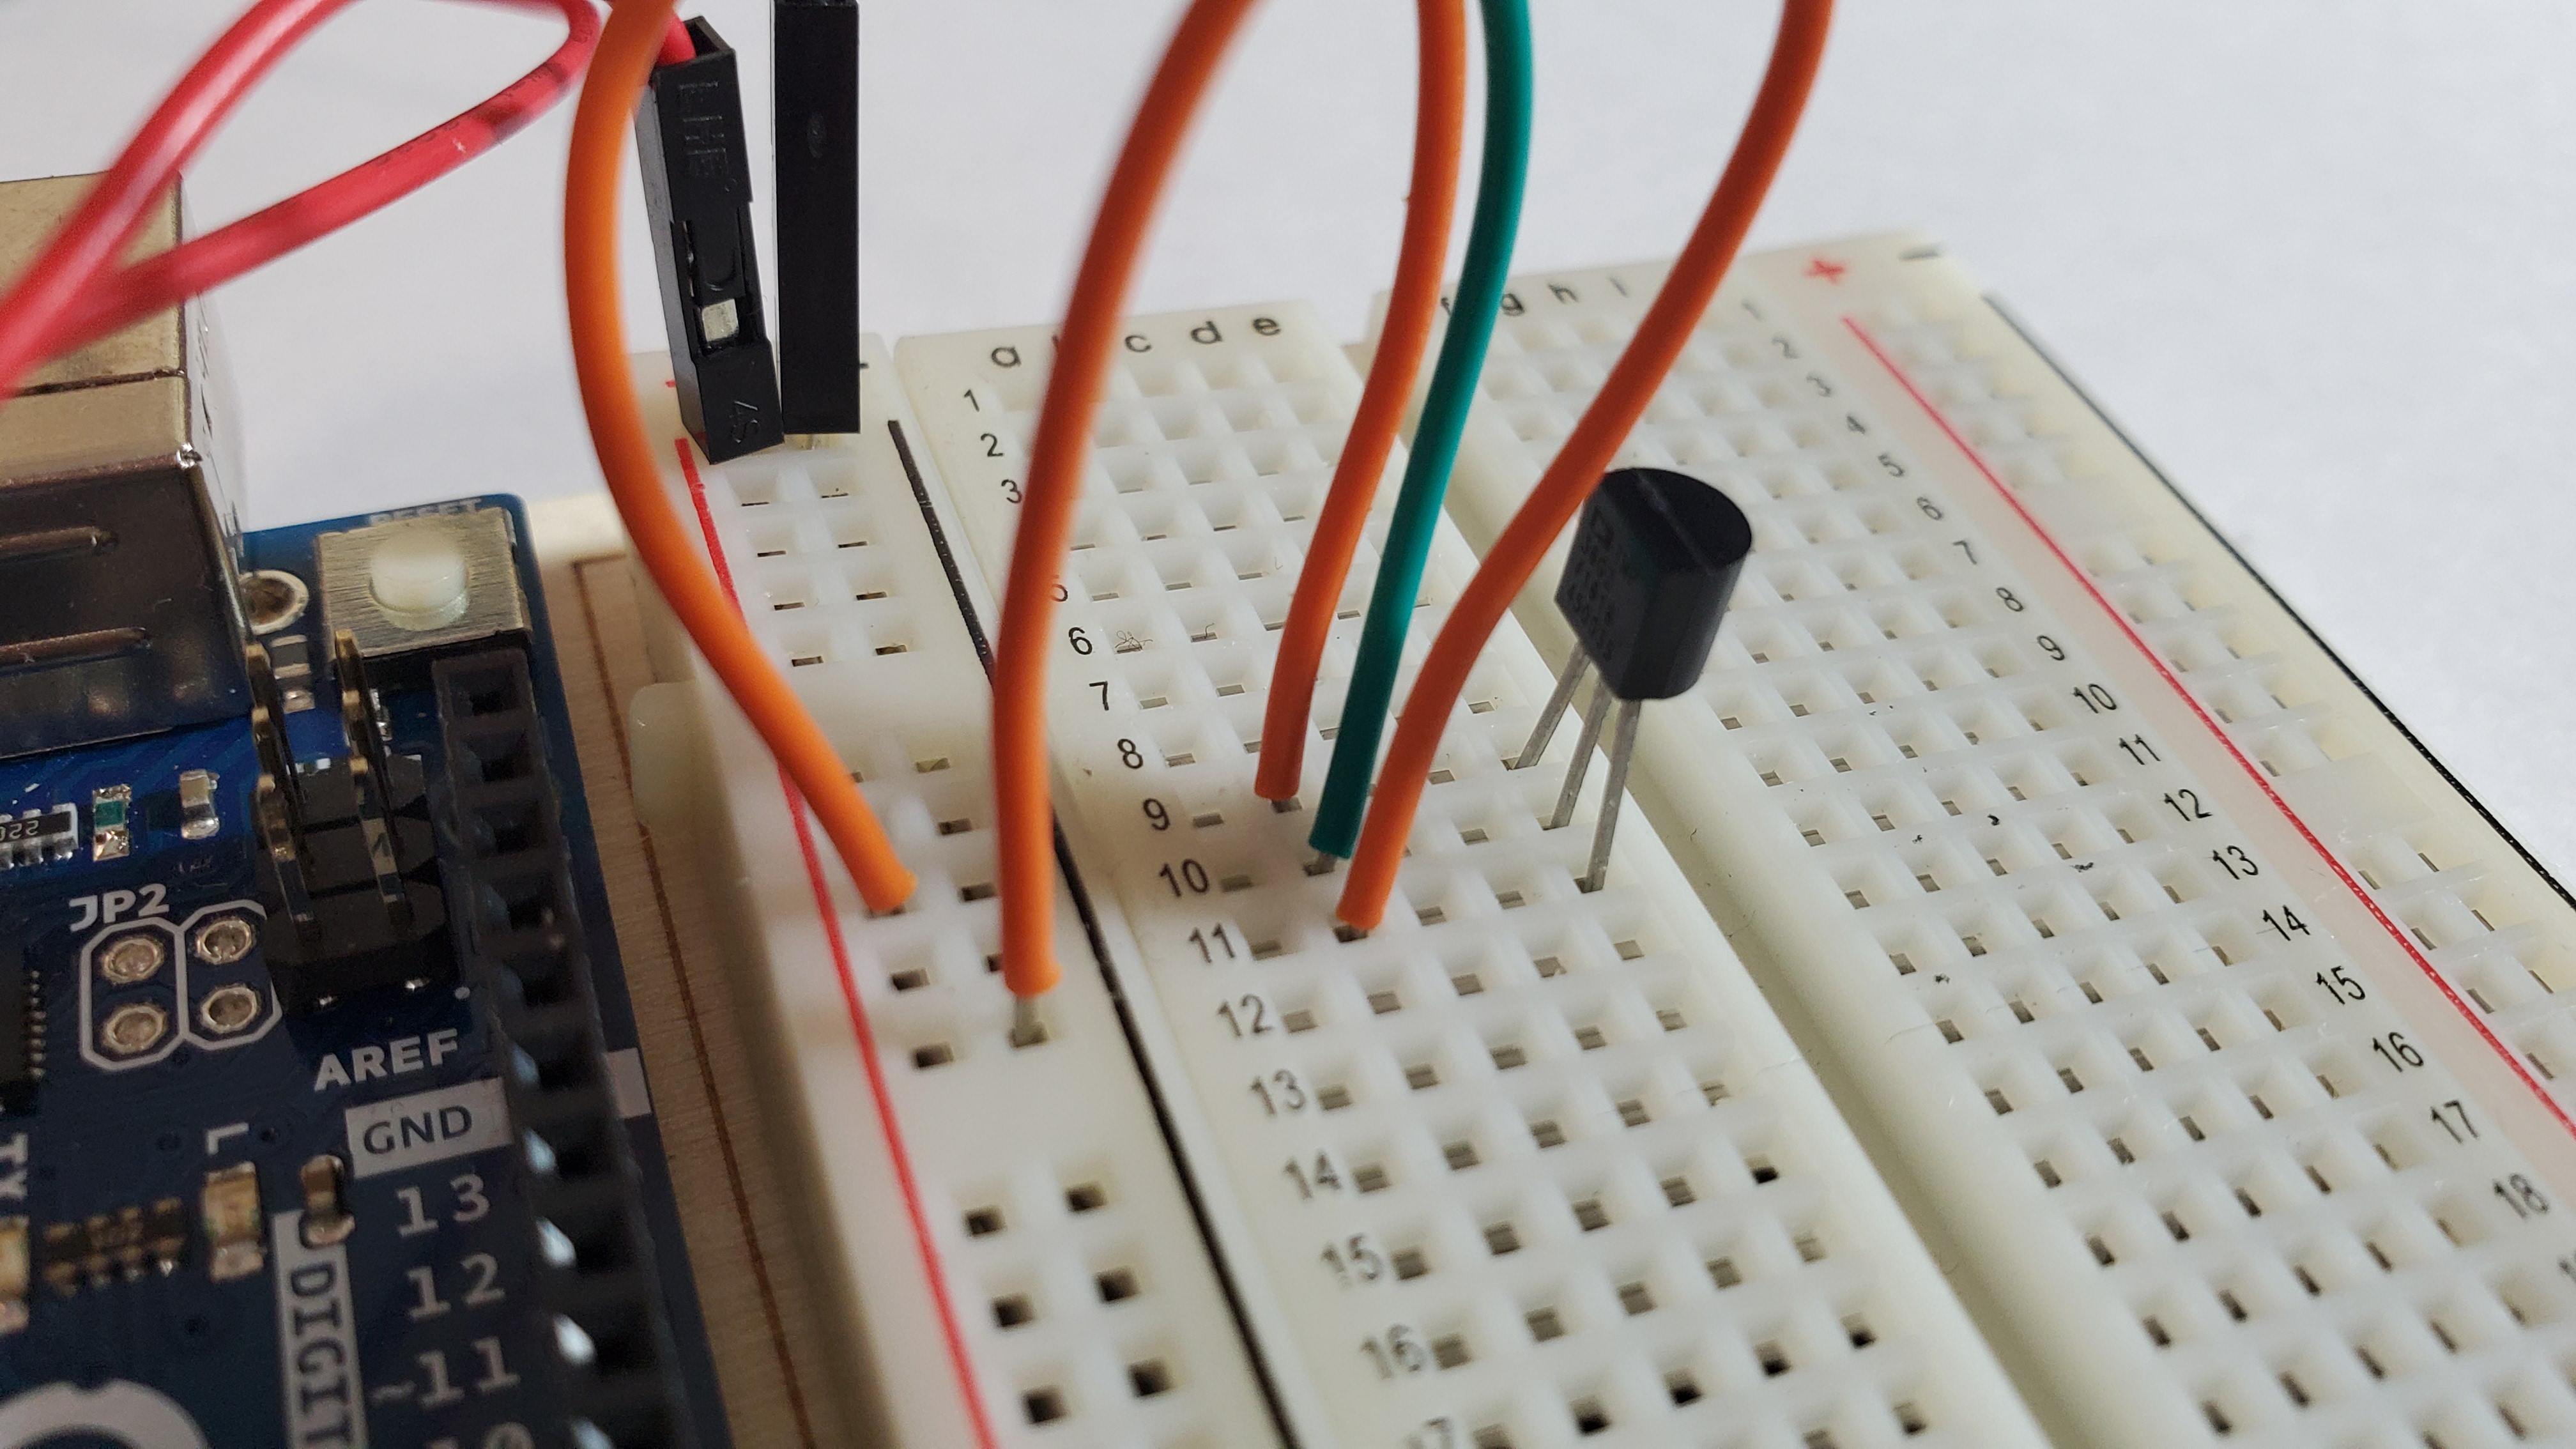
2) Pin the temp pin
Make sure the round part of the pin is facing AWAY fromt he arduino.
The three pins of the temp should be placed on the following rows:
- pin #1: row 11
- pin #2: row 10
- pin #3: row 9
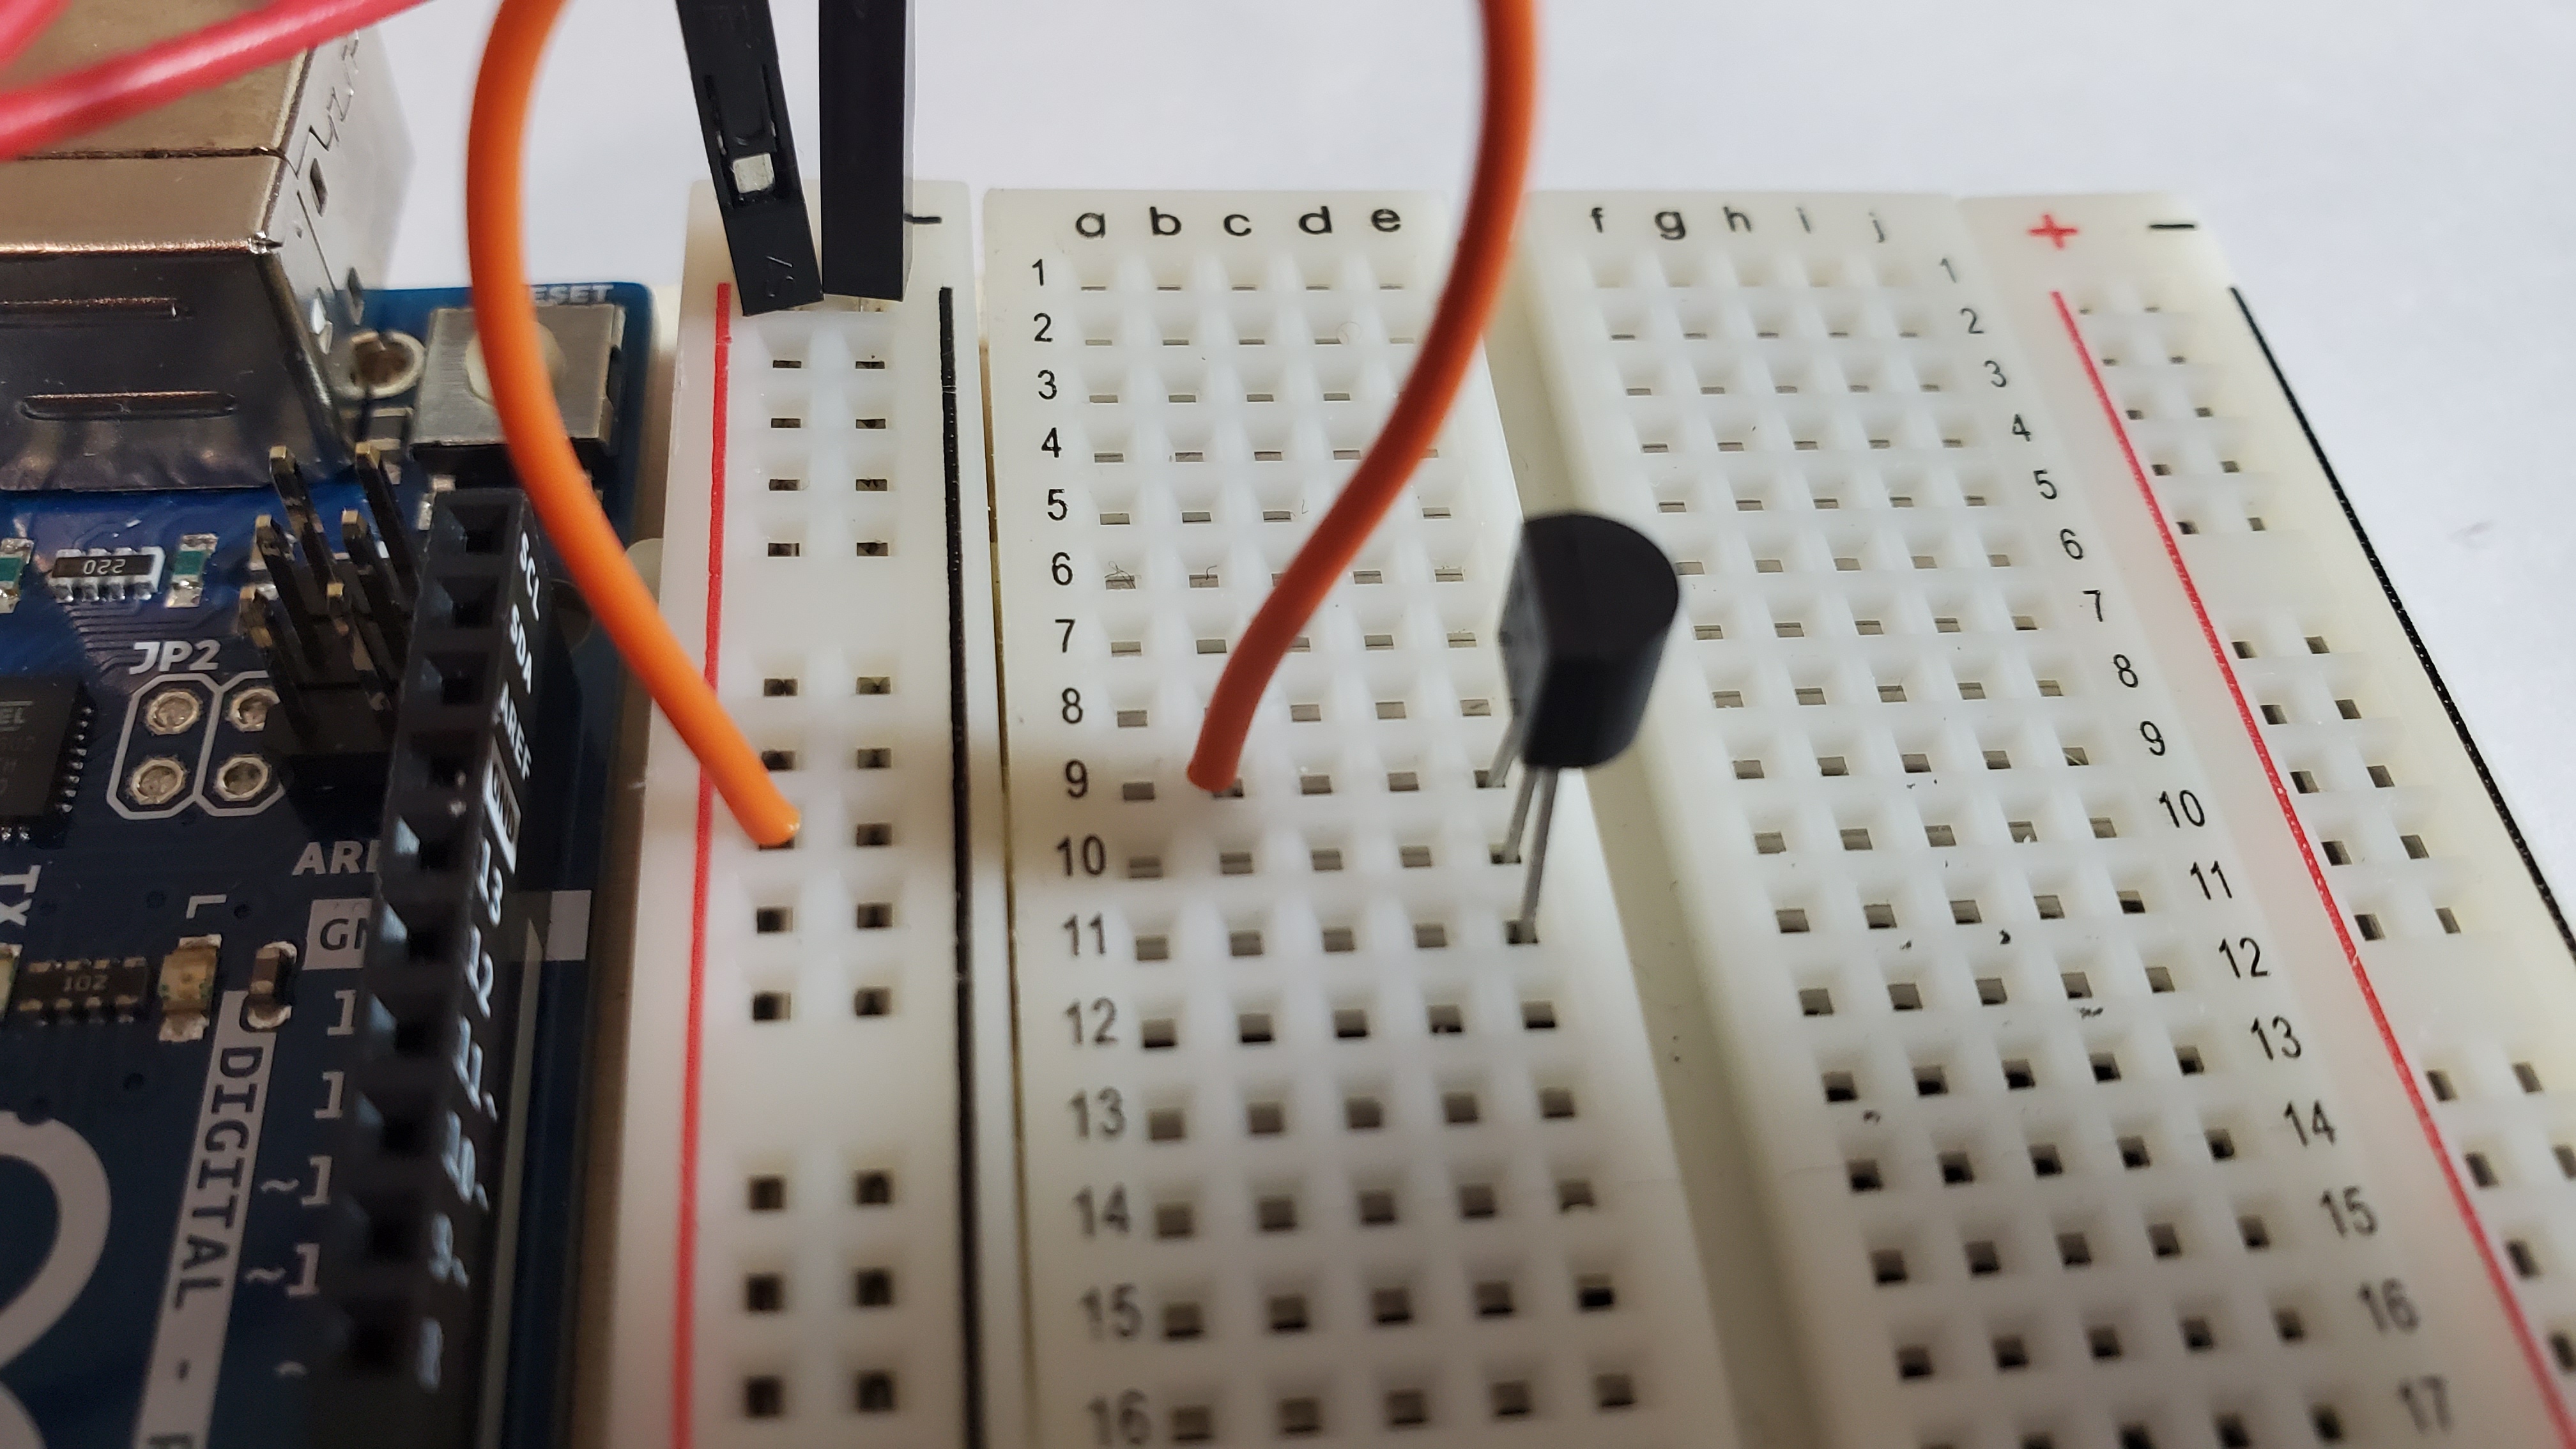
3) Pin an orange wire
Pin orange from positive side to row 9
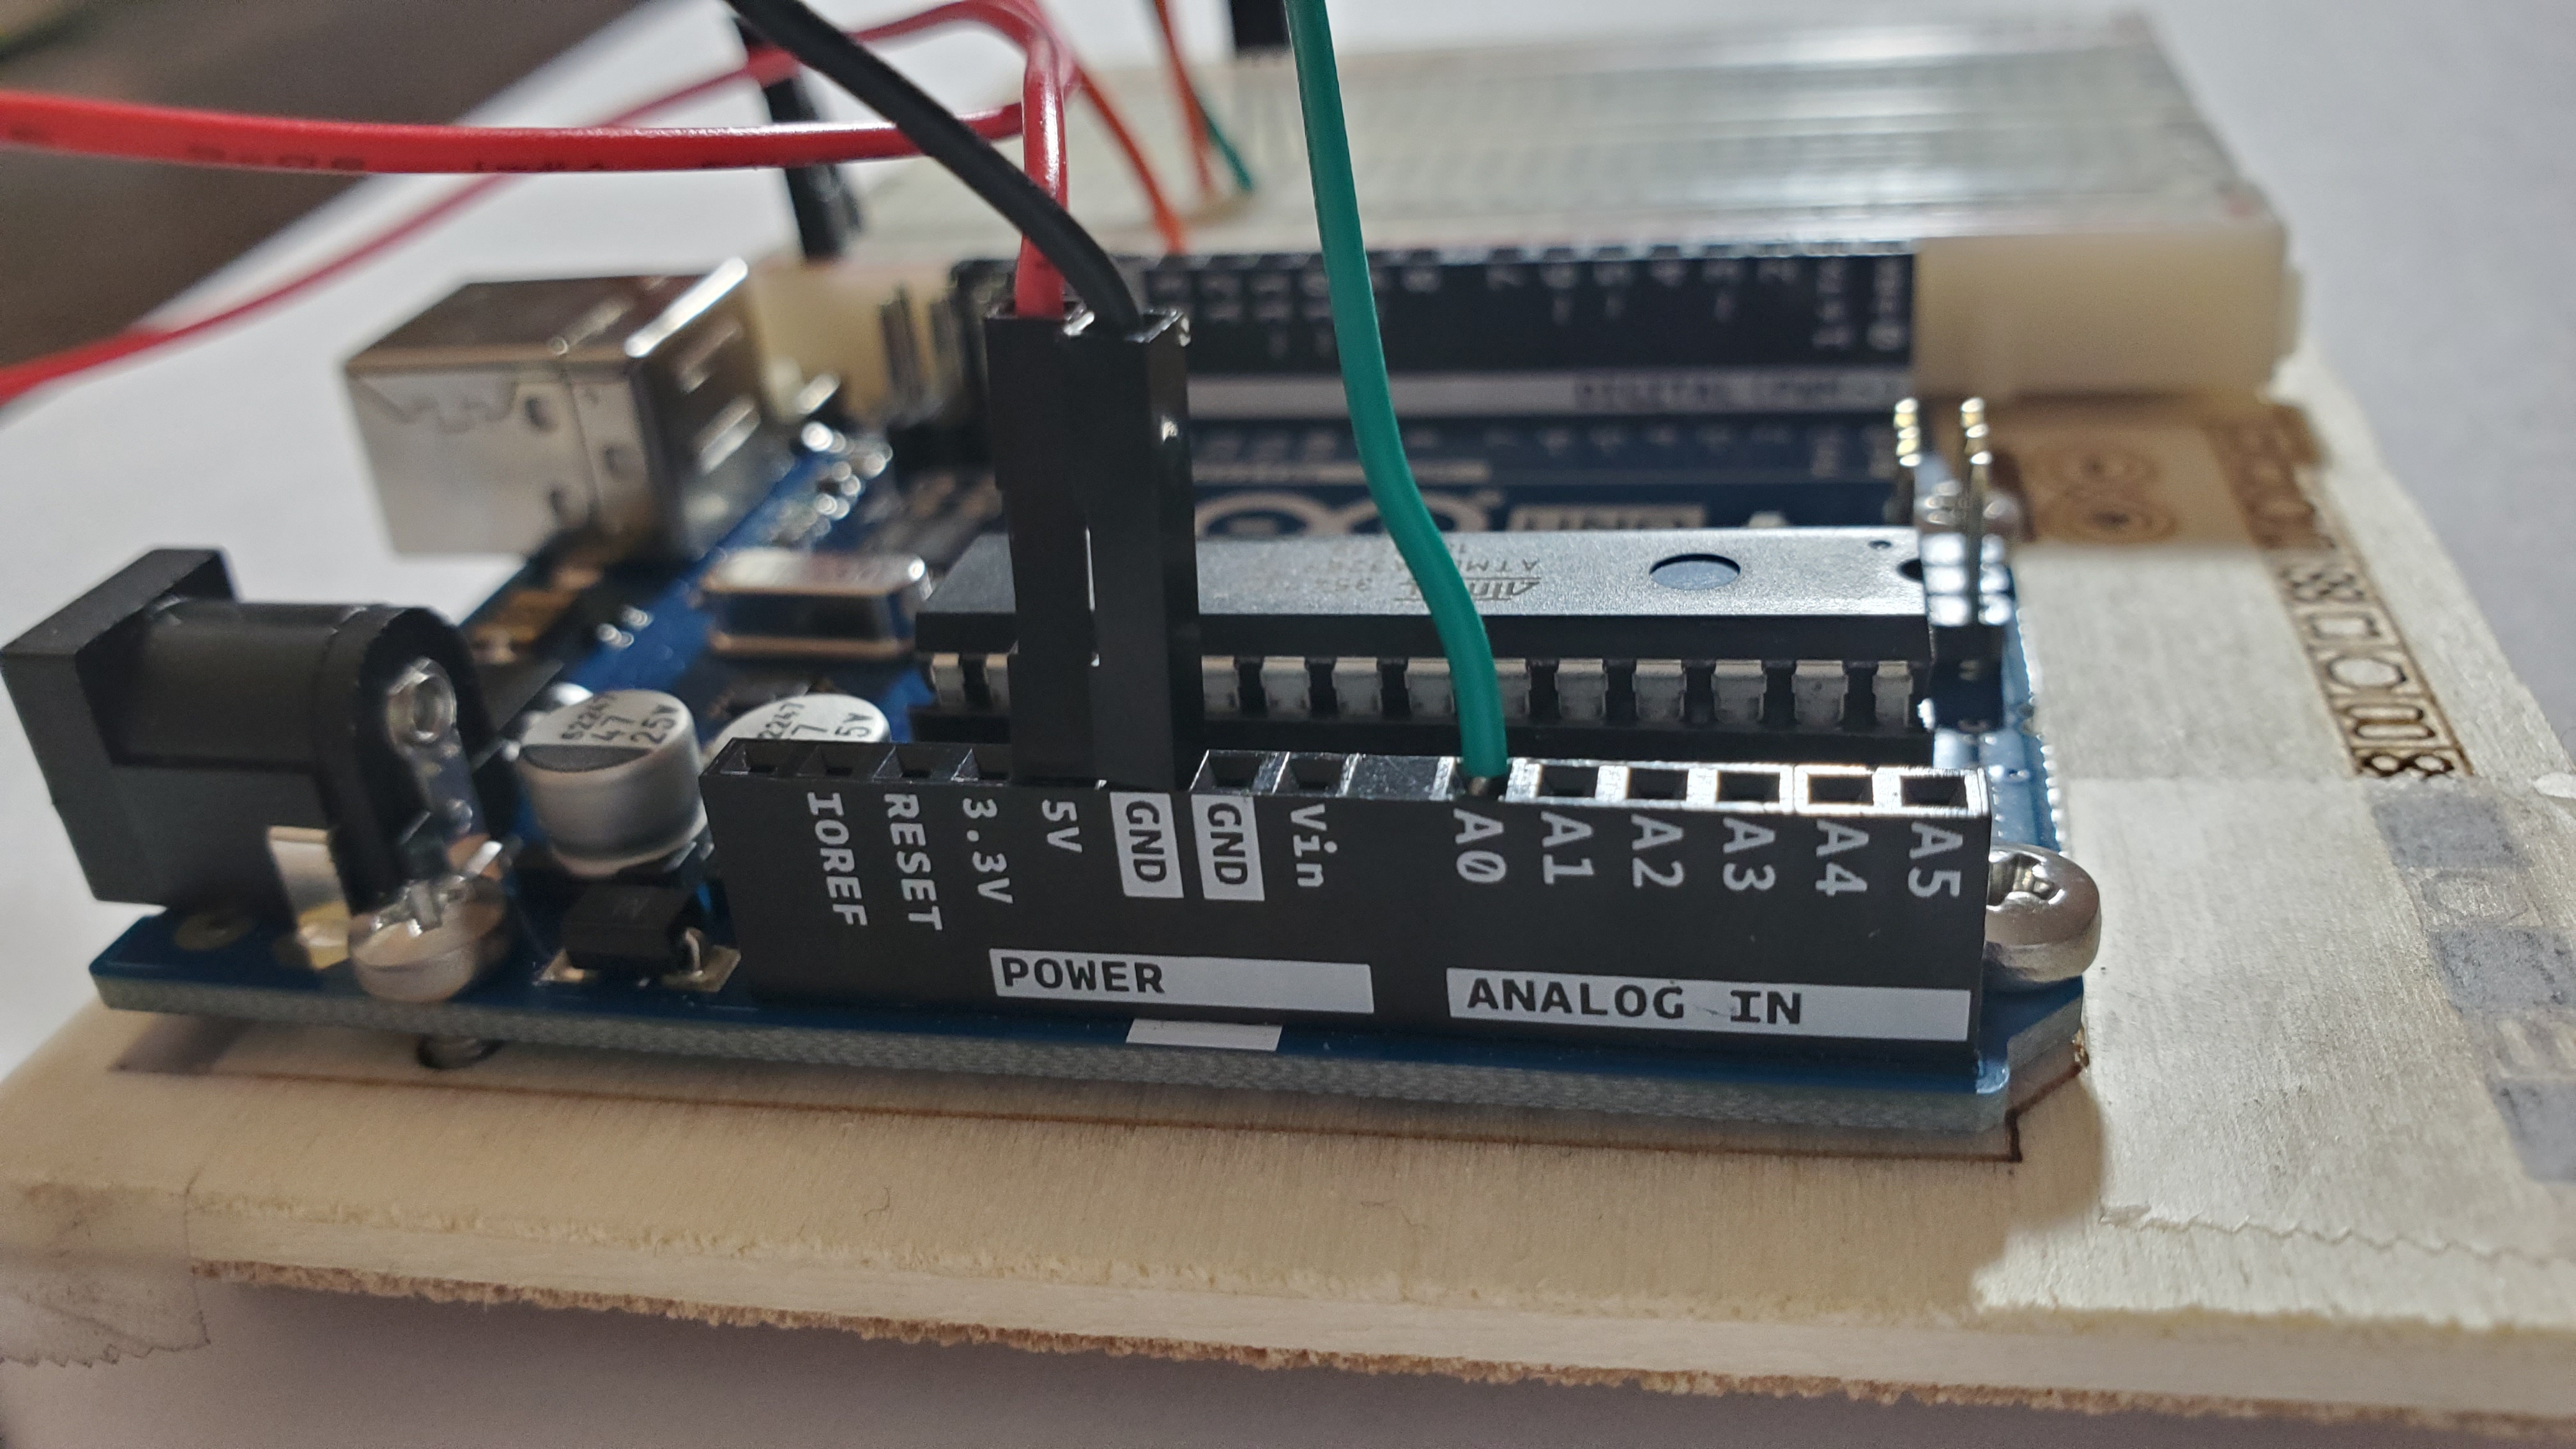
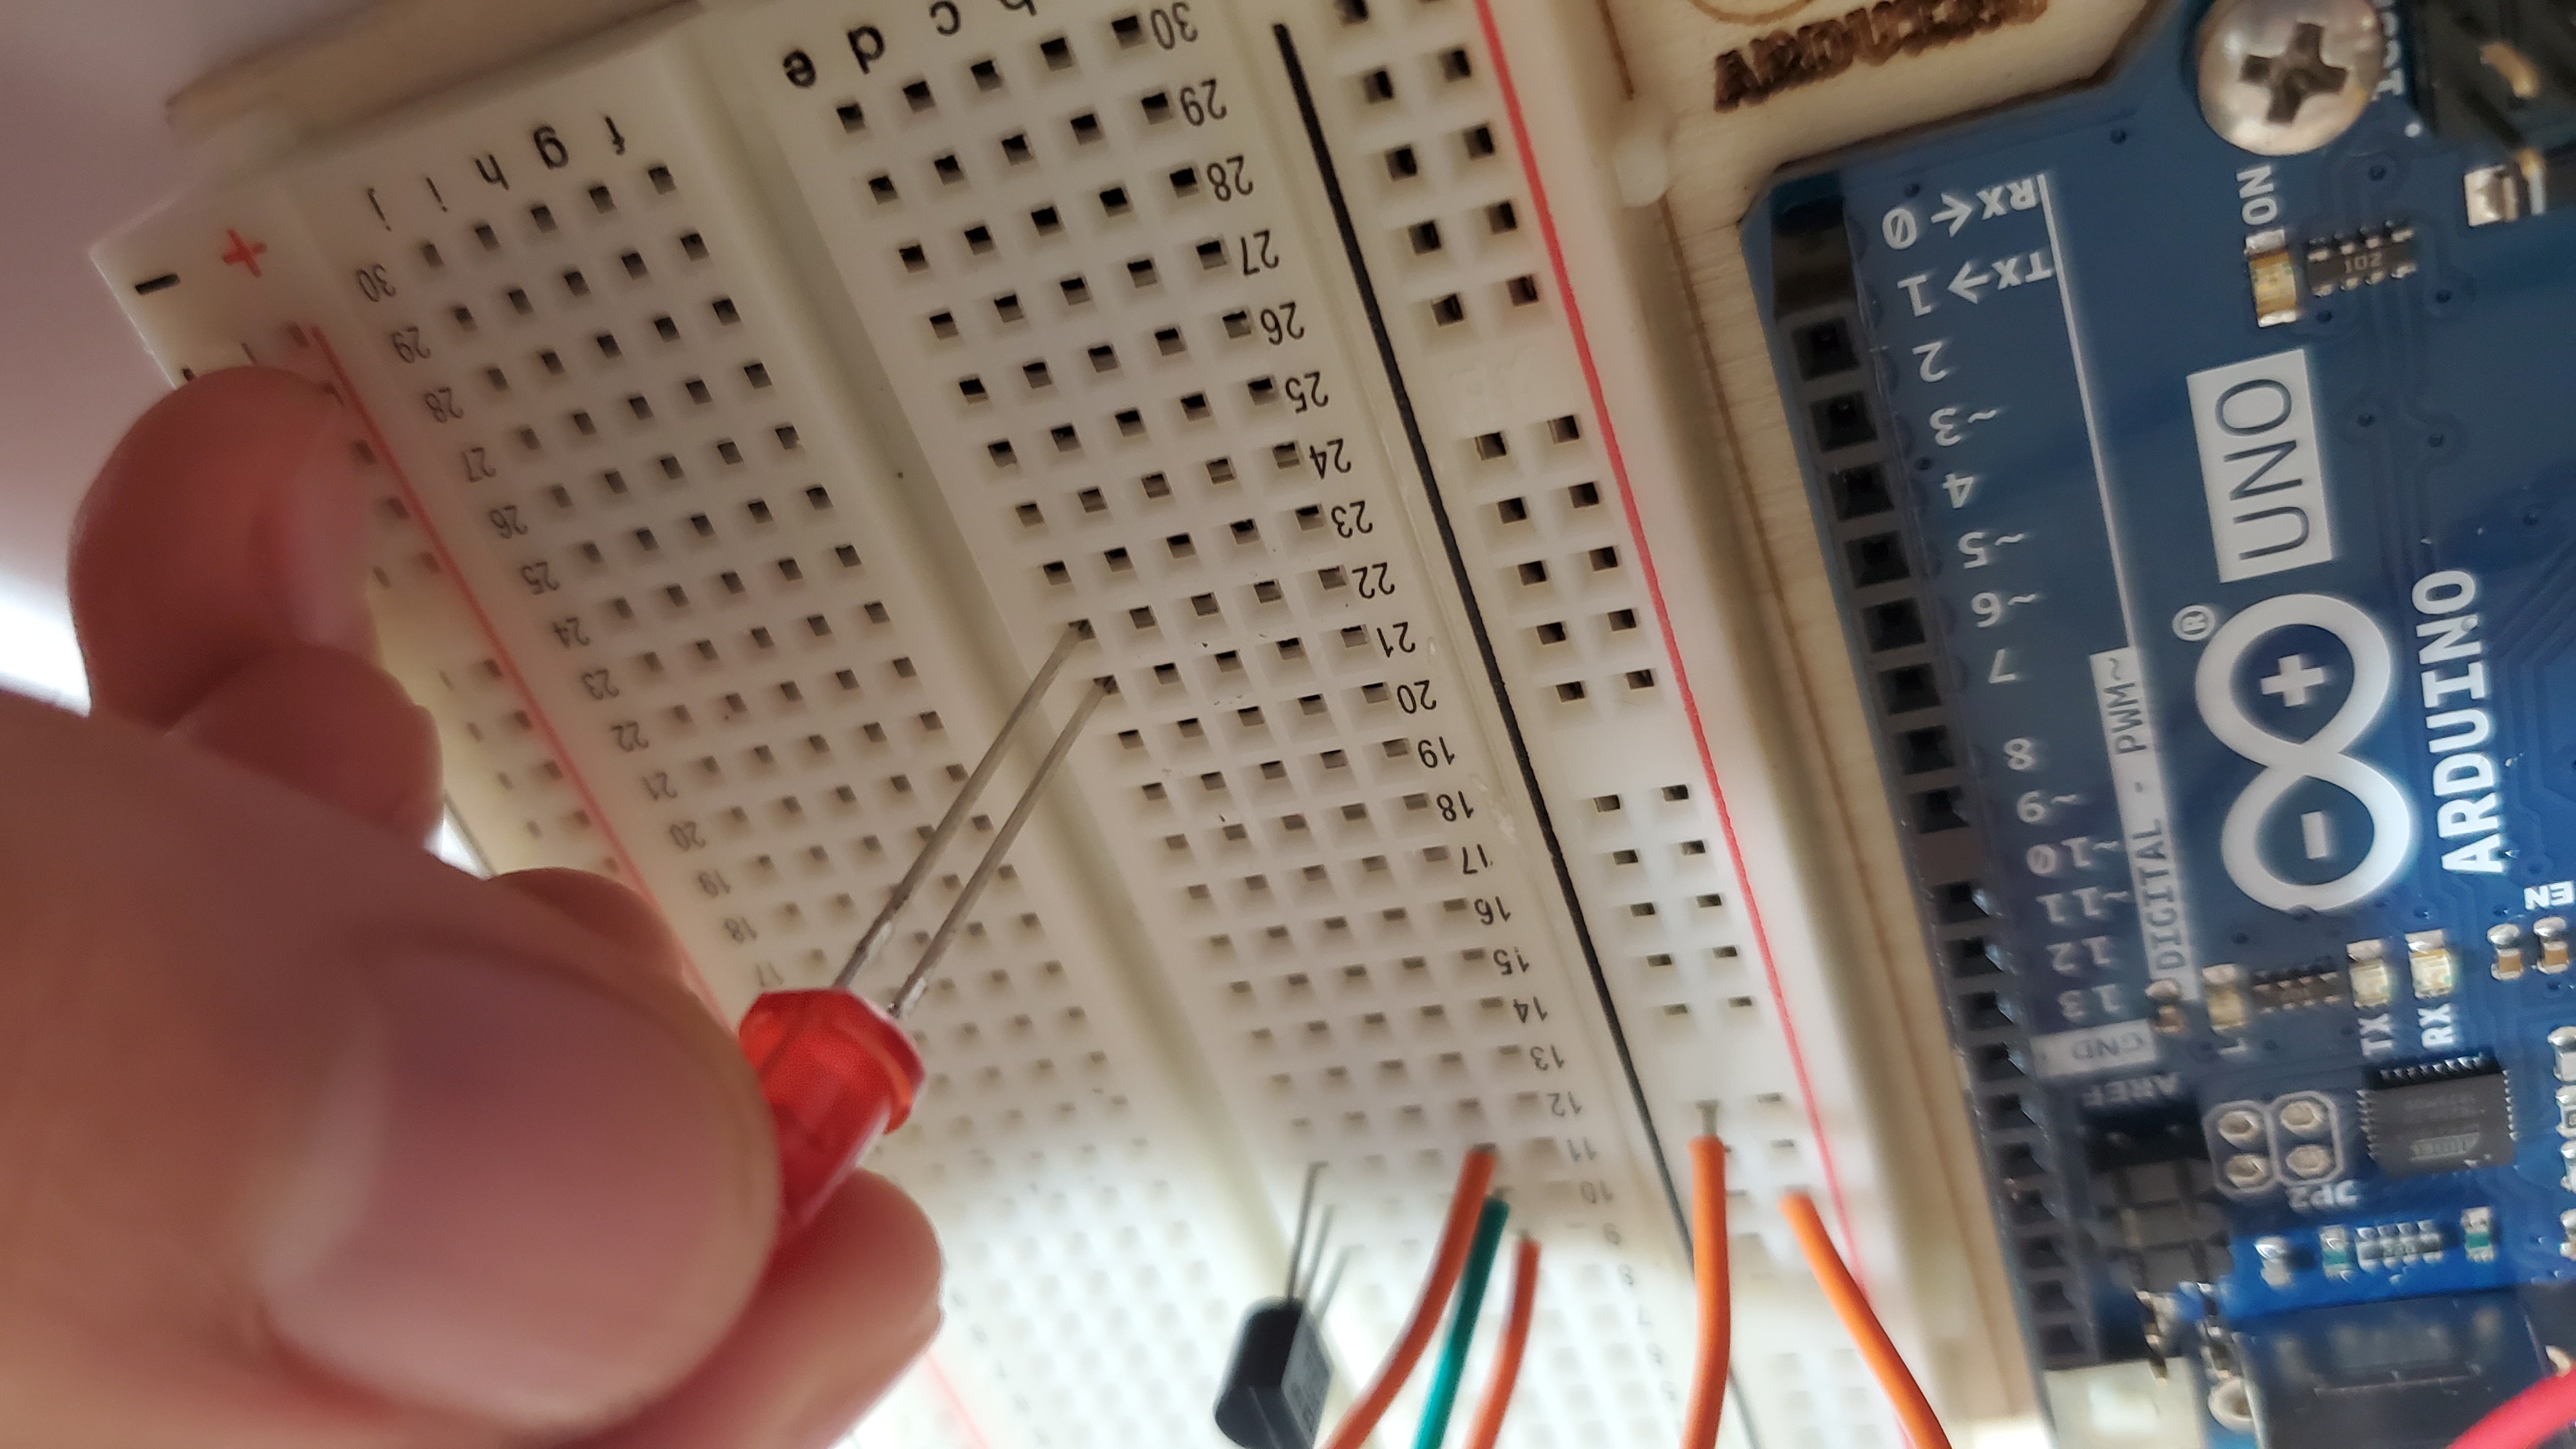
4) Pin the green wire
One side will go to row 10
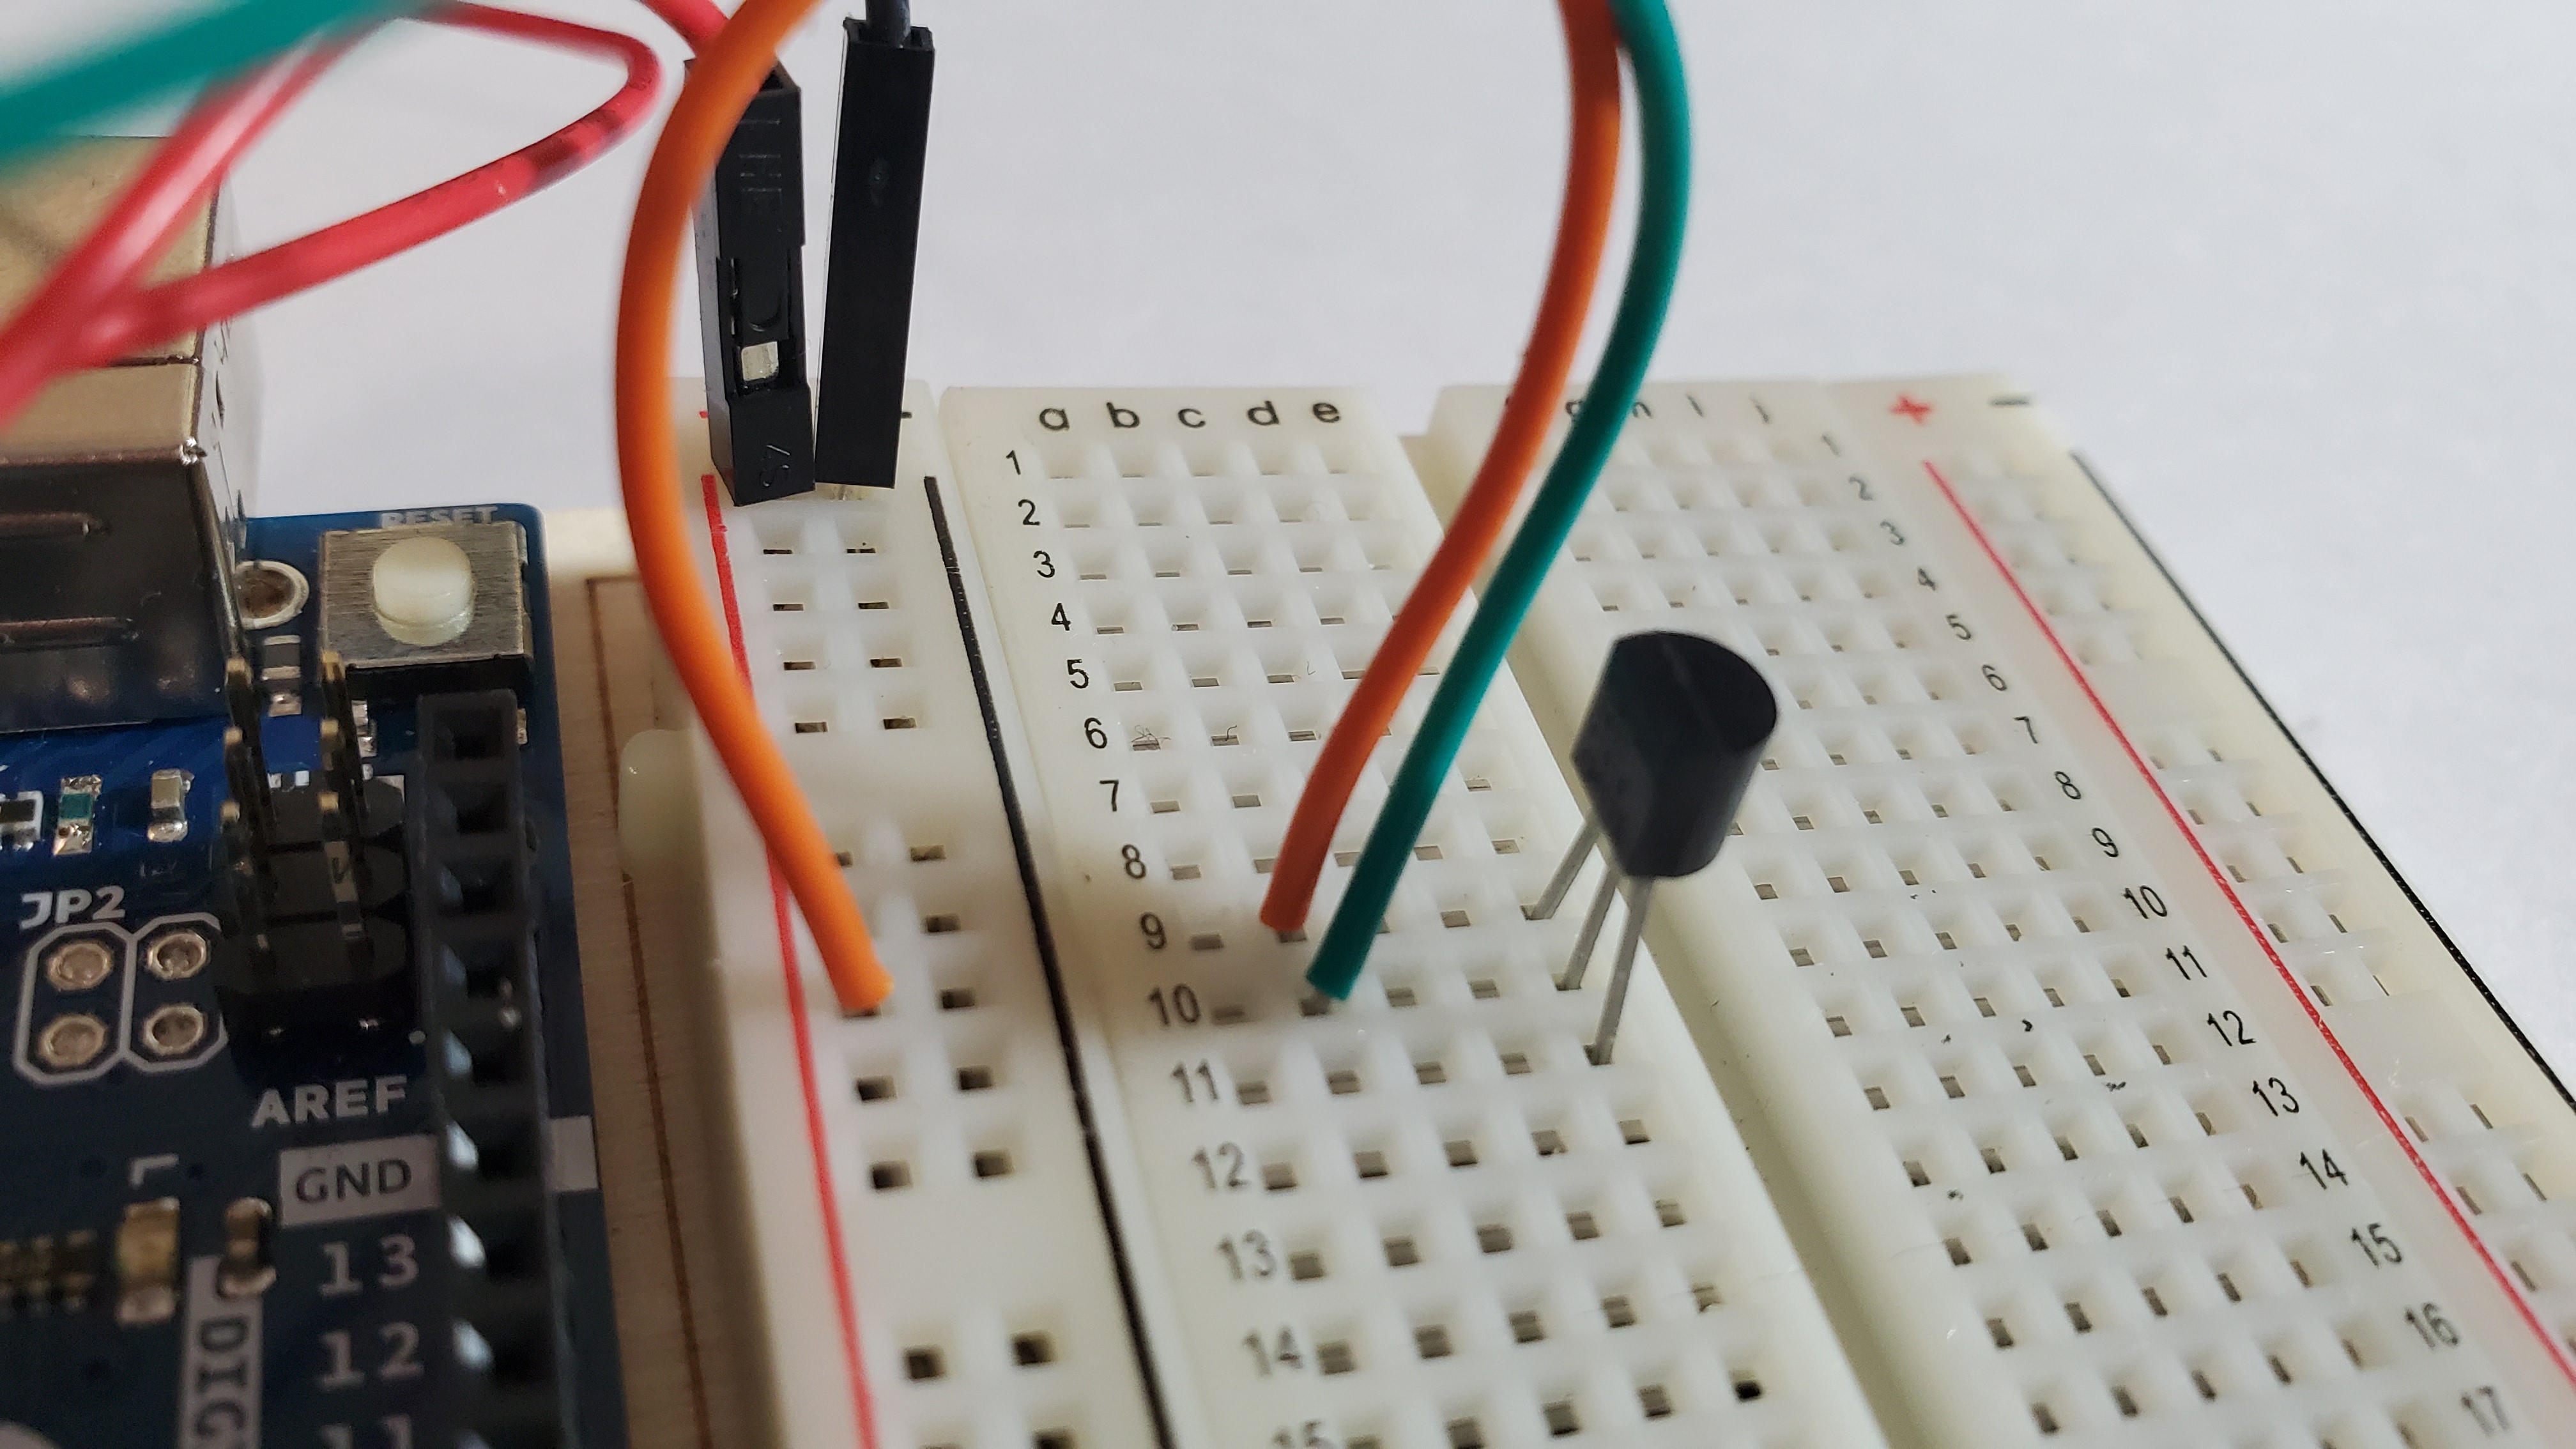
The other side goes to A0
5)Pin another orange wire
Pin orange from negative side to row 11
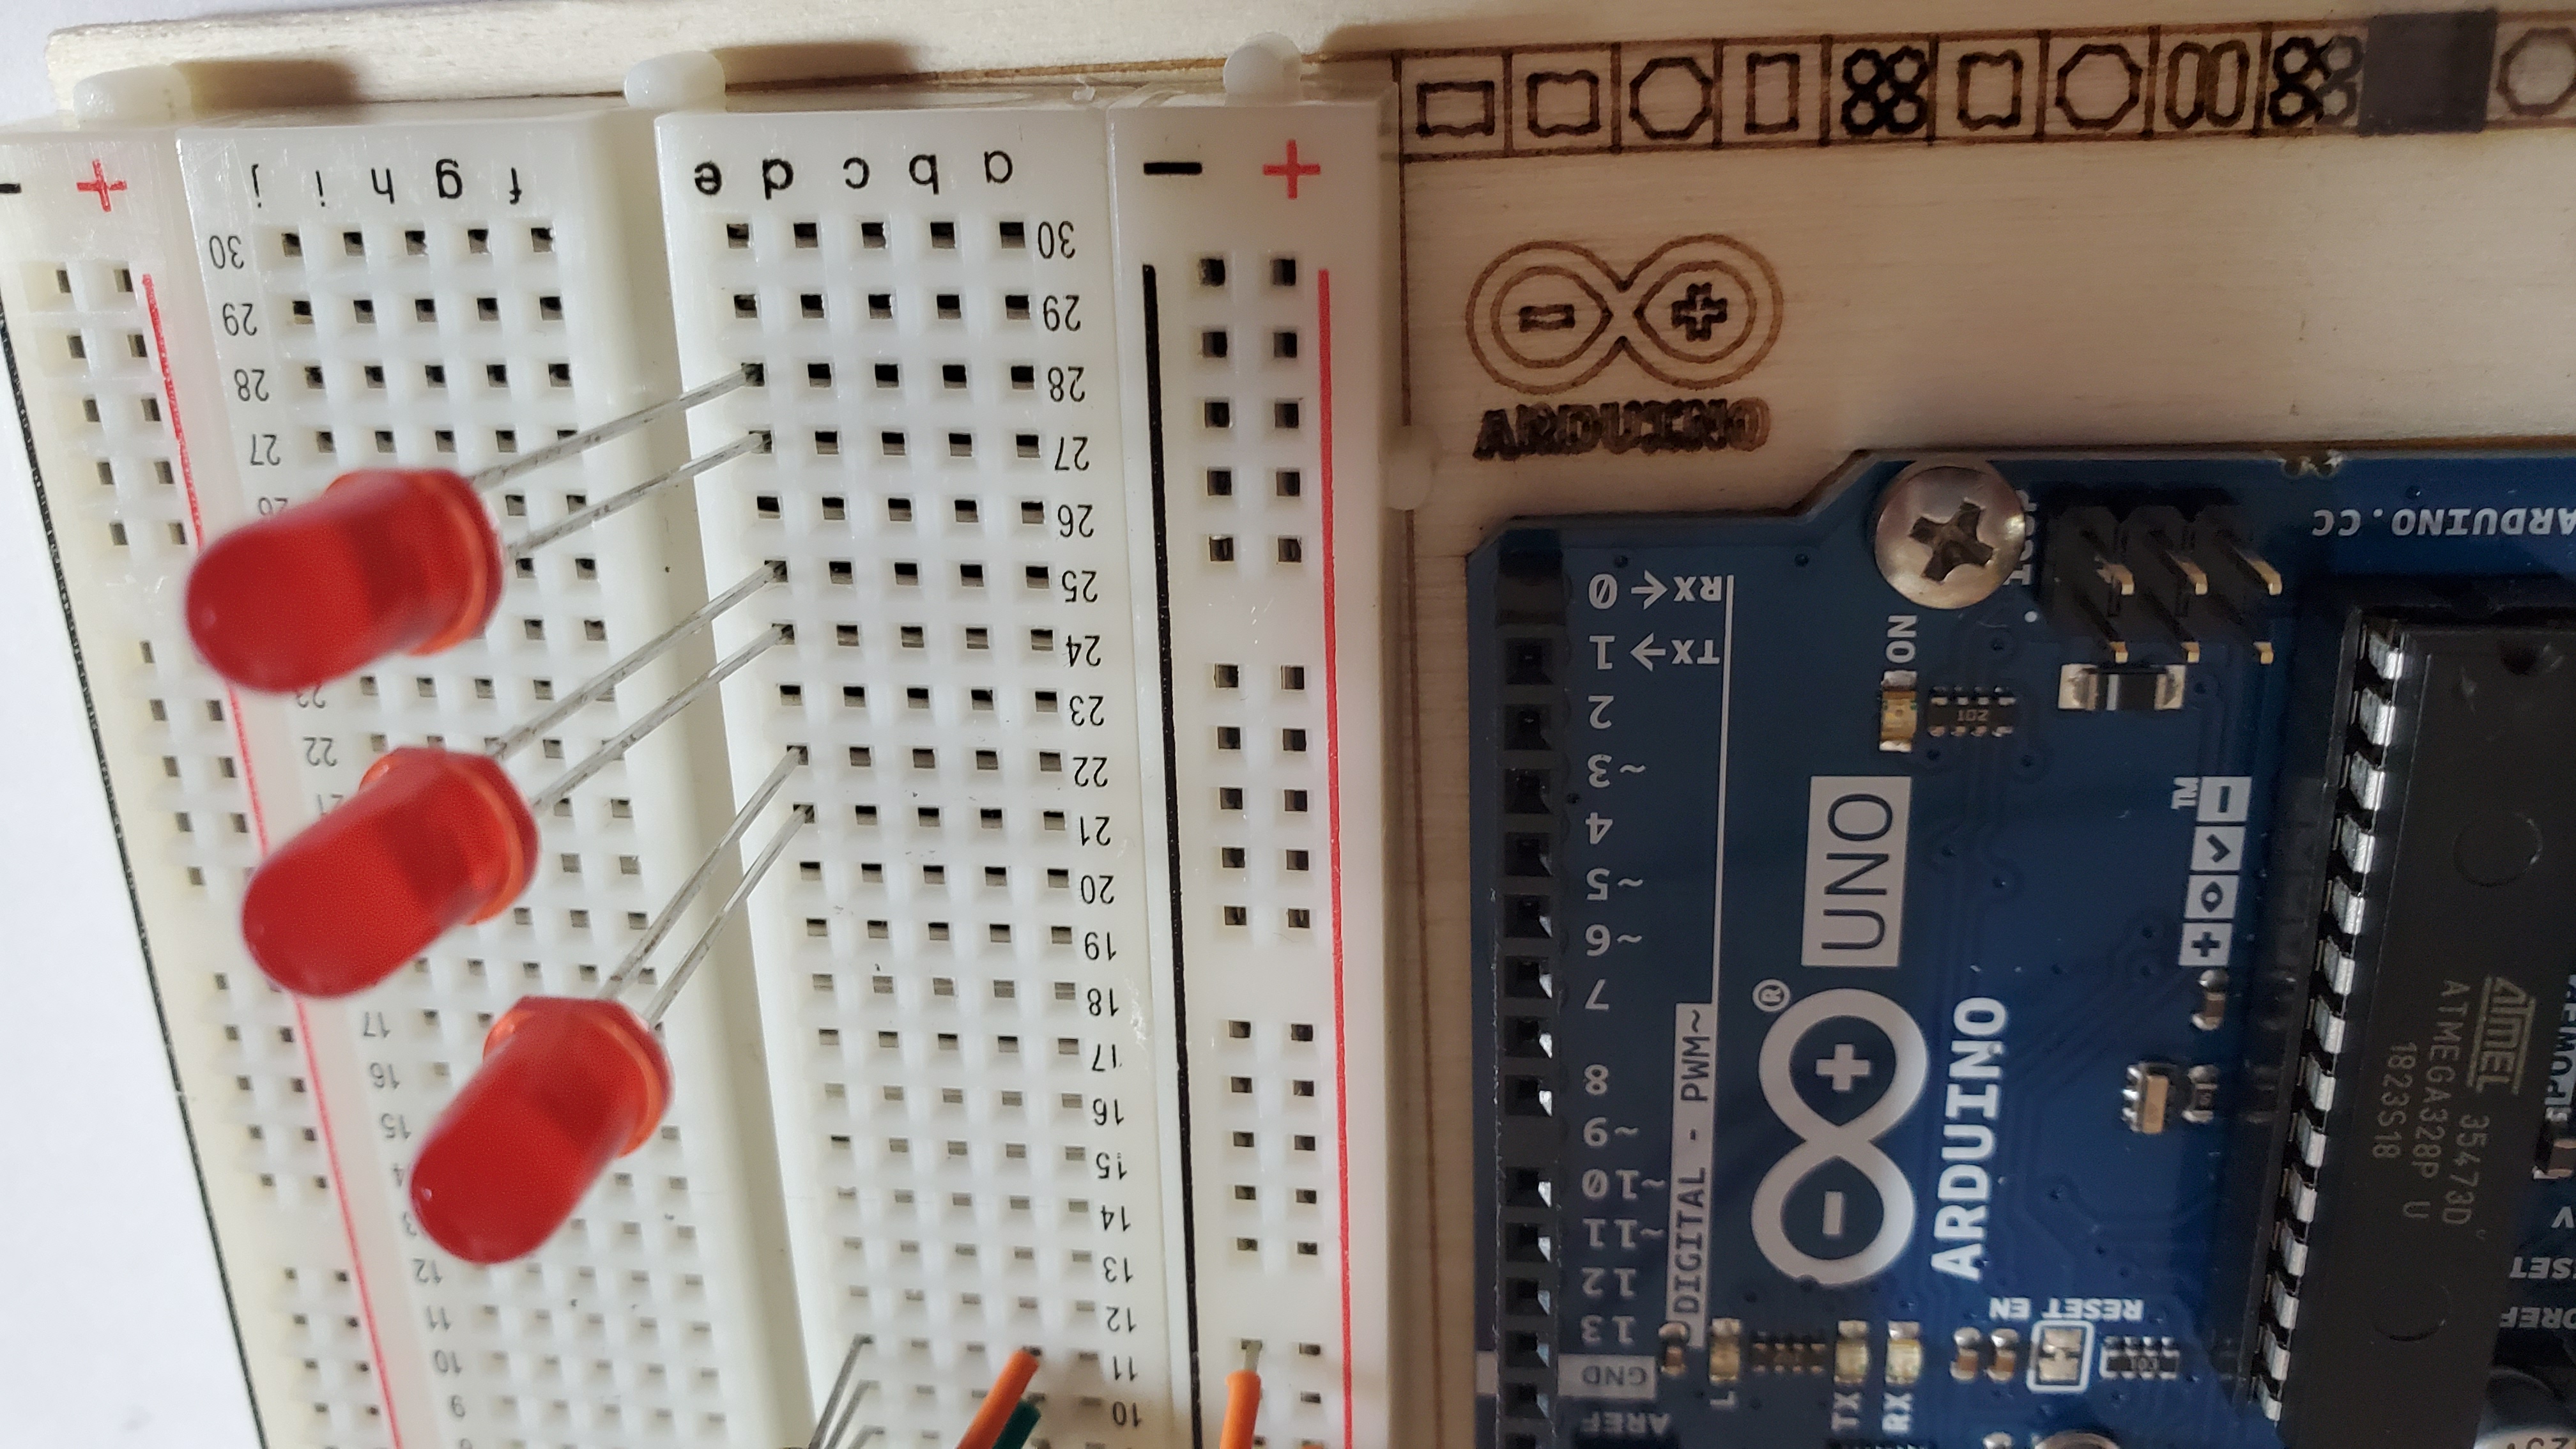
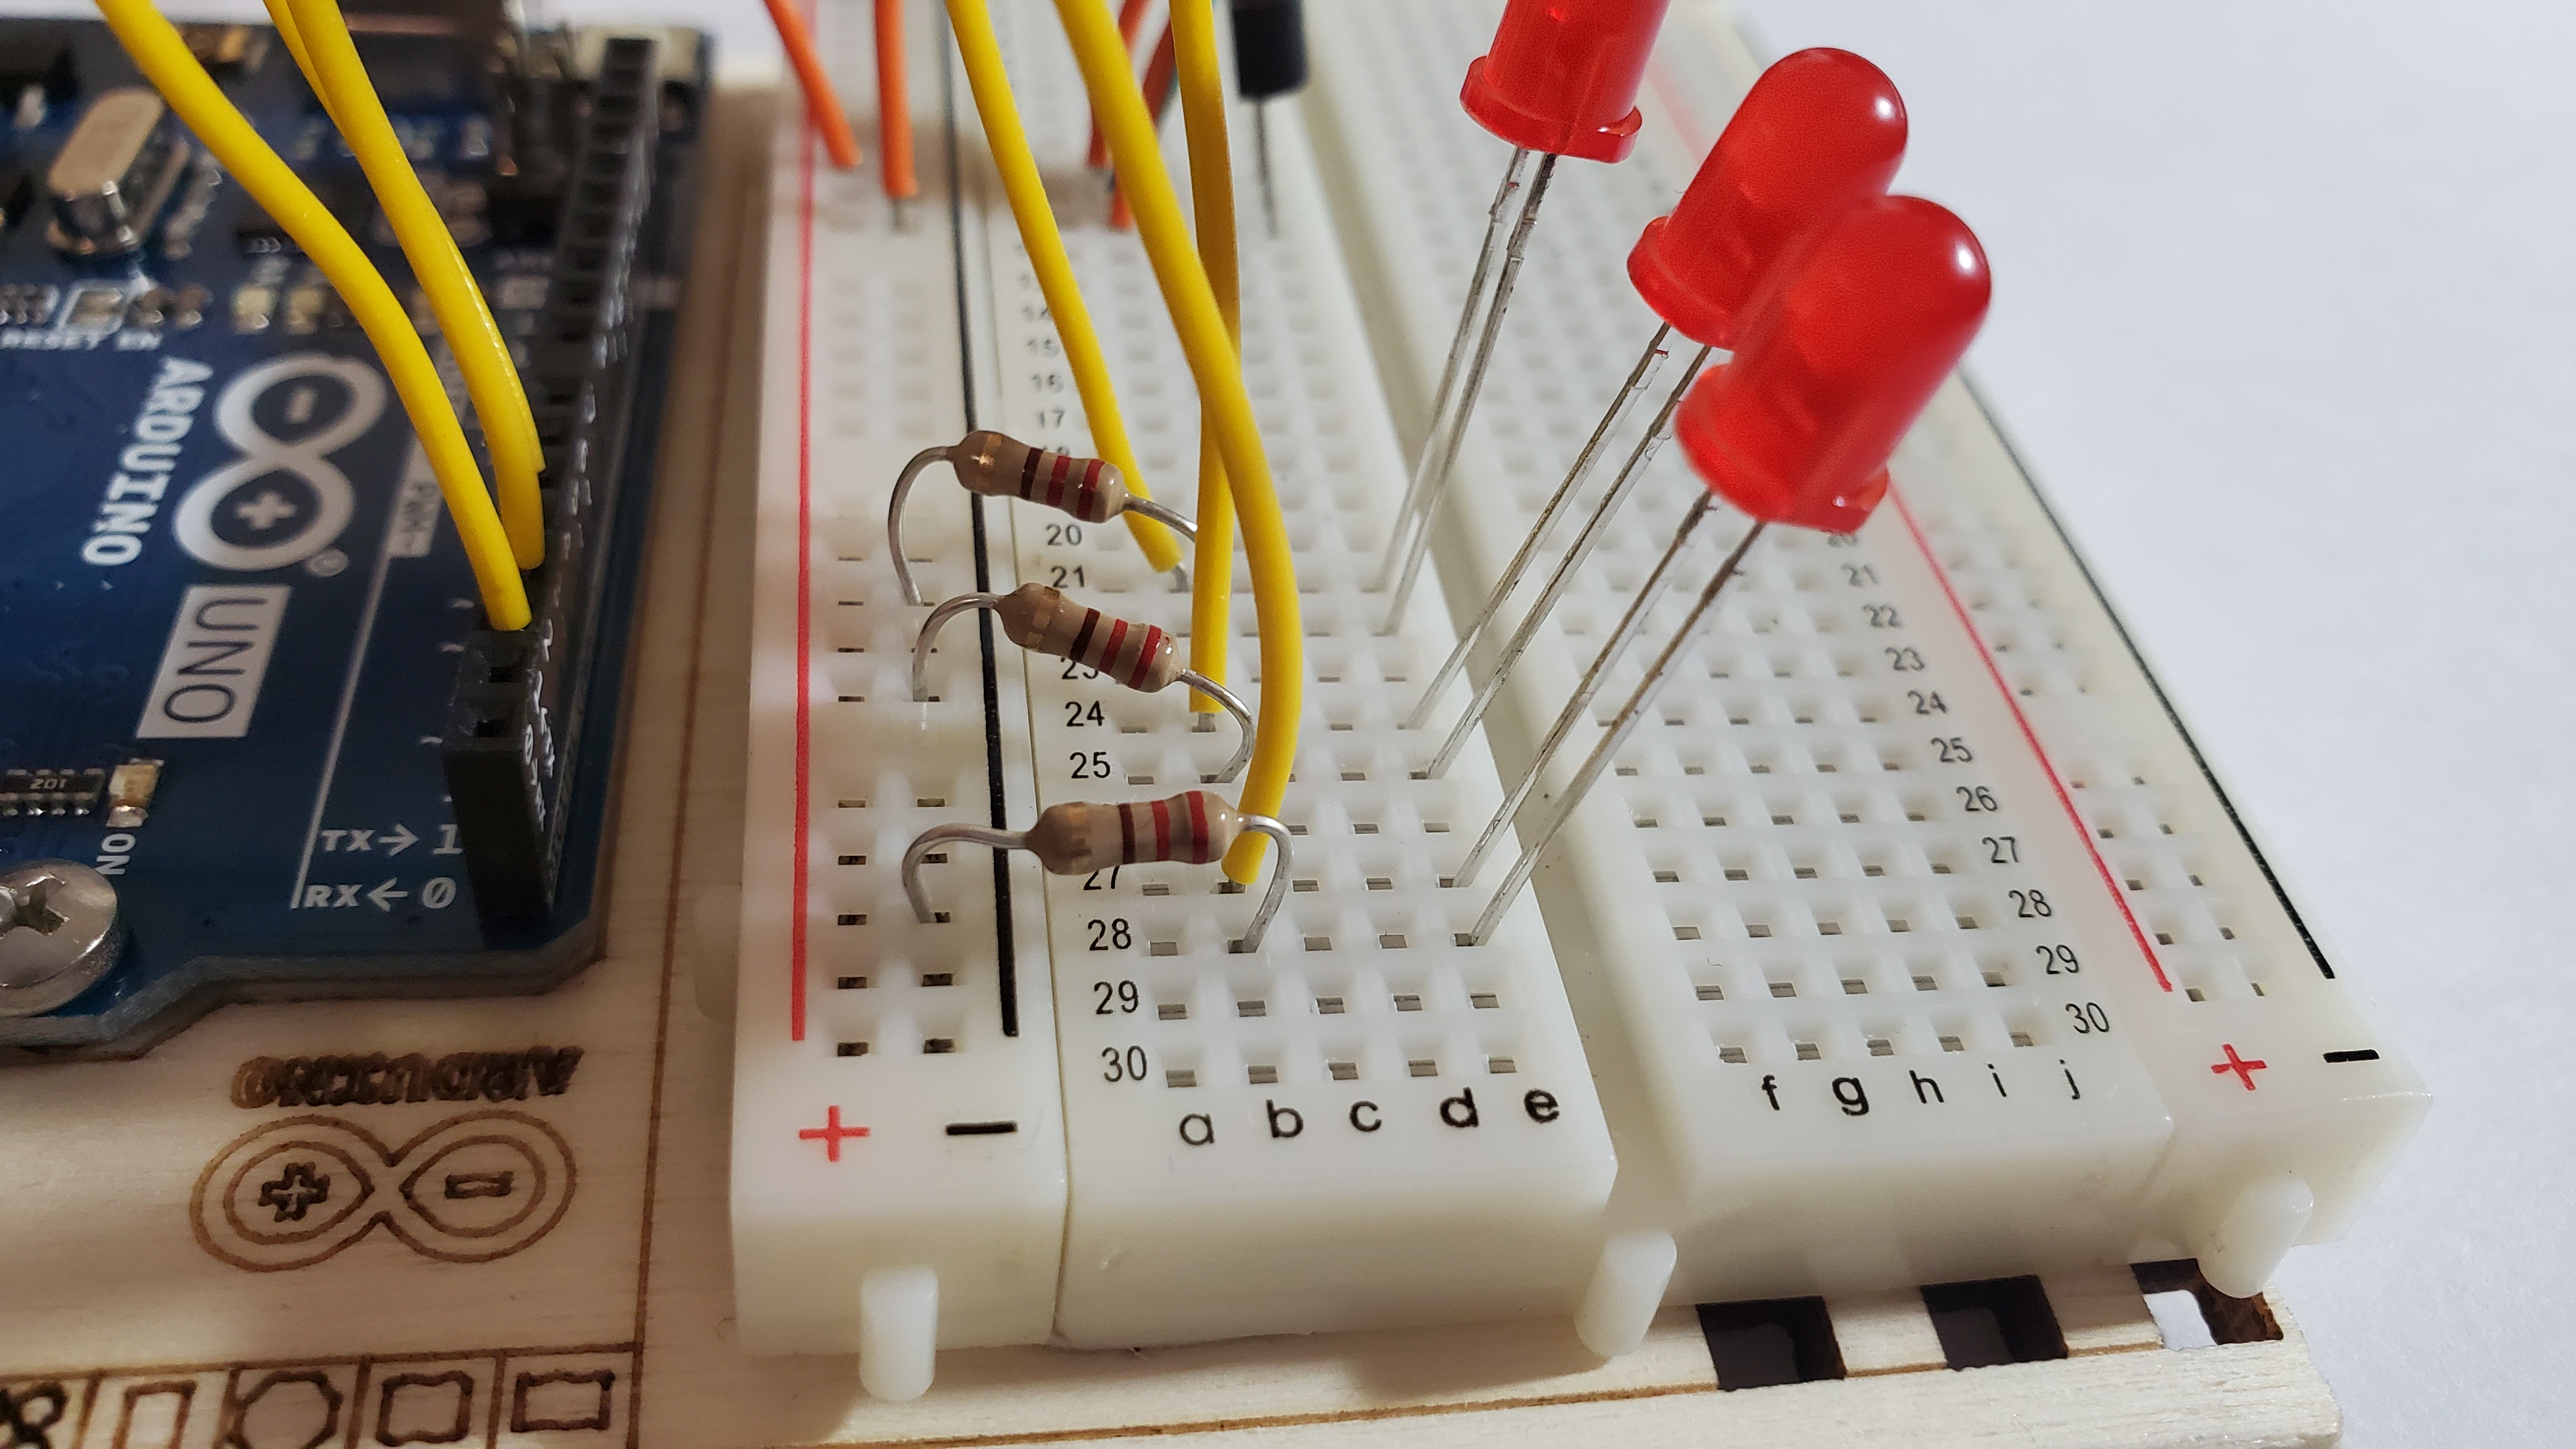
6)Pin the three LEDS
Make sure the long leg (anode) is facing towards the temp pin
Pin the long leg (anode) to the following rows:
- LED #1: row 21
- LED #2: row 24
- LED #3: row 27
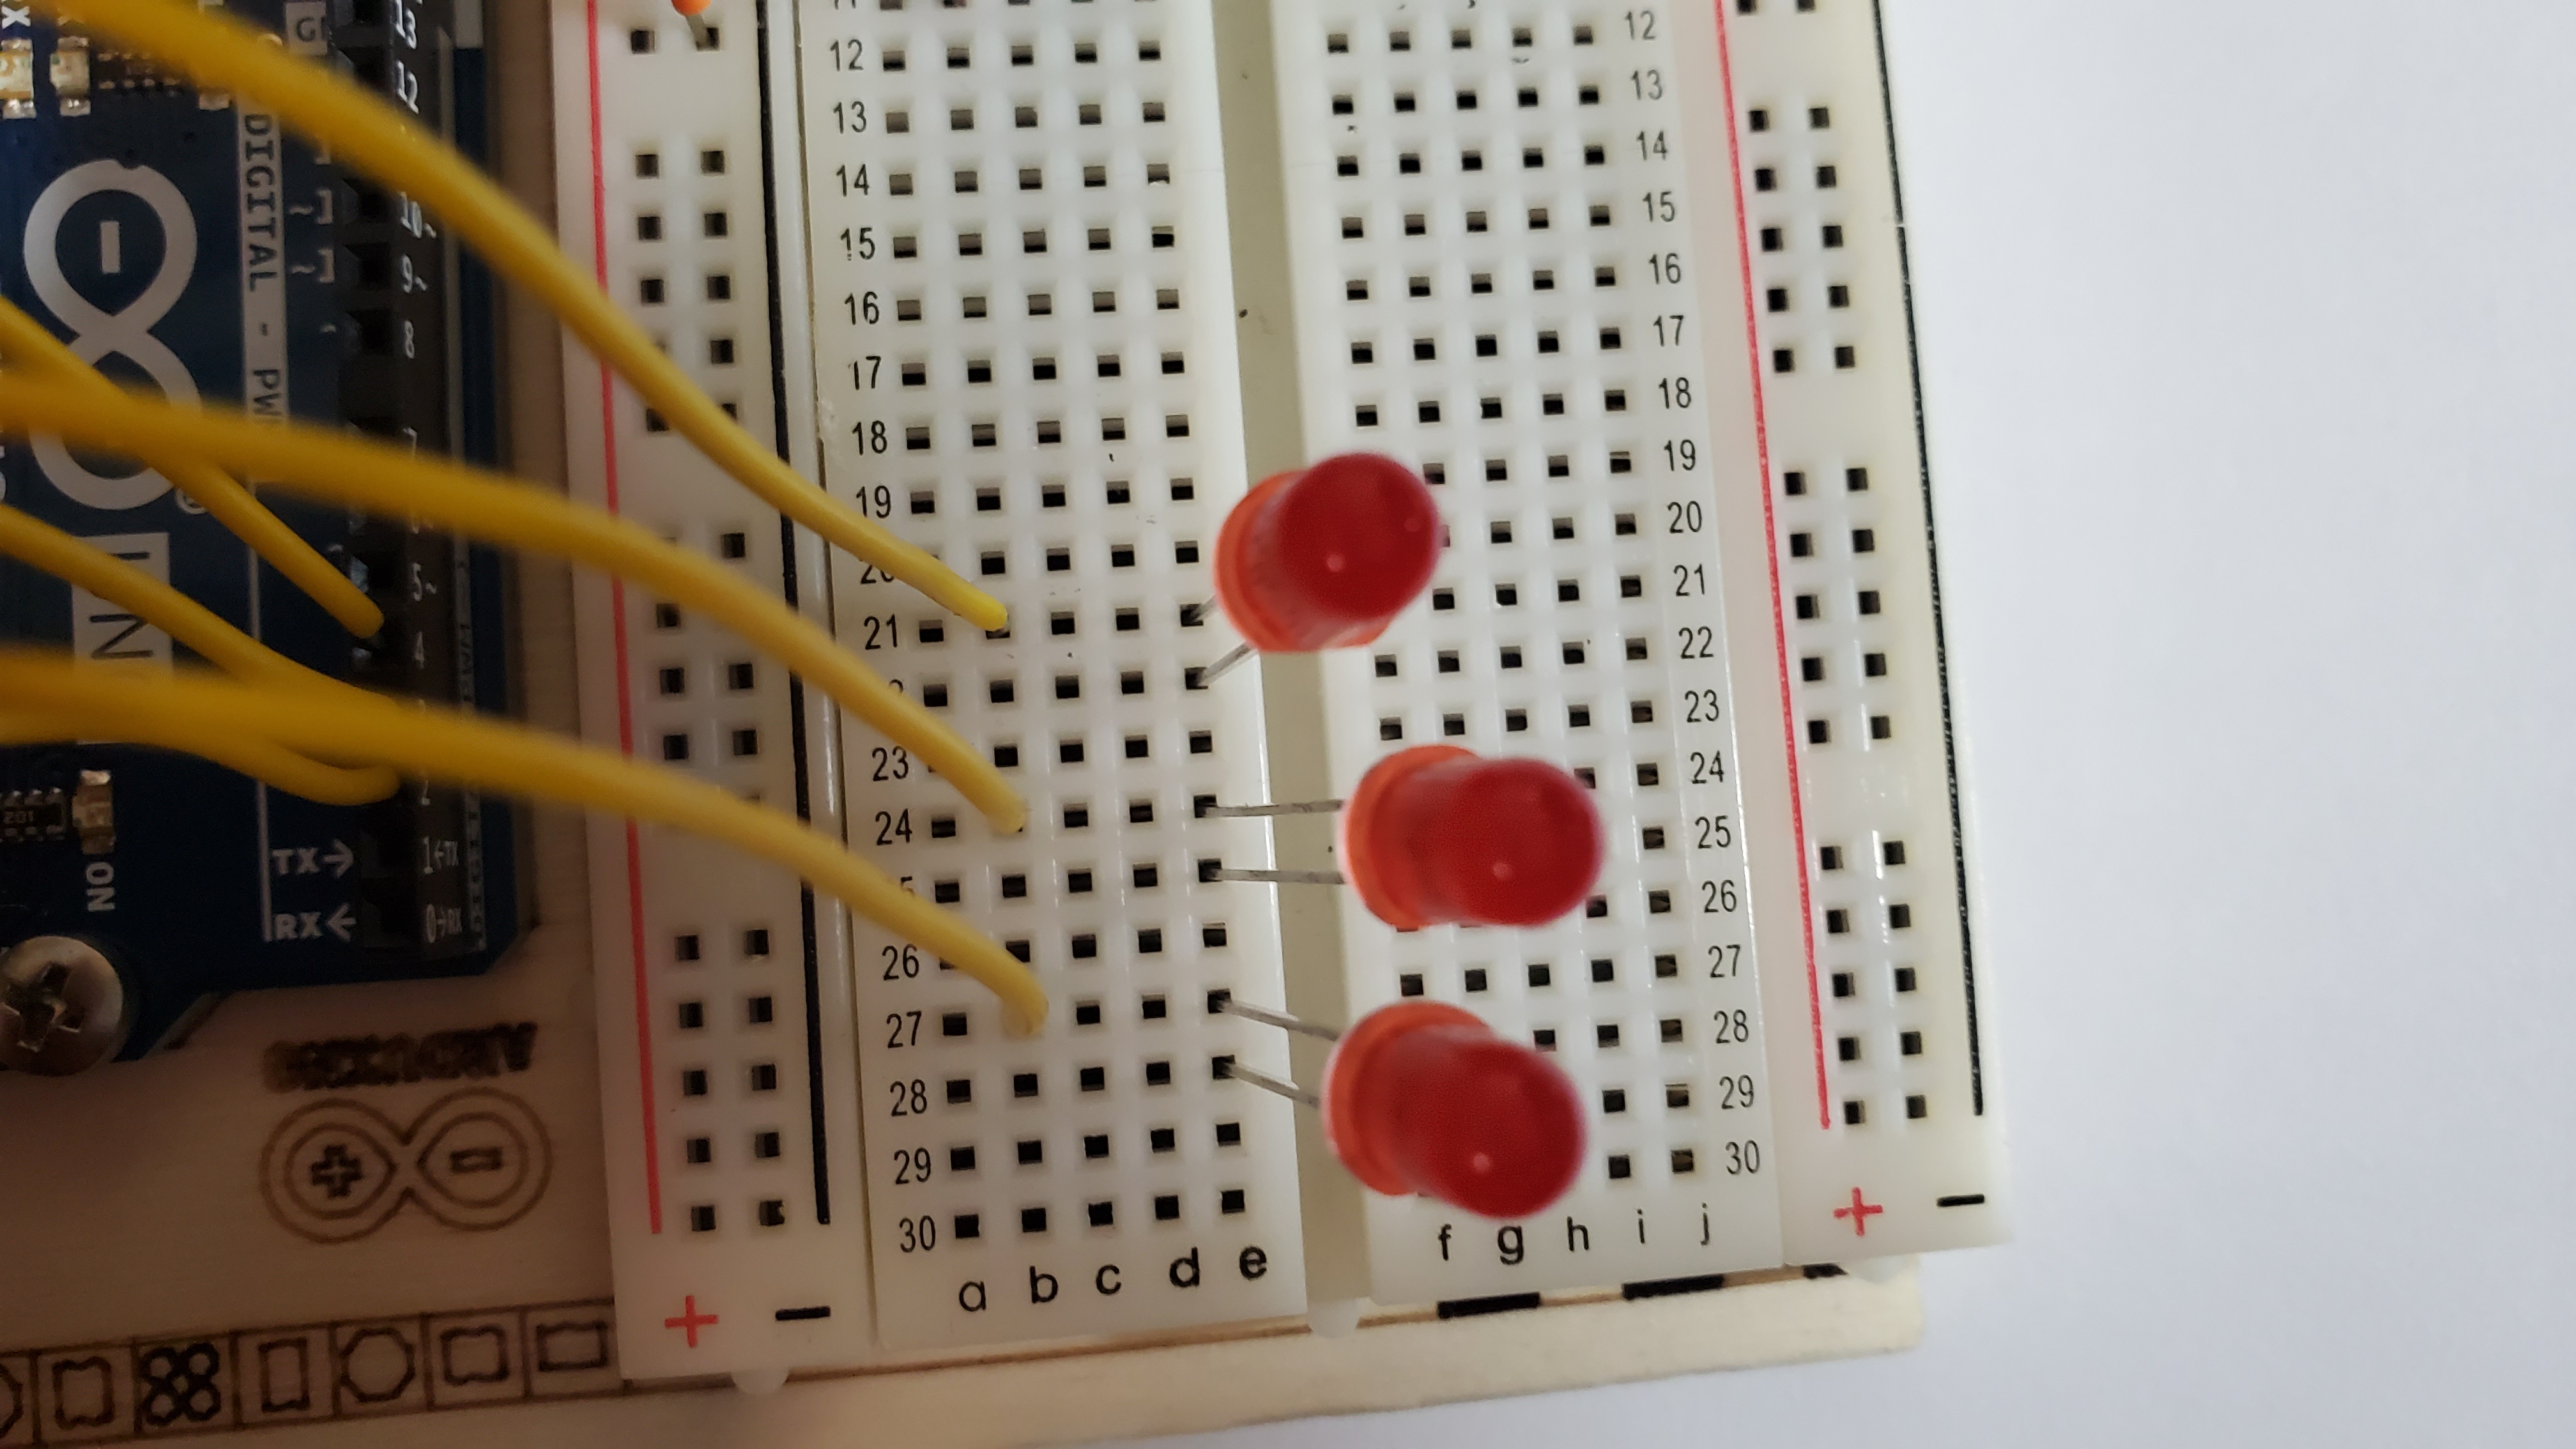
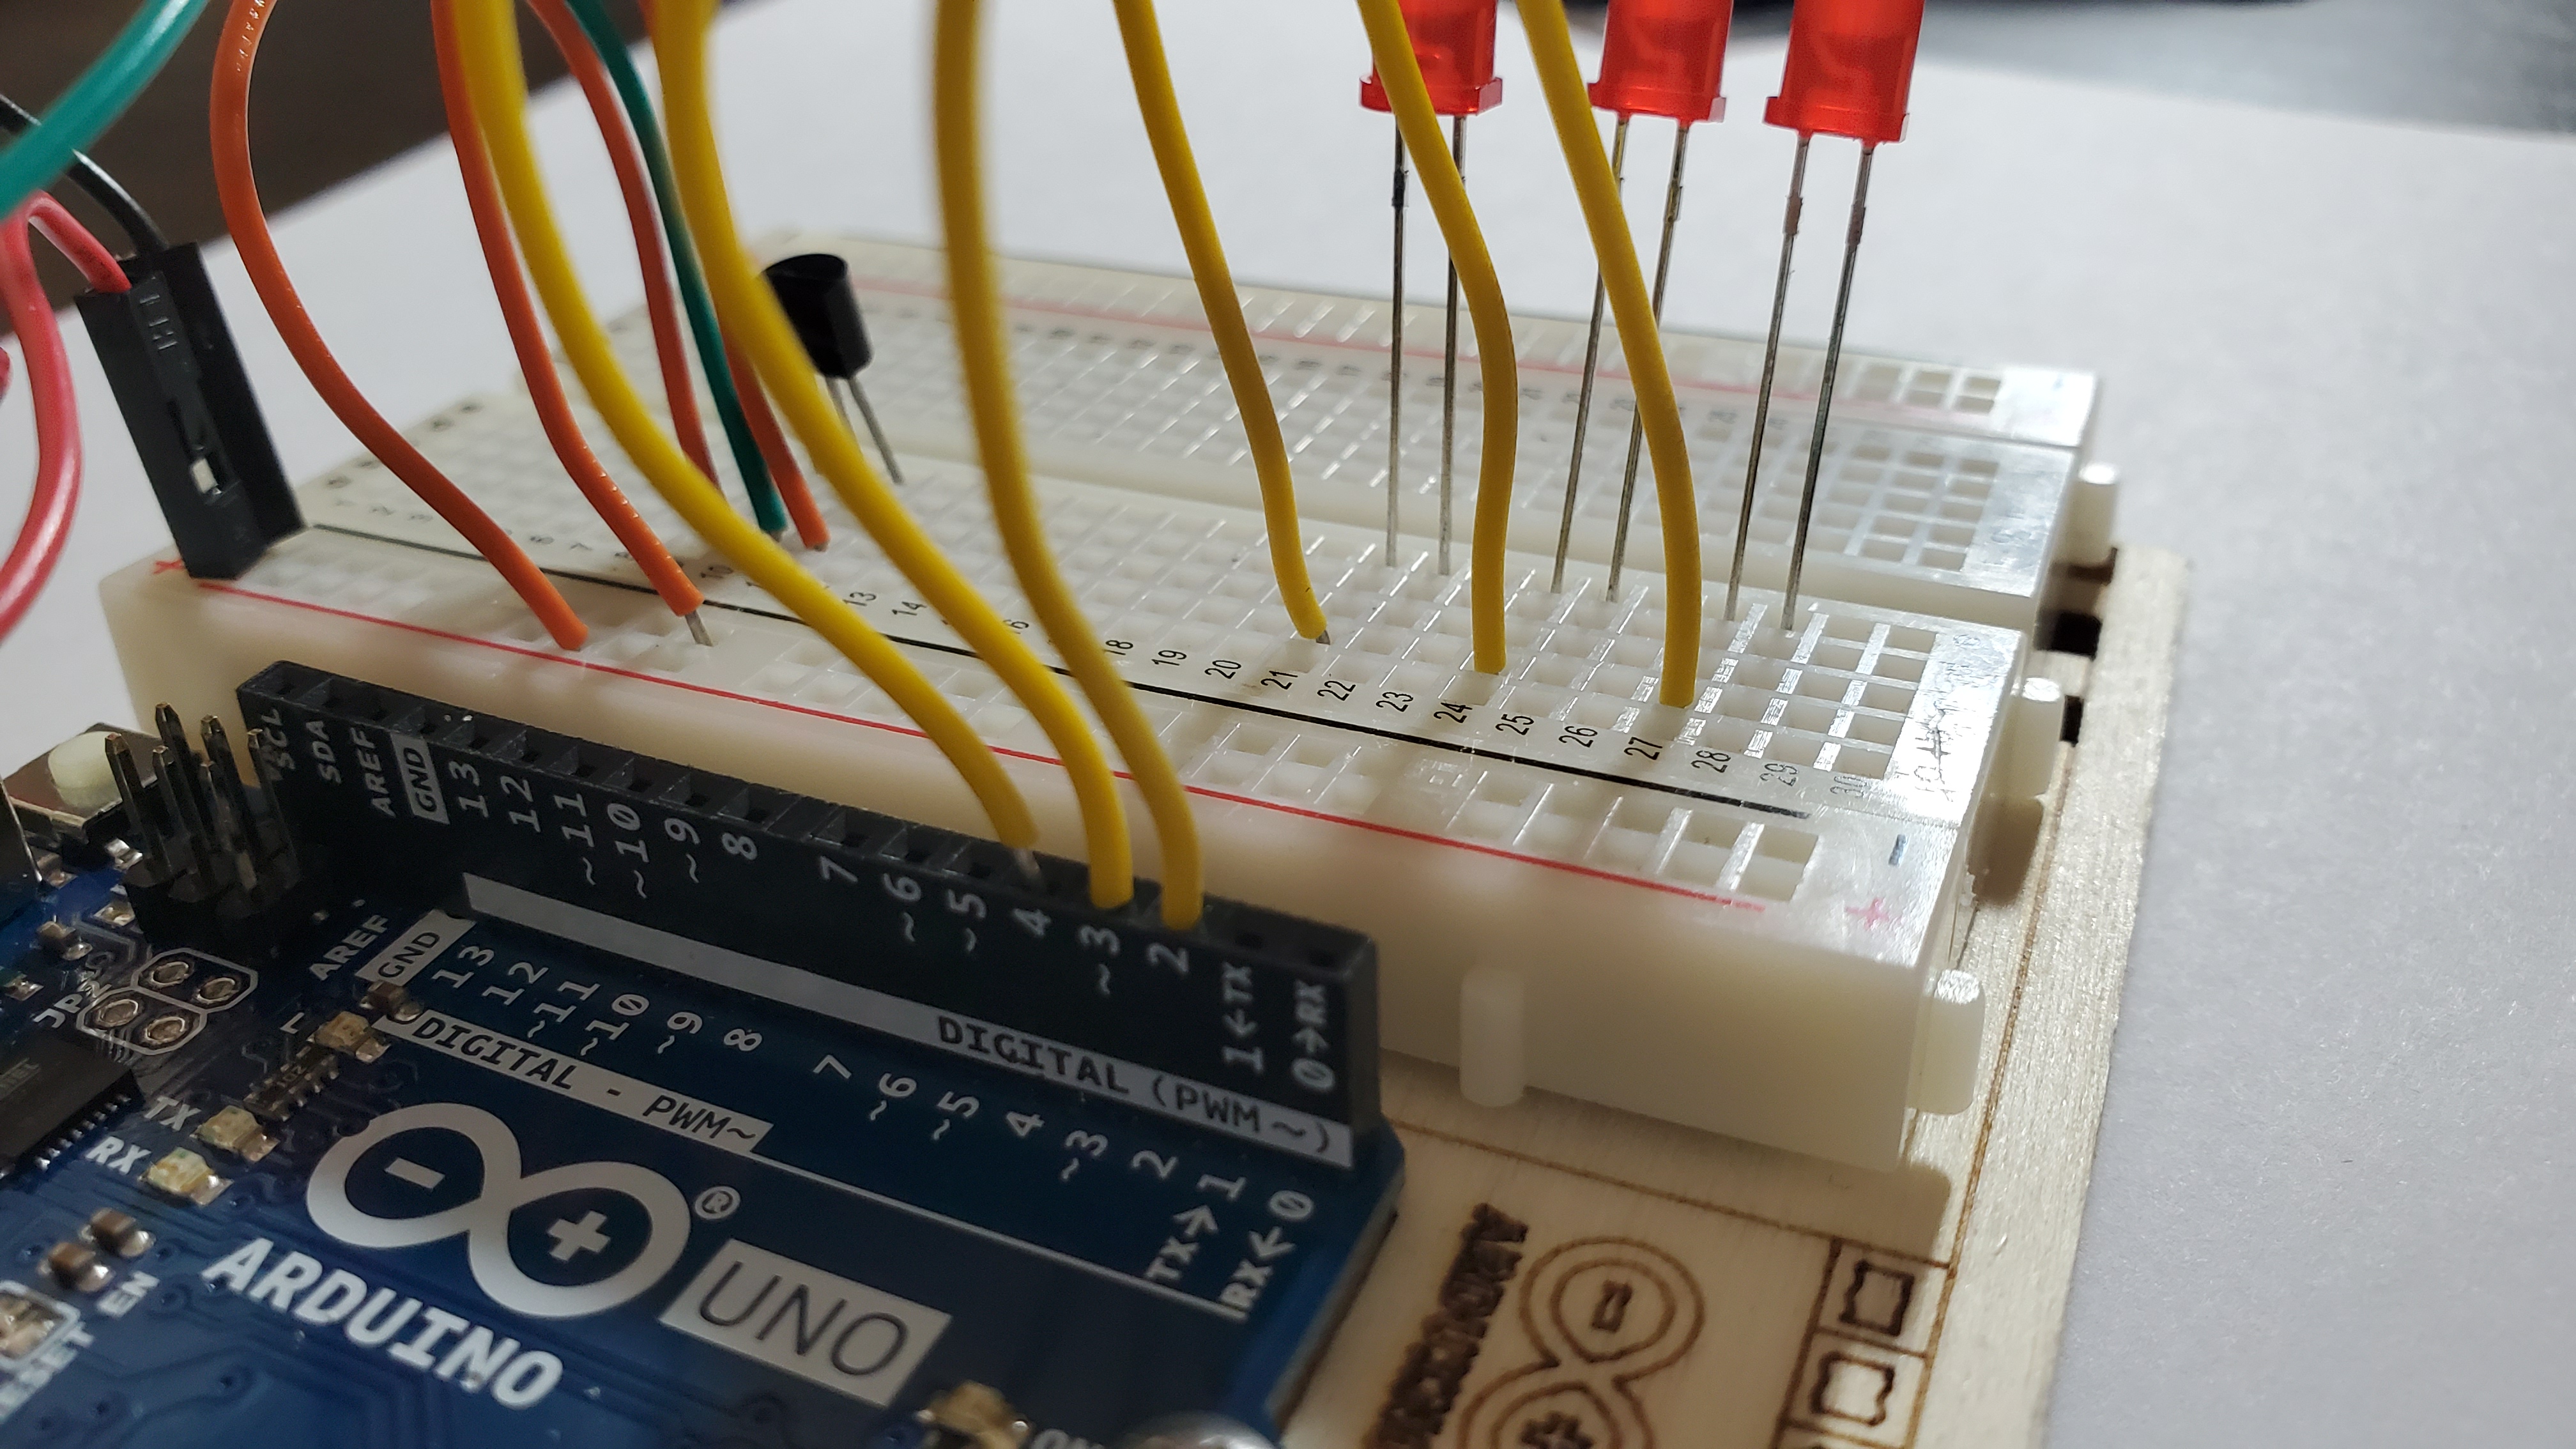
7)Pin the three yellow wires
Pin from the DIGITAL pins to the long legs (anode) of each LED
- DIGITAL pin #2 --> row 21
- DIGITAL pin #3 --> row 24
- DIGITAL pin #4 --> row 27
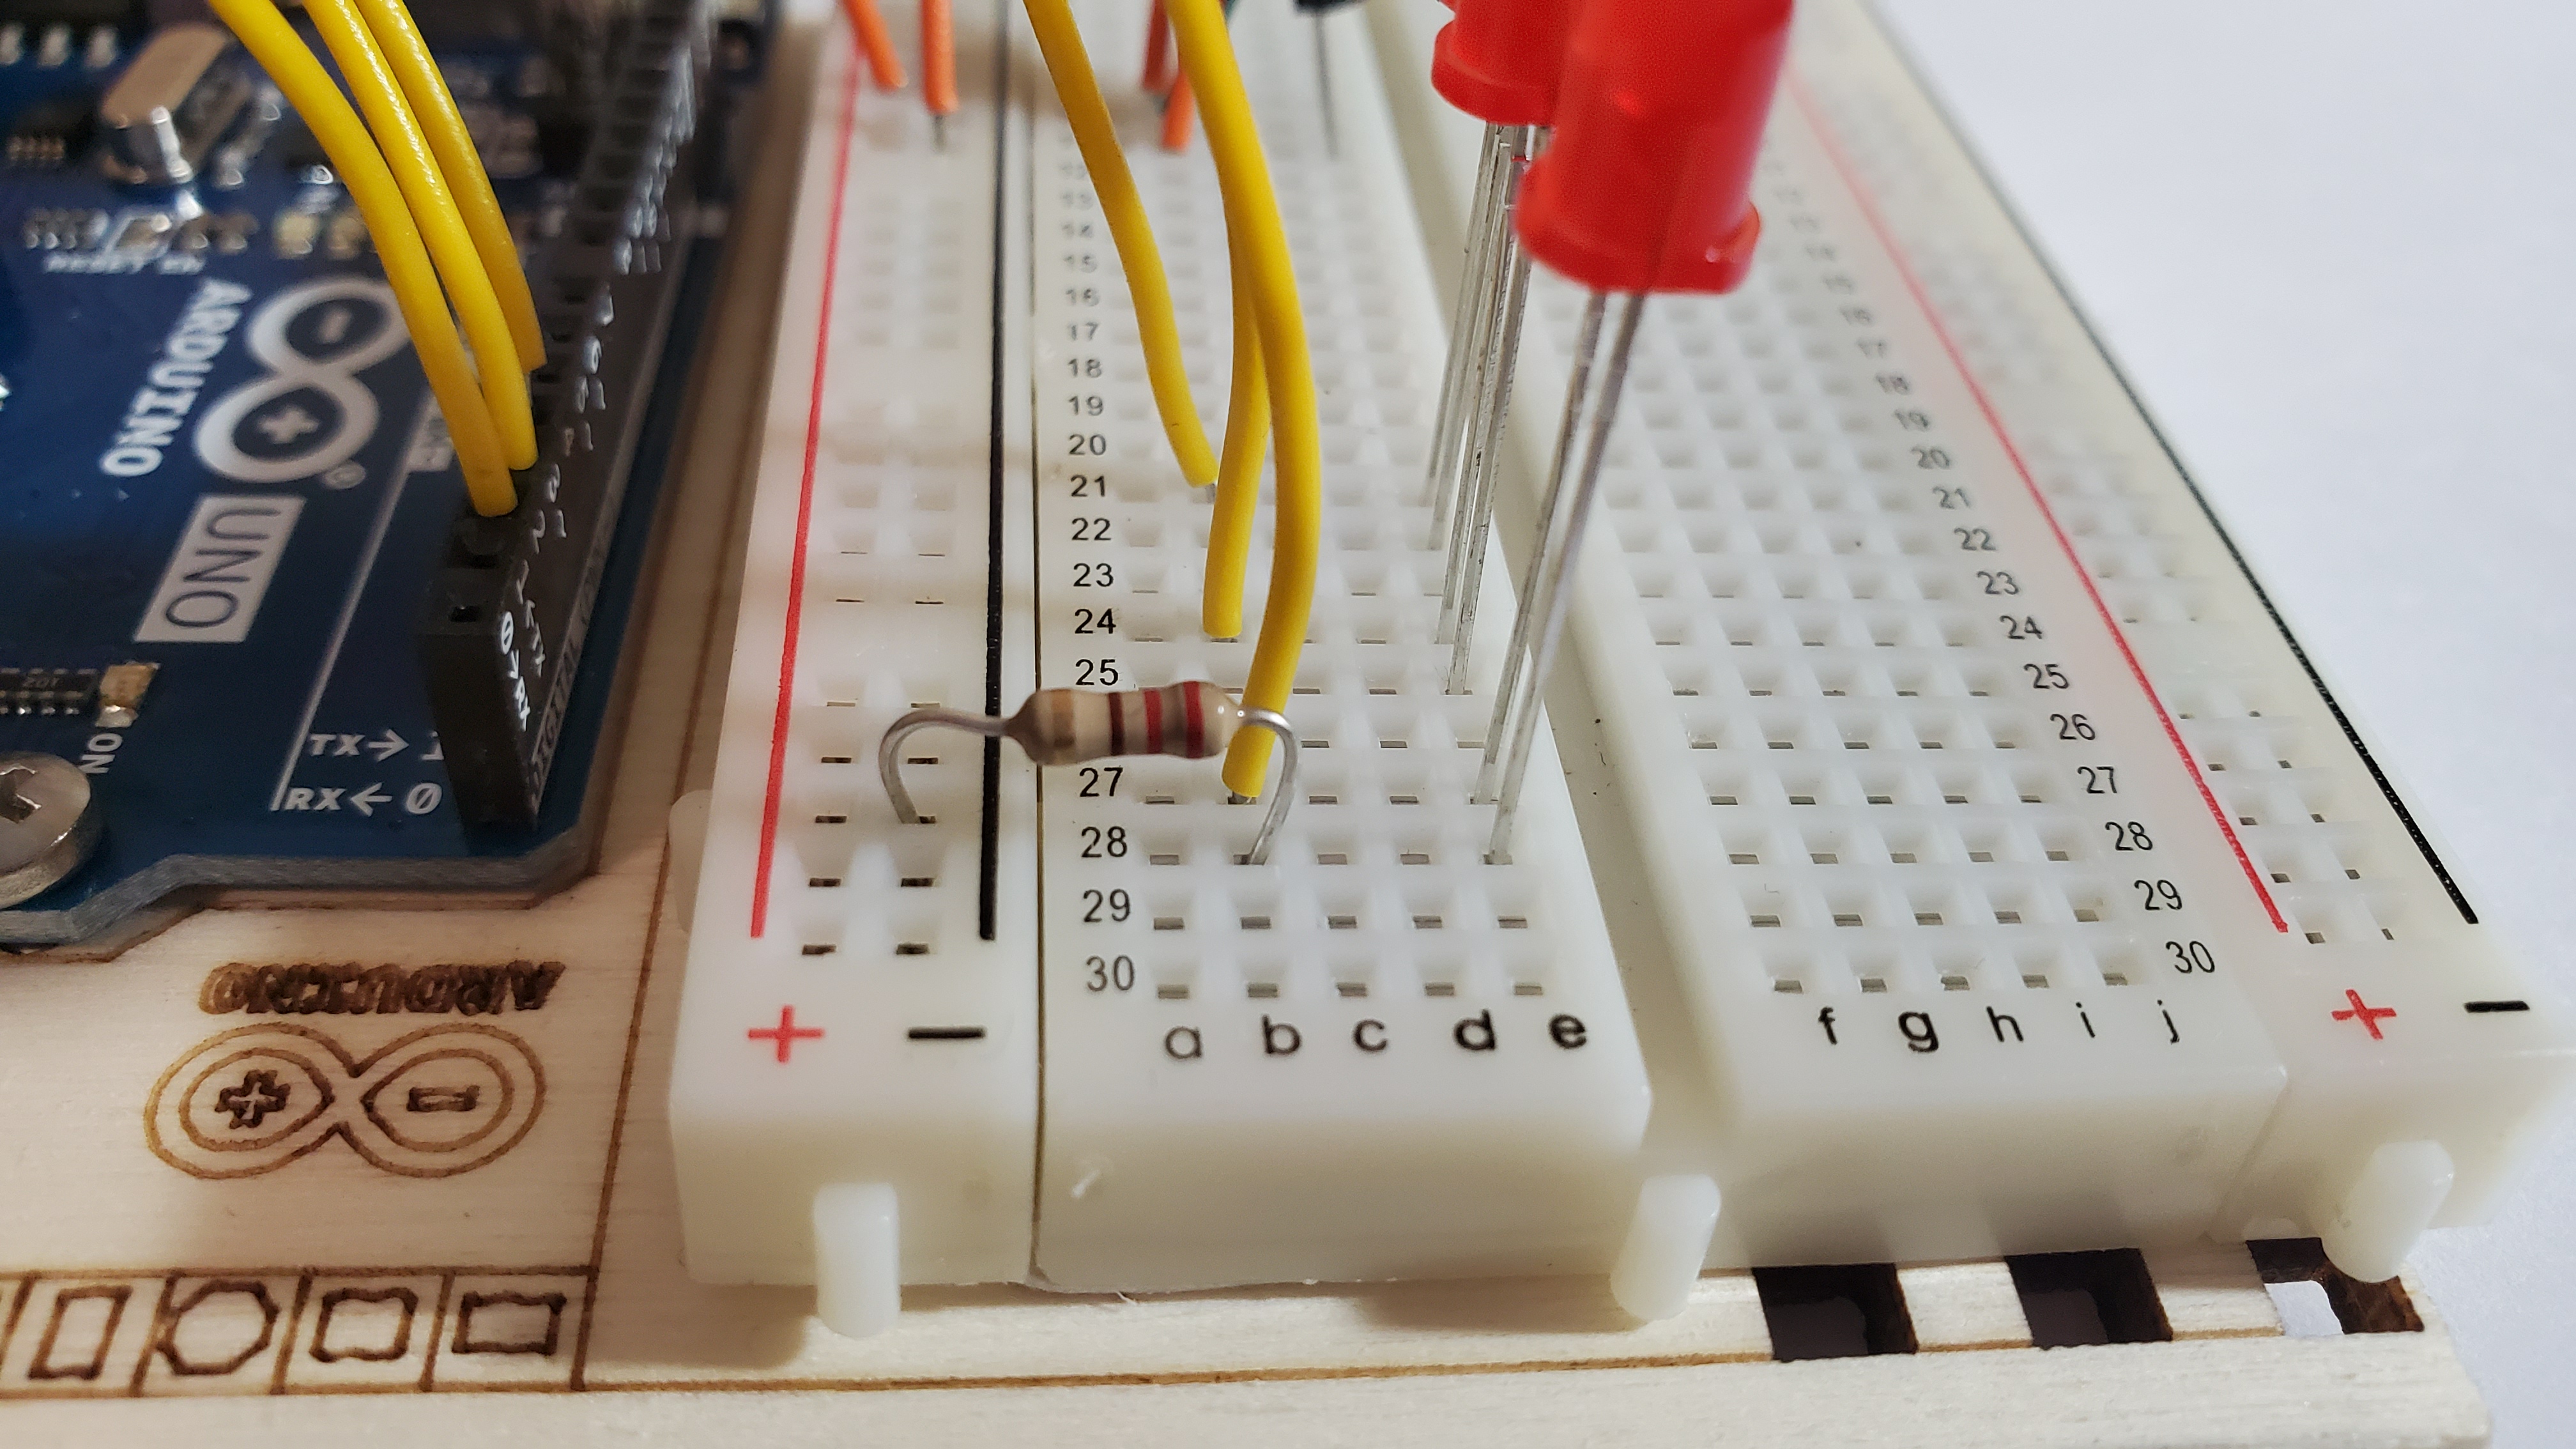
8)Pin the three resistors to each LED
Pin from the negative side to the short legs (cathode) of each LED
- NEGATIVE --> row 22
- NEGATIVE --> row 25
- NEGATIVE --> row 28
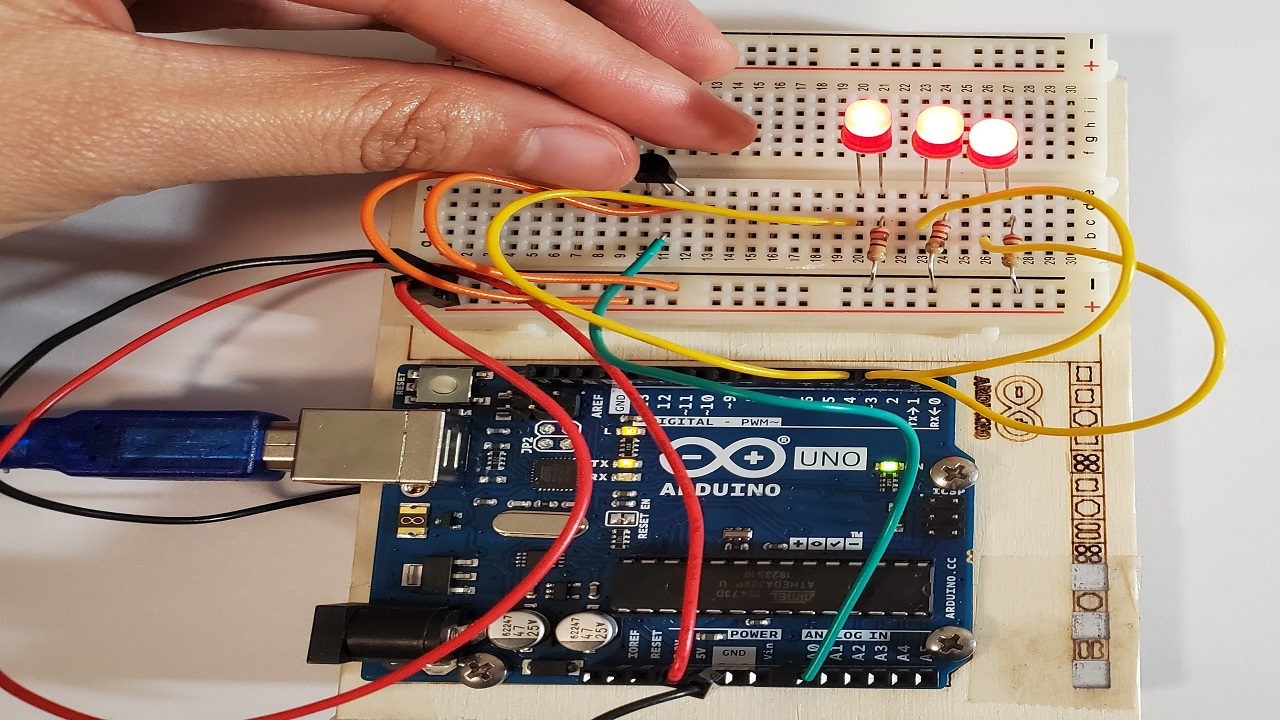
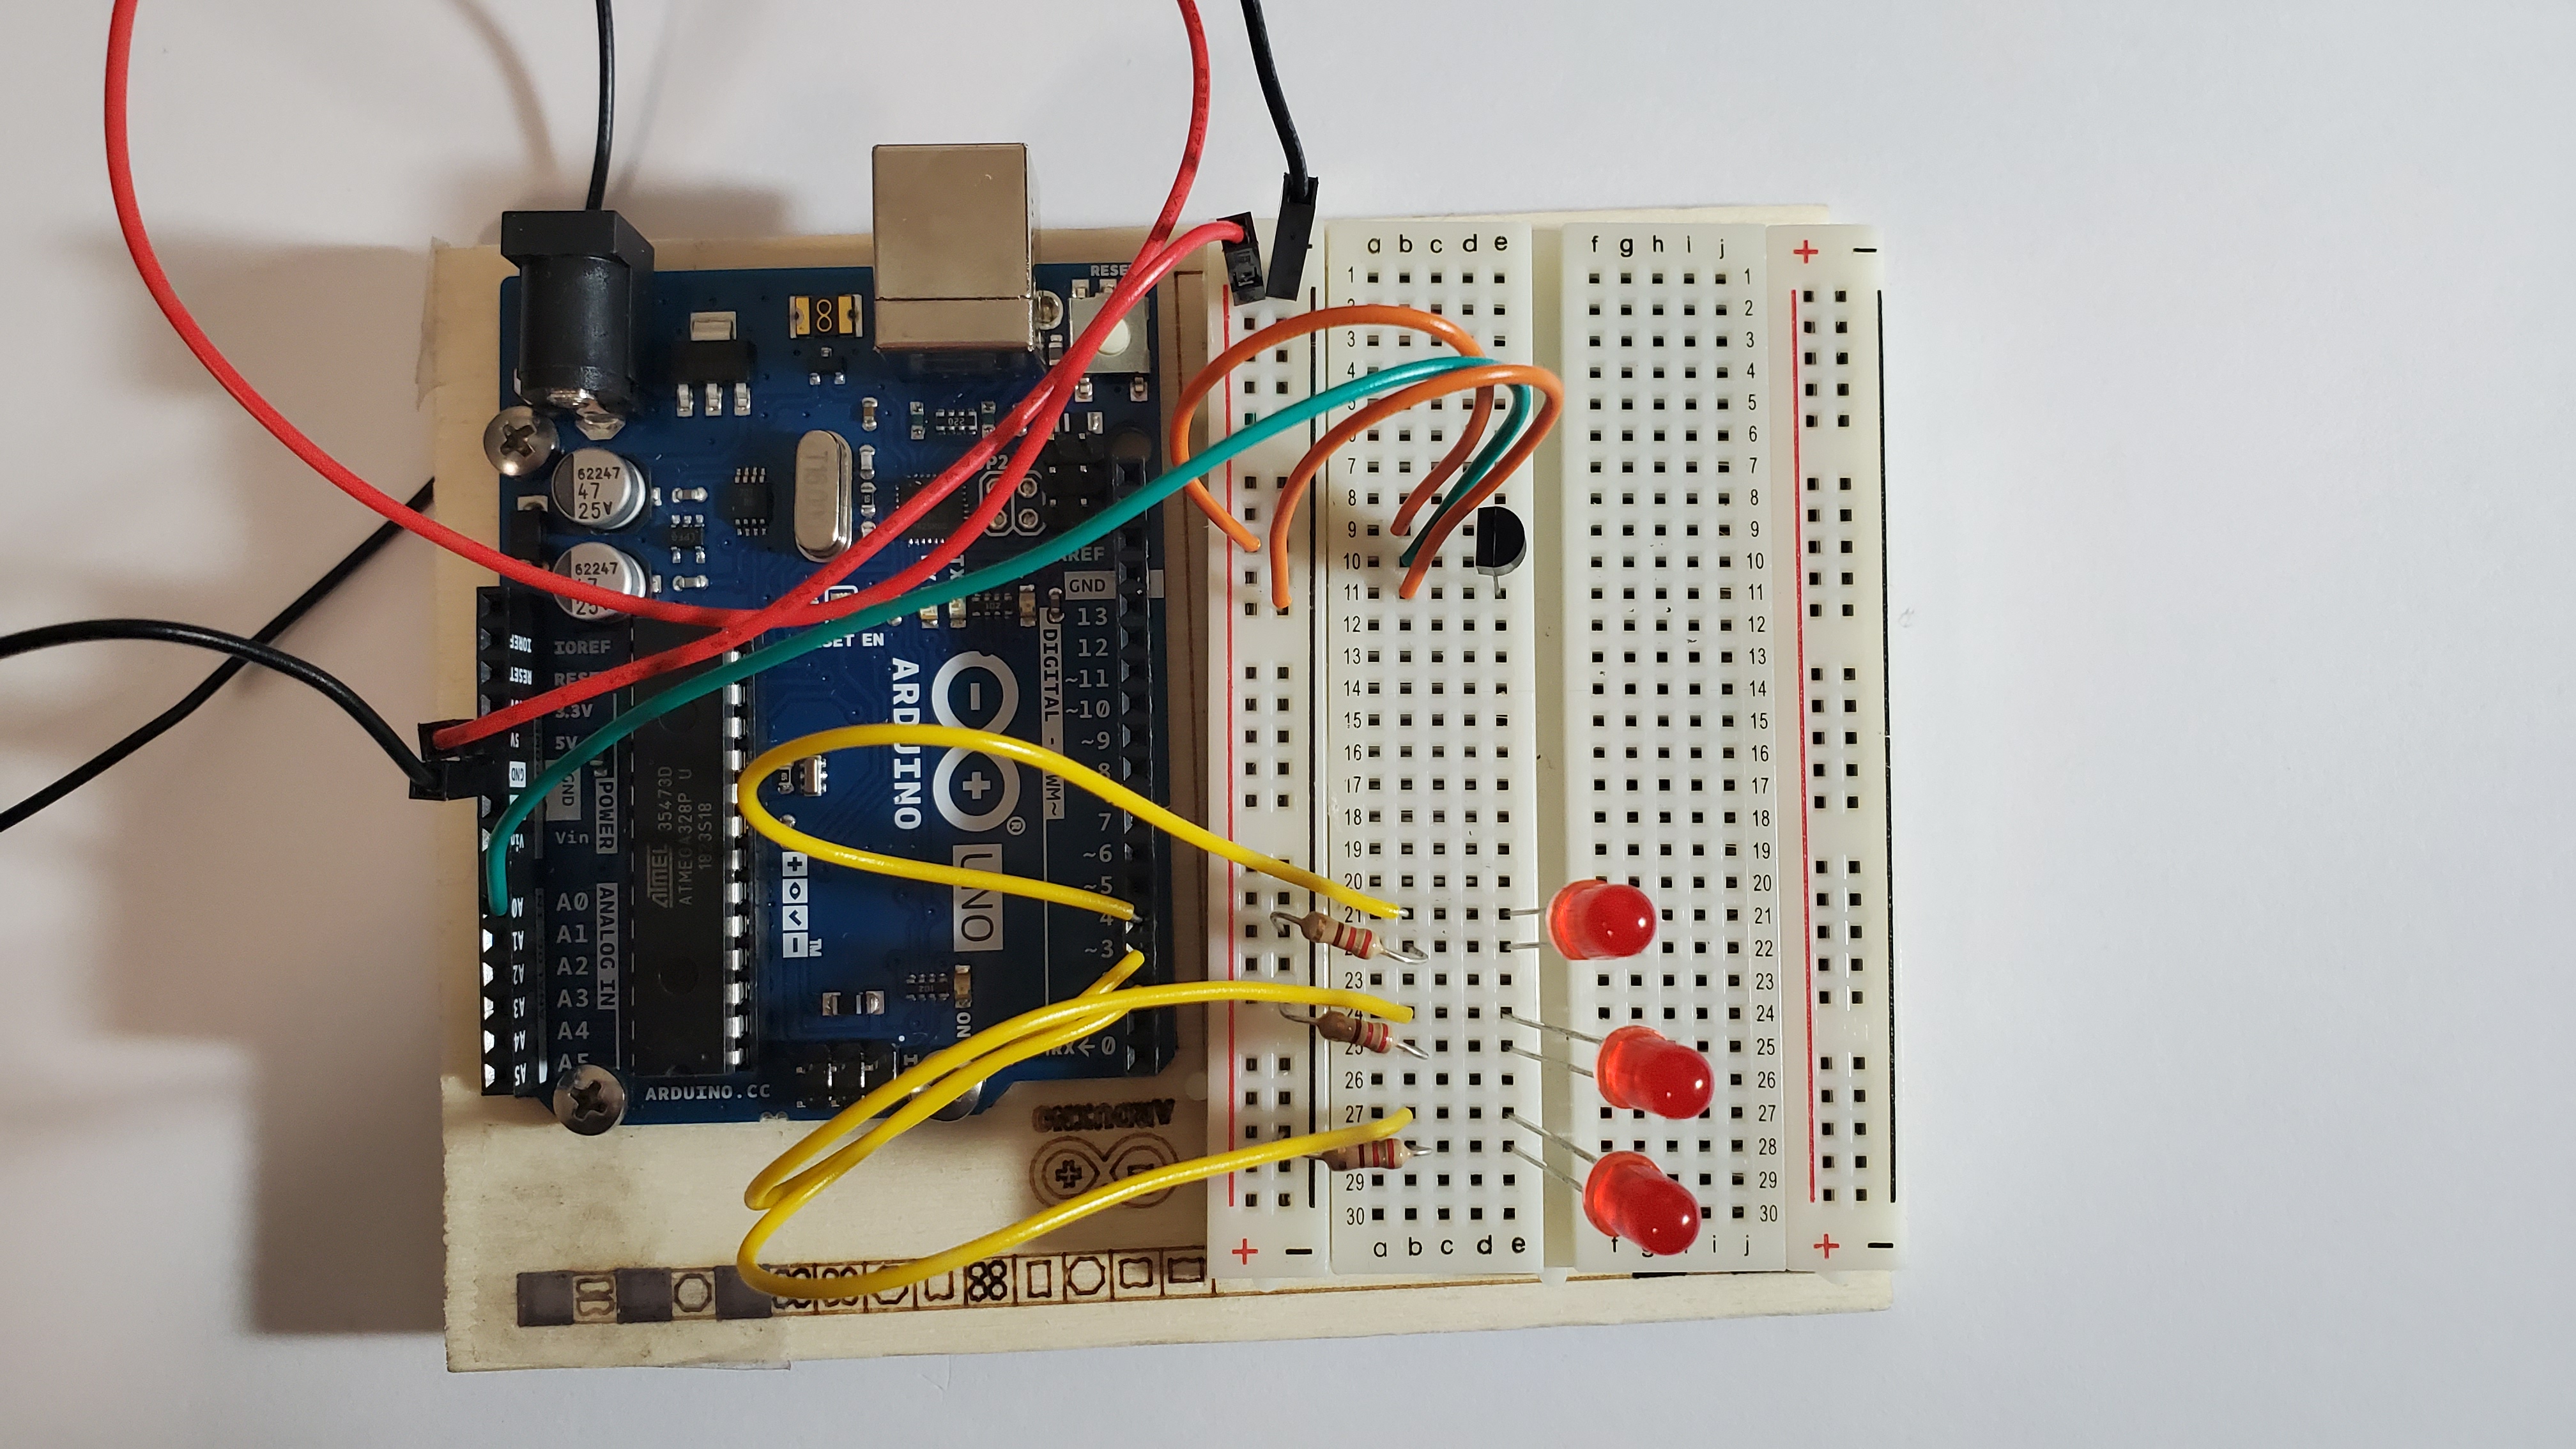
9) Your arduino should look like this:
Coding Instruction
1) Open the Arduino IDE
Click on the Arduino logo that should be at the bottom of your screen
An Arduino IDE is where we write the code and then send it to the arduino board
IDE stands for Integrated Development Environment

2)Connect the arduino to the computer
1) Plug in your arduino to the computer using the USB cable
2) Assign the port destination
- Click
TOOL -
Hover on
PORT -
Click on the port that has
(Arduino Uno)

3) Copy and Paste the following code on the IDE
Make sure to
DELETE the default code in the IDE.The Code
// named constant for the pin the sensor is connected to
const int sensorPin = A0;
// room temperature in Celsius
const float baselineTemp = 25.0;

void setup() {
  // open a serial connection to display values
  Serial.begin(9600);
  // set the LED pins as outputs
  // the for() loop saves some extra coding
  for (int pinNumber = 2; pinNumber < 5; pinNumber++) {
    pinMode(pinNumber, OUTPUT);
    digitalWrite(pinNumber, LOW);
  }
}

void loop() {
  // read the value on AnalogIn pin 0 and store it in a variable
  int sensorVal = analogRead(sensorPin);

  // send the 10-bit sensor value out the serial port
  Serial.print("sensor Value: ");
  Serial.print(sensorVal);

  // convert the ADC reading to voltage
  float voltage = (sensorVal / 1024.0) * 5.0;

  // Send the voltage level out the Serial port
  Serial.print(", Volts: ");
  Serial.print(voltage);

  // convert the voltage to temperature in degrees C
  // the sensor changes 10 mV per degree
  // the datasheet says there's a 500 mV offset
  // ((voltage - 500 mV) times 100)
  Serial.print(", degrees C: ");
  float temperature = (voltage - .5) * 100;
  Serial.println(temperature);

  // if the current temperature is lower than the baseline turn off all LEDs
  if (temperature < baselineTemp + 2) {
    digitalWrite(2, LOW);
    digitalWrite(3, LOW);
    digitalWrite(4, LOW);
  } // if the temperature rises 2-4 degrees, turn an LED on
  else if (temperature >= baselineTemp + 2 && temperature < baselineTemp + 4) {
    digitalWrite(2, HIGH);
    digitalWrite(3, LOW);
    digitalWrite(4, LOW);
  } // if the temperature rises 4-6 degrees, turn a second LED on
  else if (temperature >= baselineTemp + 4 && temperature < baselineTemp + 6) {
    digitalWrite(2, HIGH);
    digitalWrite(3, HIGH);
    digitalWrite(4, LOW);
  } // if the temperature rises more than 6 degrees, turn all LEDs on
  else if (temperature >= baselineTemp + 6) {
    digitalWrite(2, HIGH);
    digitalWrite(3, HIGH);
    digitalWrite(4, HIGH);
  }
  delay(1);
}
4) Save the code as Project03{YourName}
For example, I would save mine as Project03Betsy
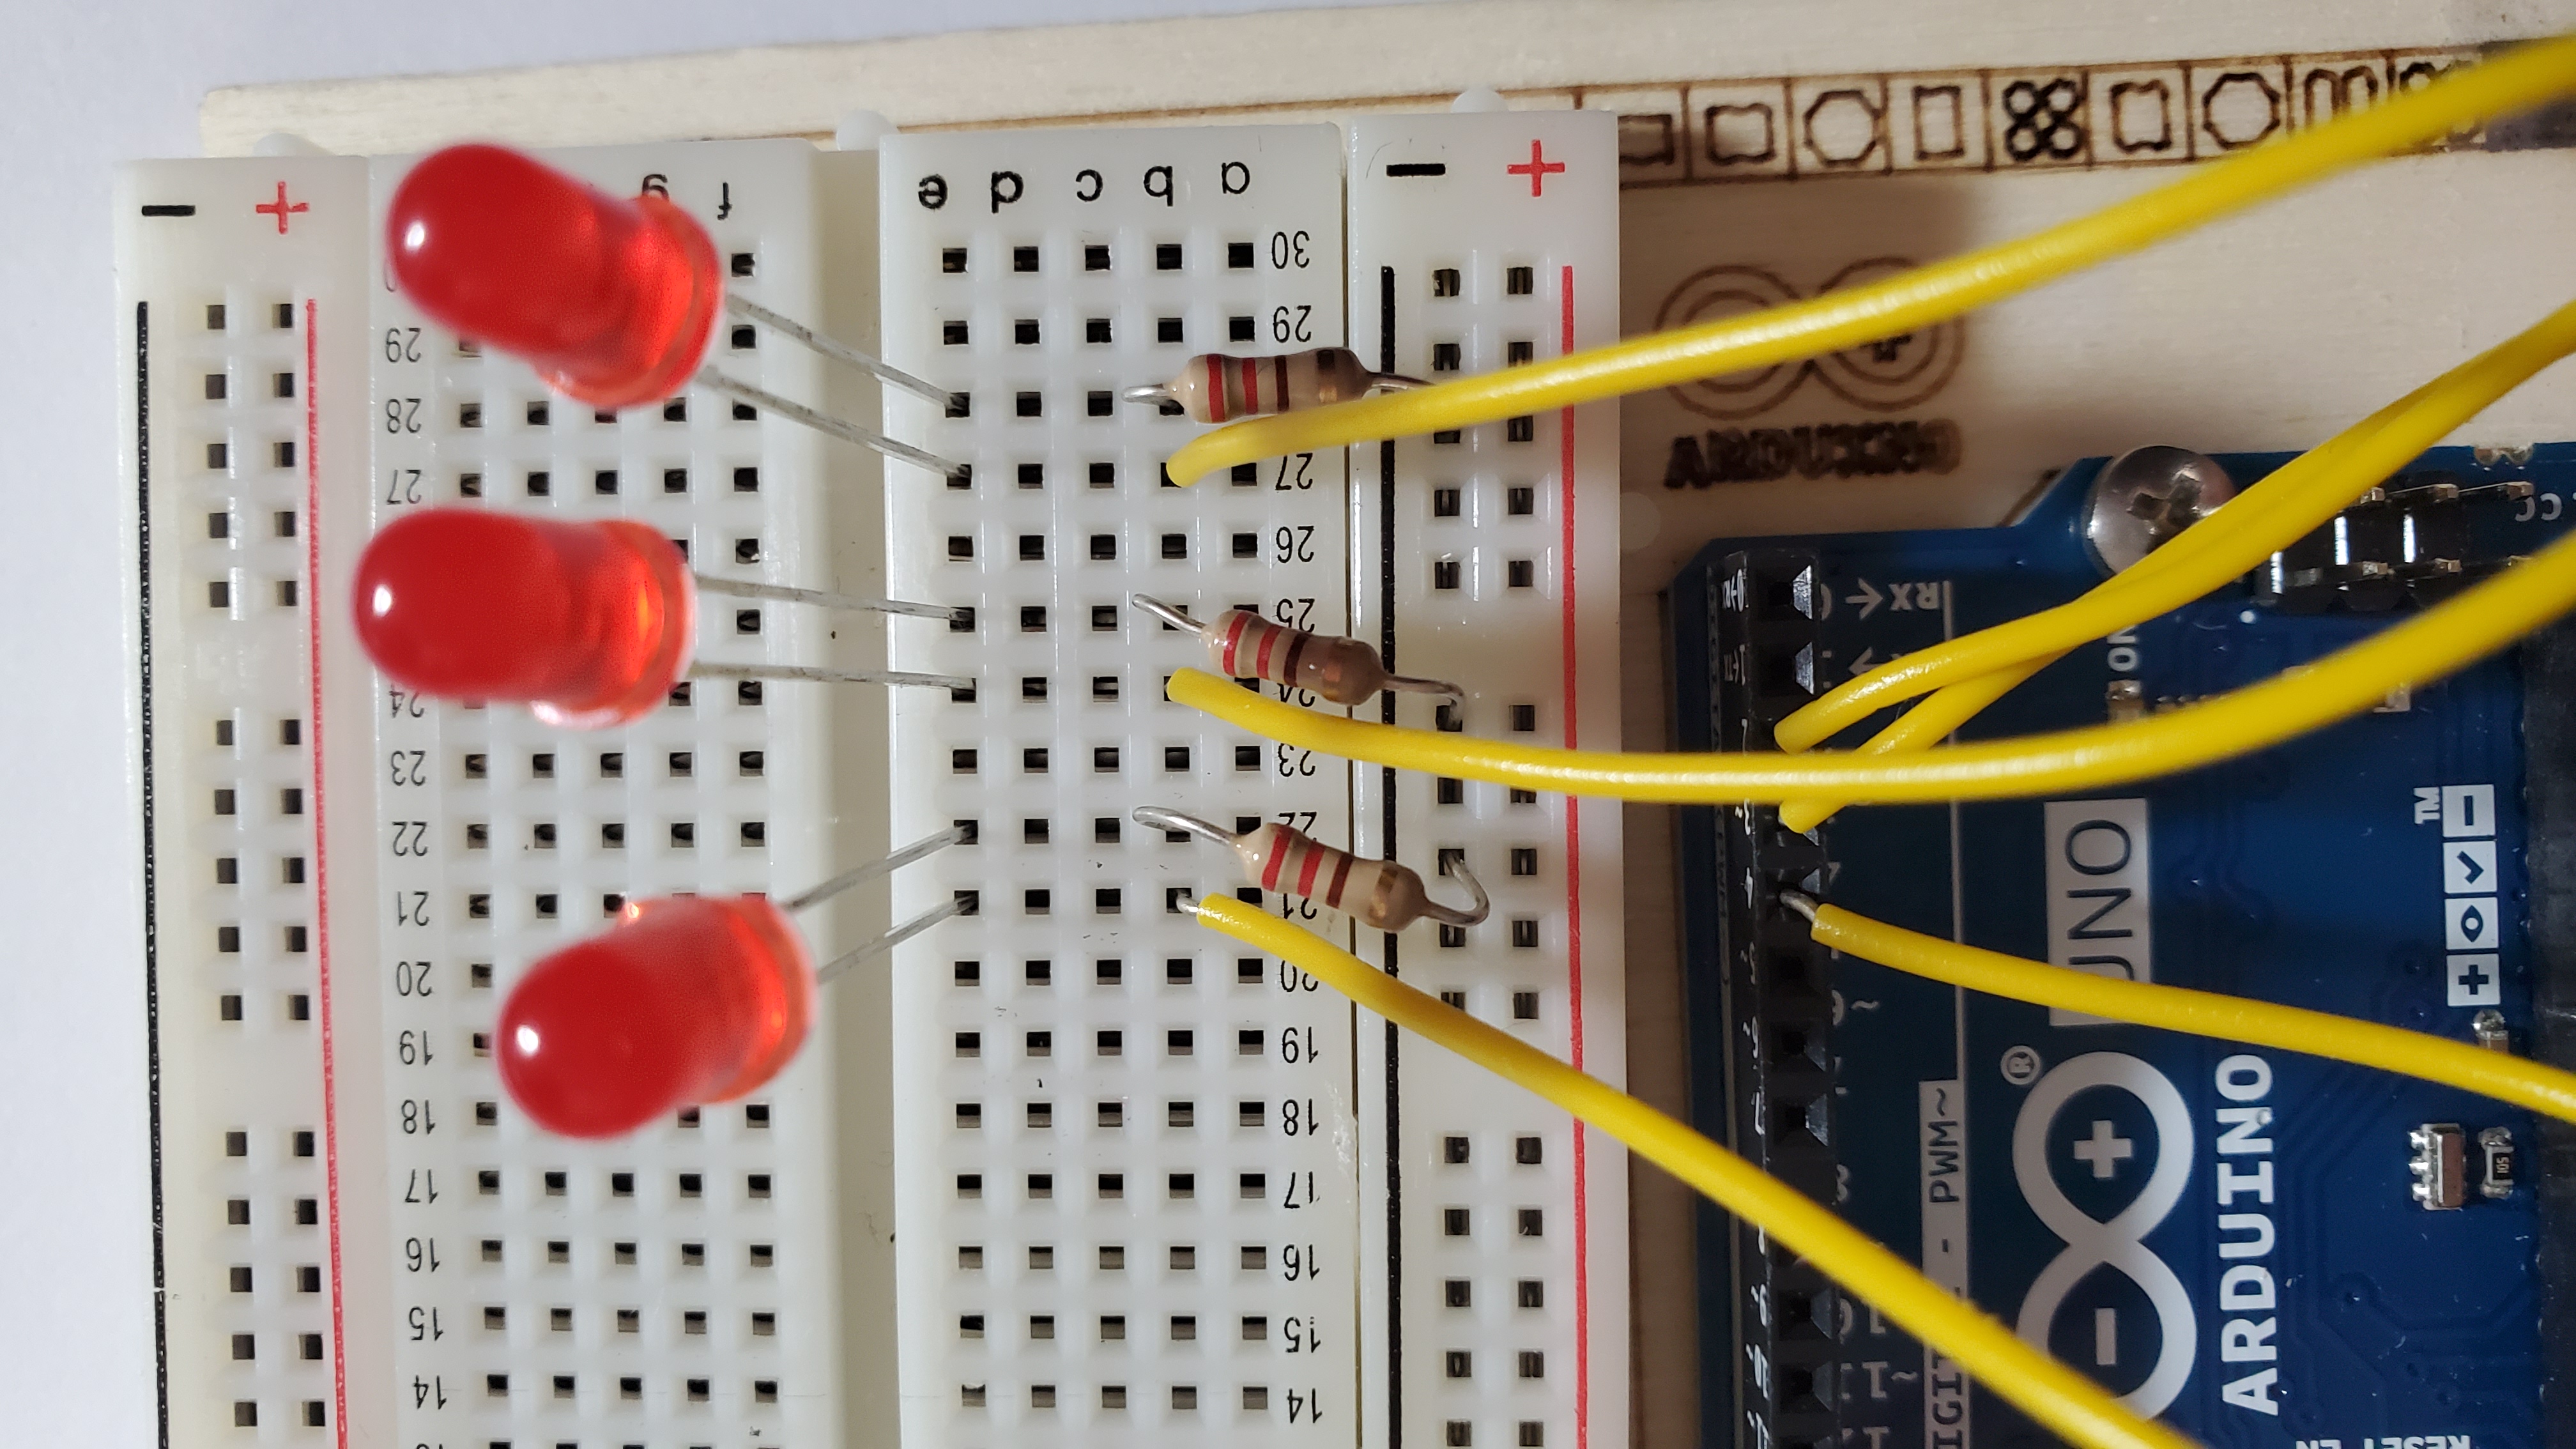
Pinch the side of them temp pin
Touch the side of the temp pin with your fingertips to see the LED turn on
THe warmer it gets, the more LEDs will turn on
To reset the program, push the white button that is on the Arduino board next to the usb cable